Page 11 of 14

Re: Homebrew Con-Ferr Style Porthole Roof Rack Build

Posted: Wed Feb 29, 2012 10:01 pm
by 97CargoCrawler
Tonight I got a package from McMaster-Carr with some needed odds n' ends.

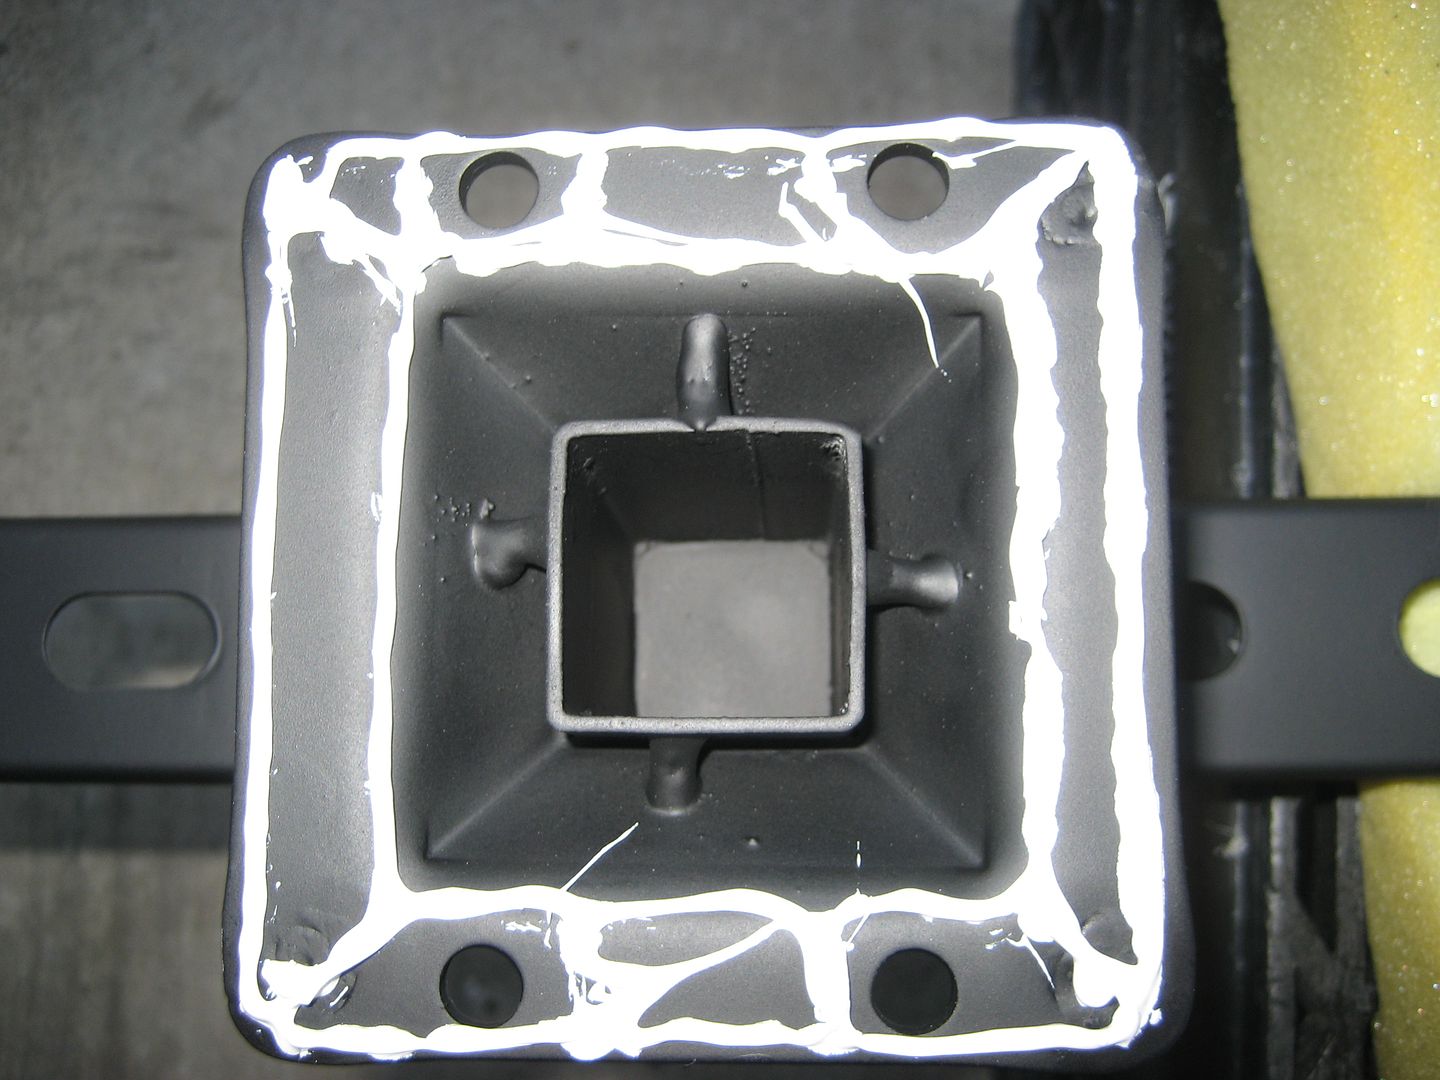
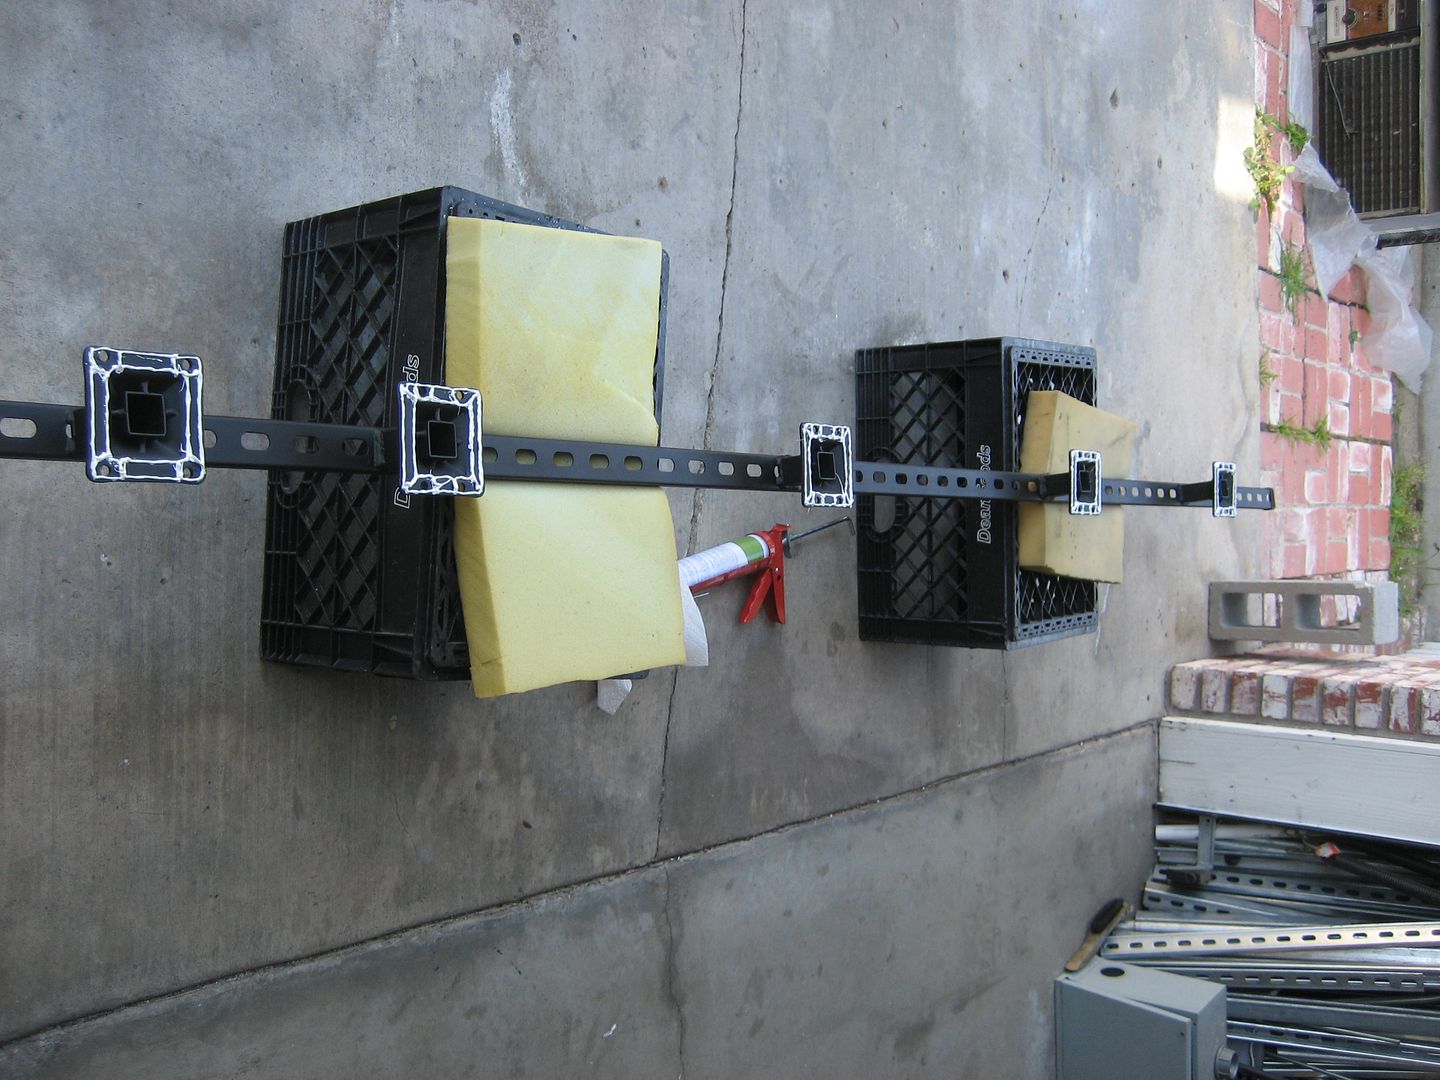
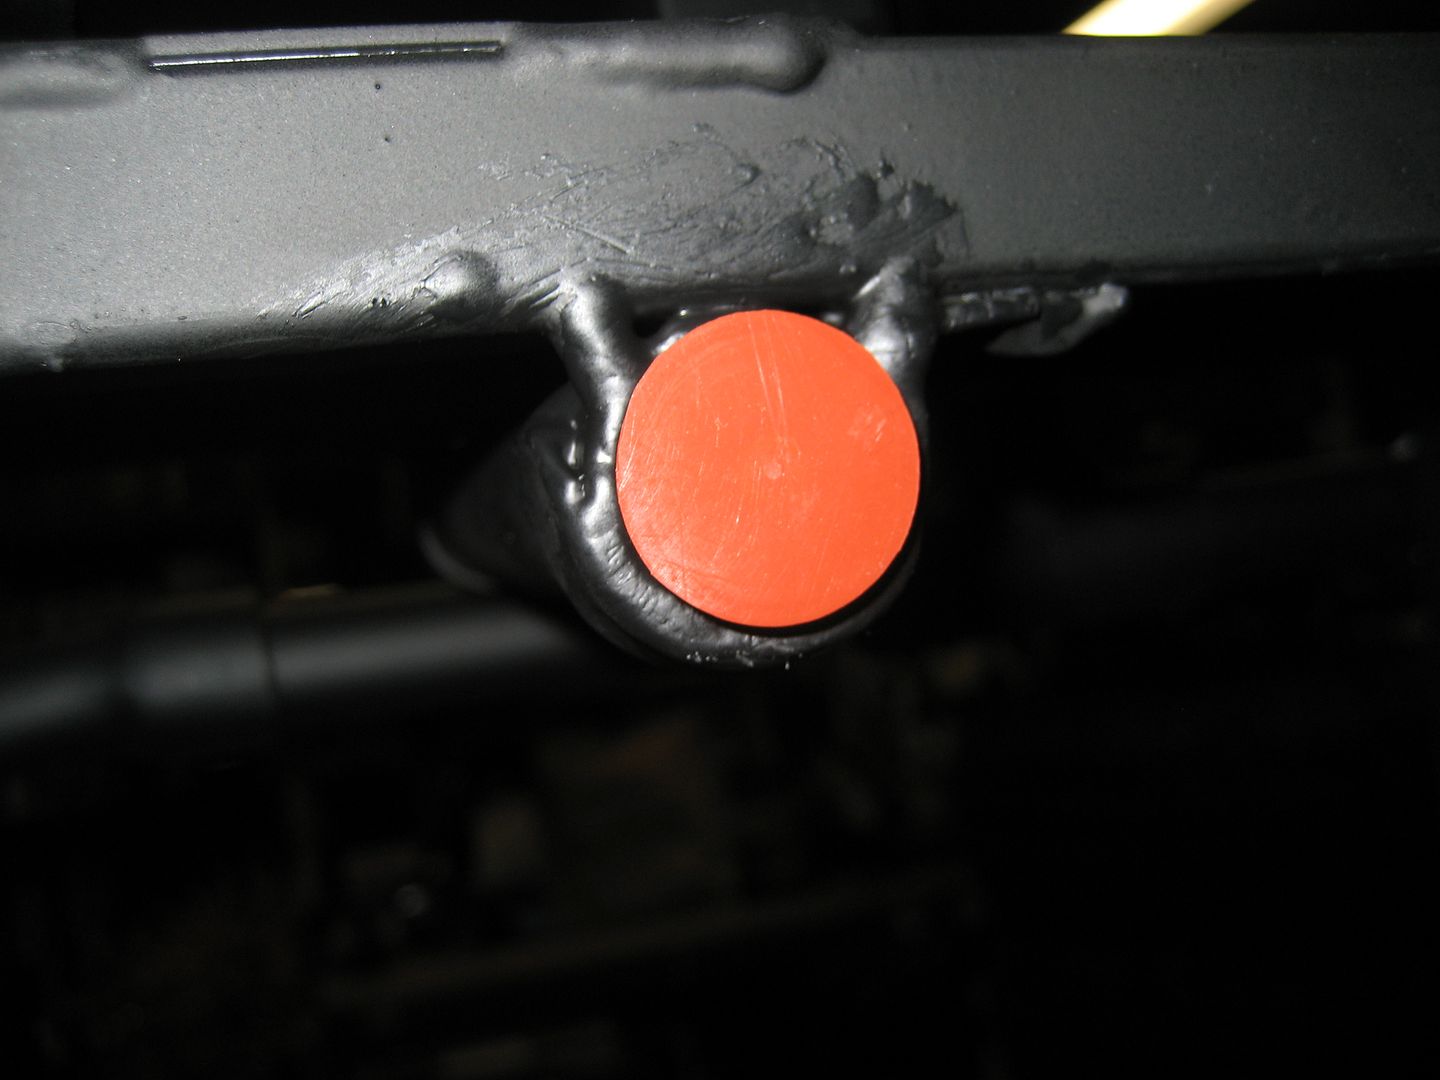
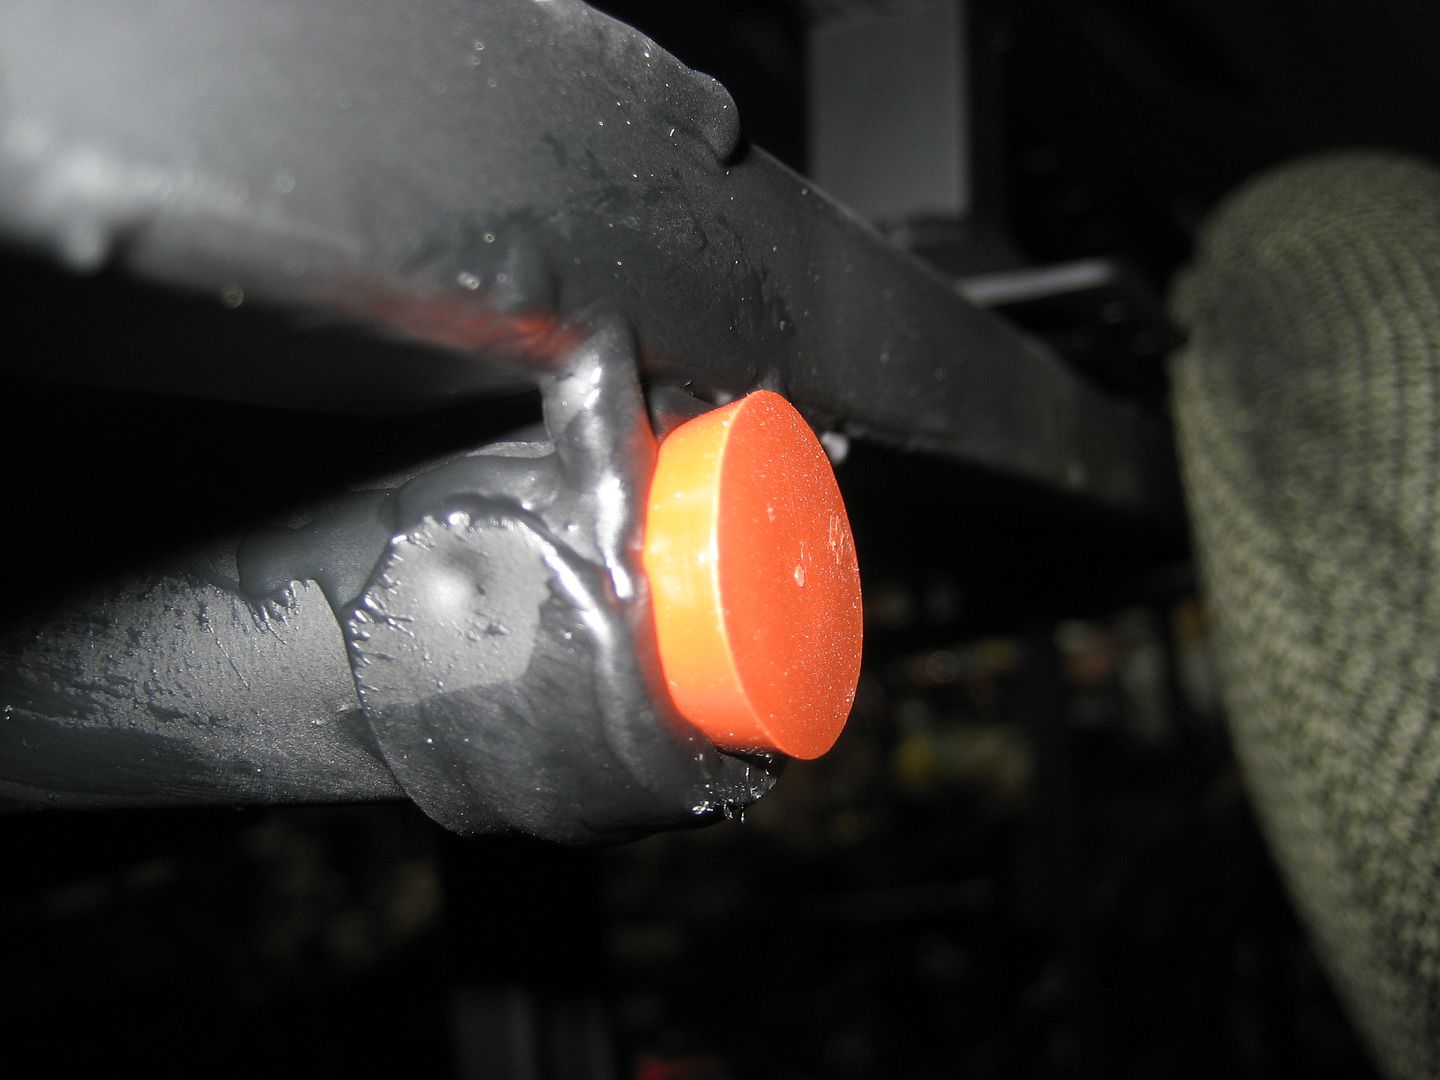
I got some silicone plugs for the tent pole support tubes. I'm worried that water might collect inside around the sleeves I welded in. I don't know if the paint I sloshed in there sealed it up or not. I don't think the pipes are galvanized on the inside so I'd just rather keep water out of them. I think I will probably drill a small hole down the center of these plugs, insert a nylon string through and tie it off behind a small washer on the inside. That way I can easily yank them out.

Image

Image

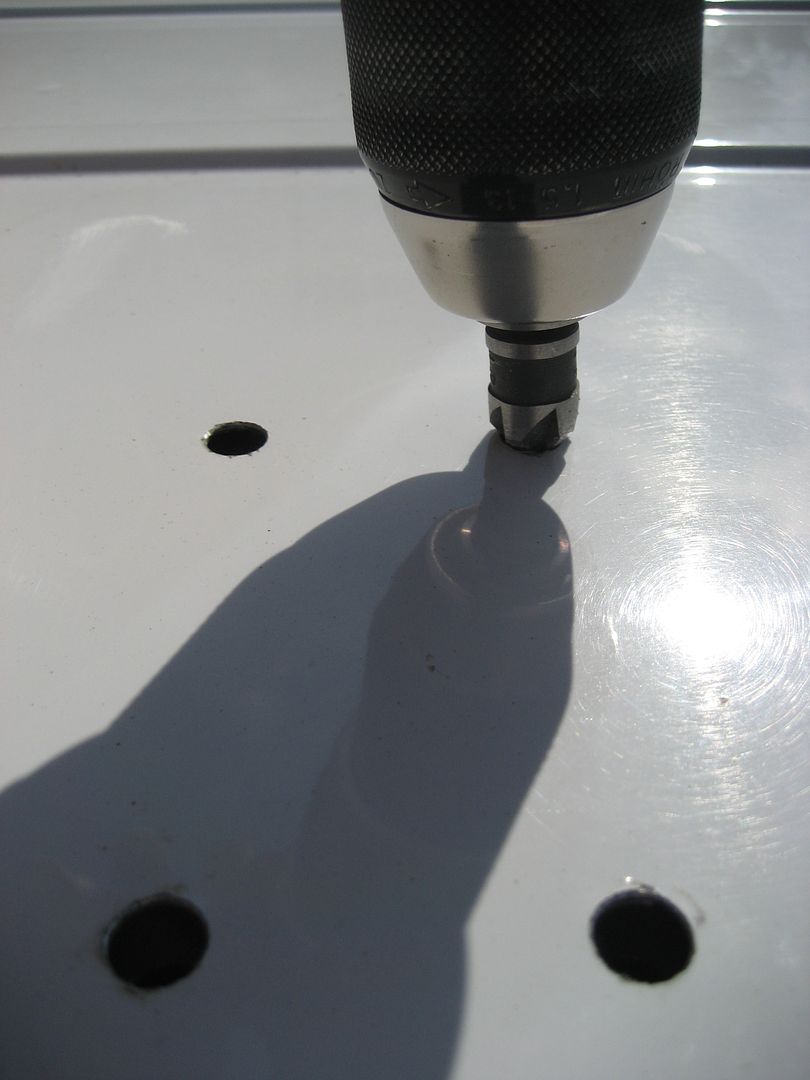
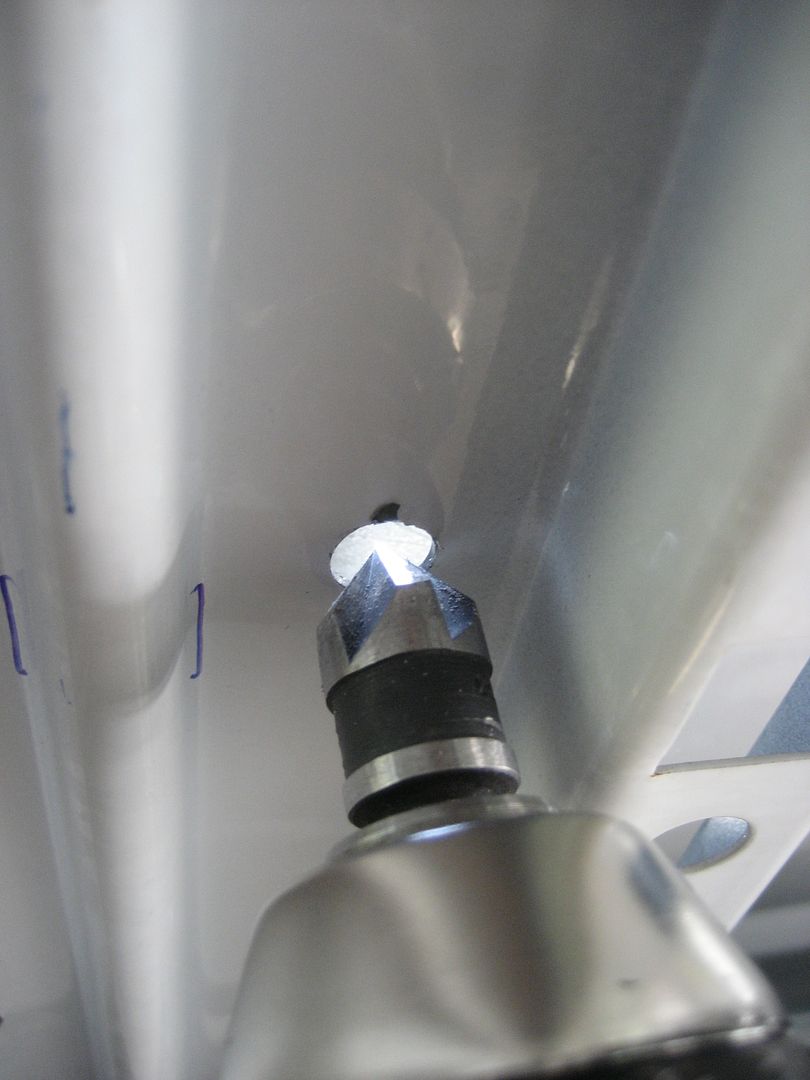
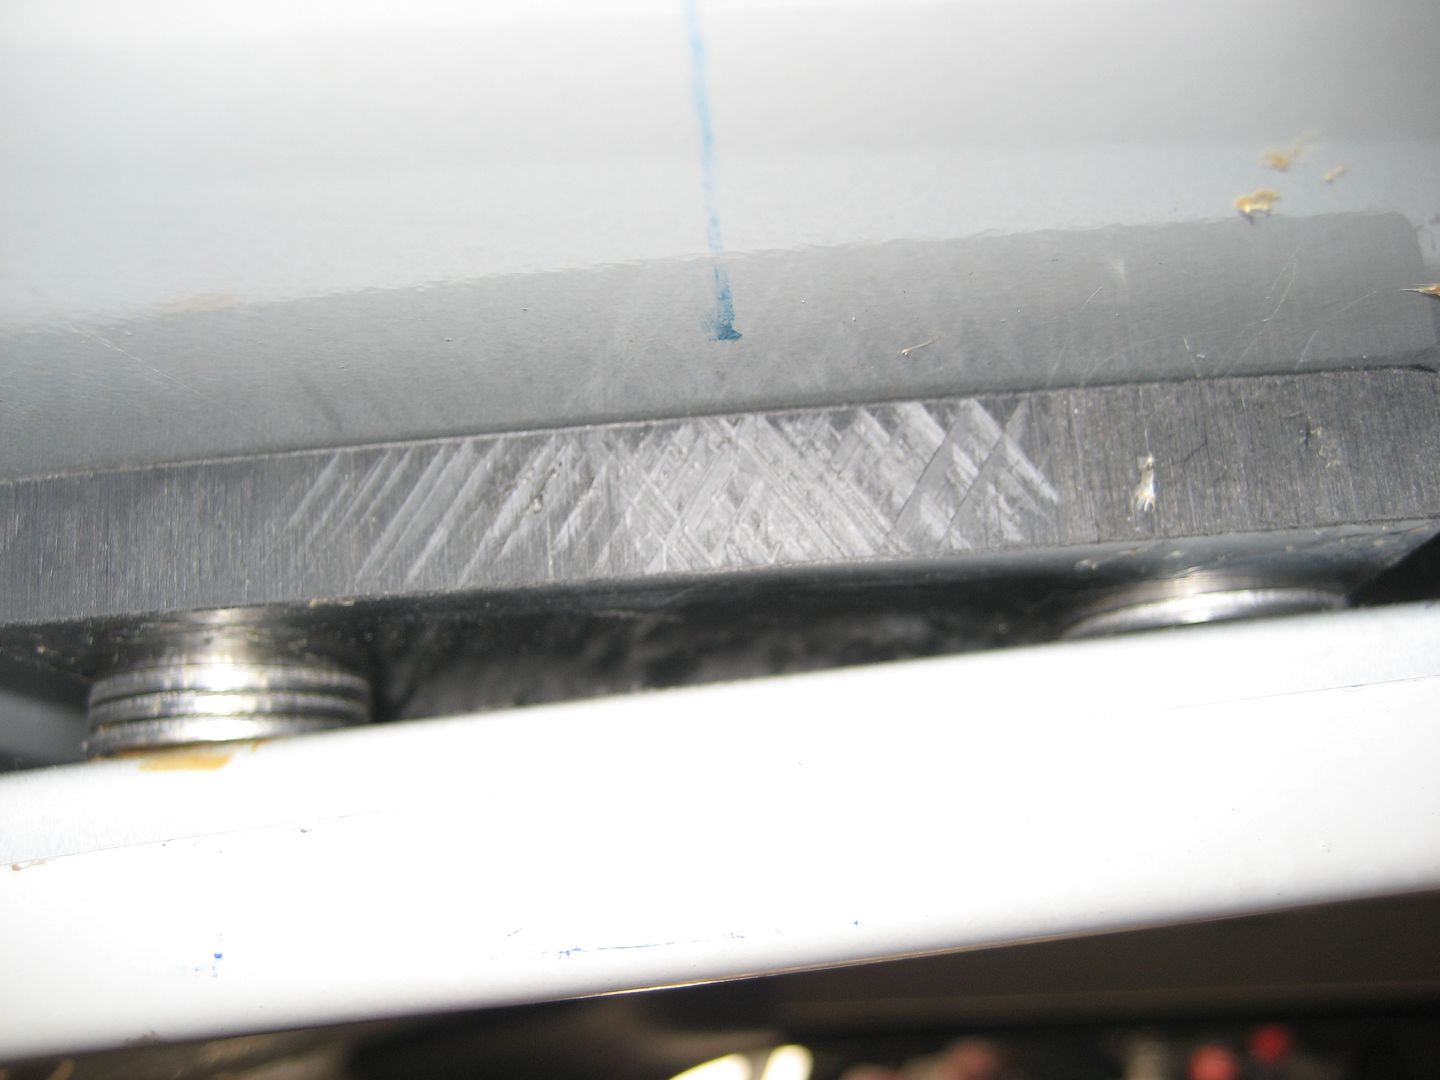
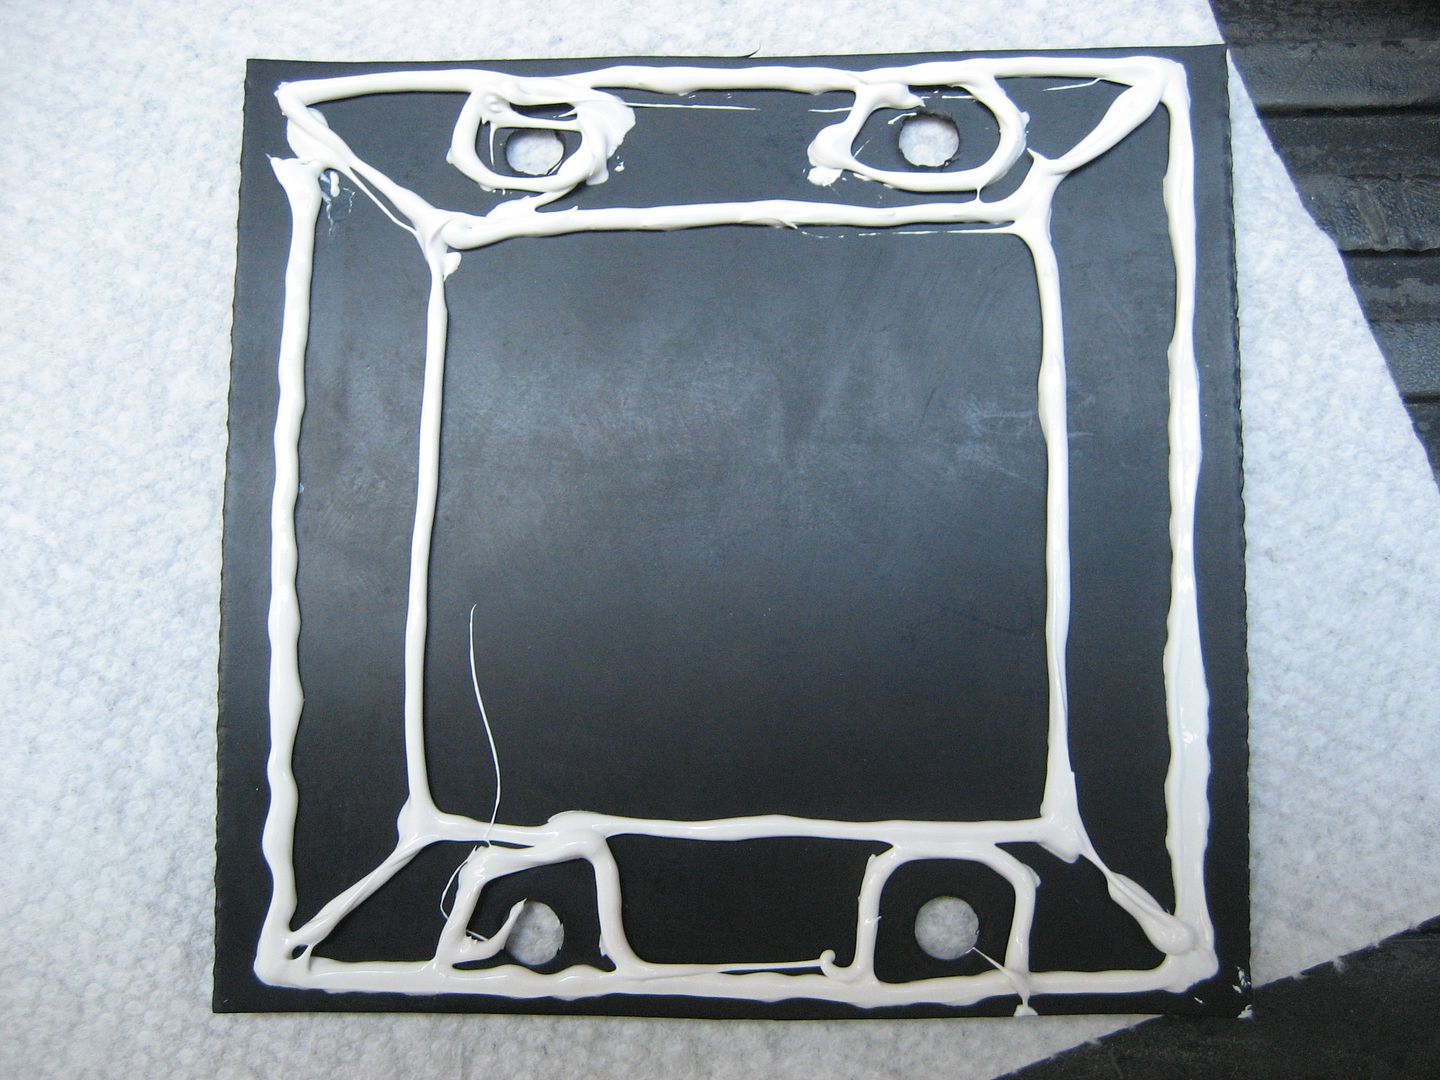
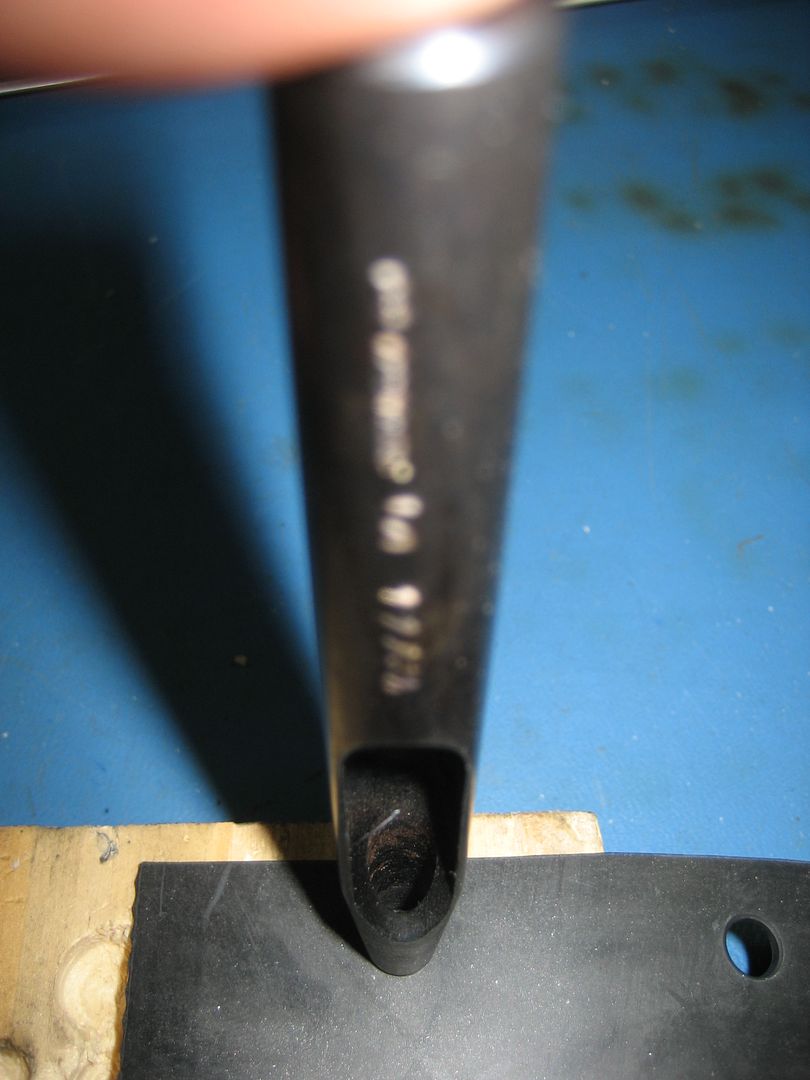
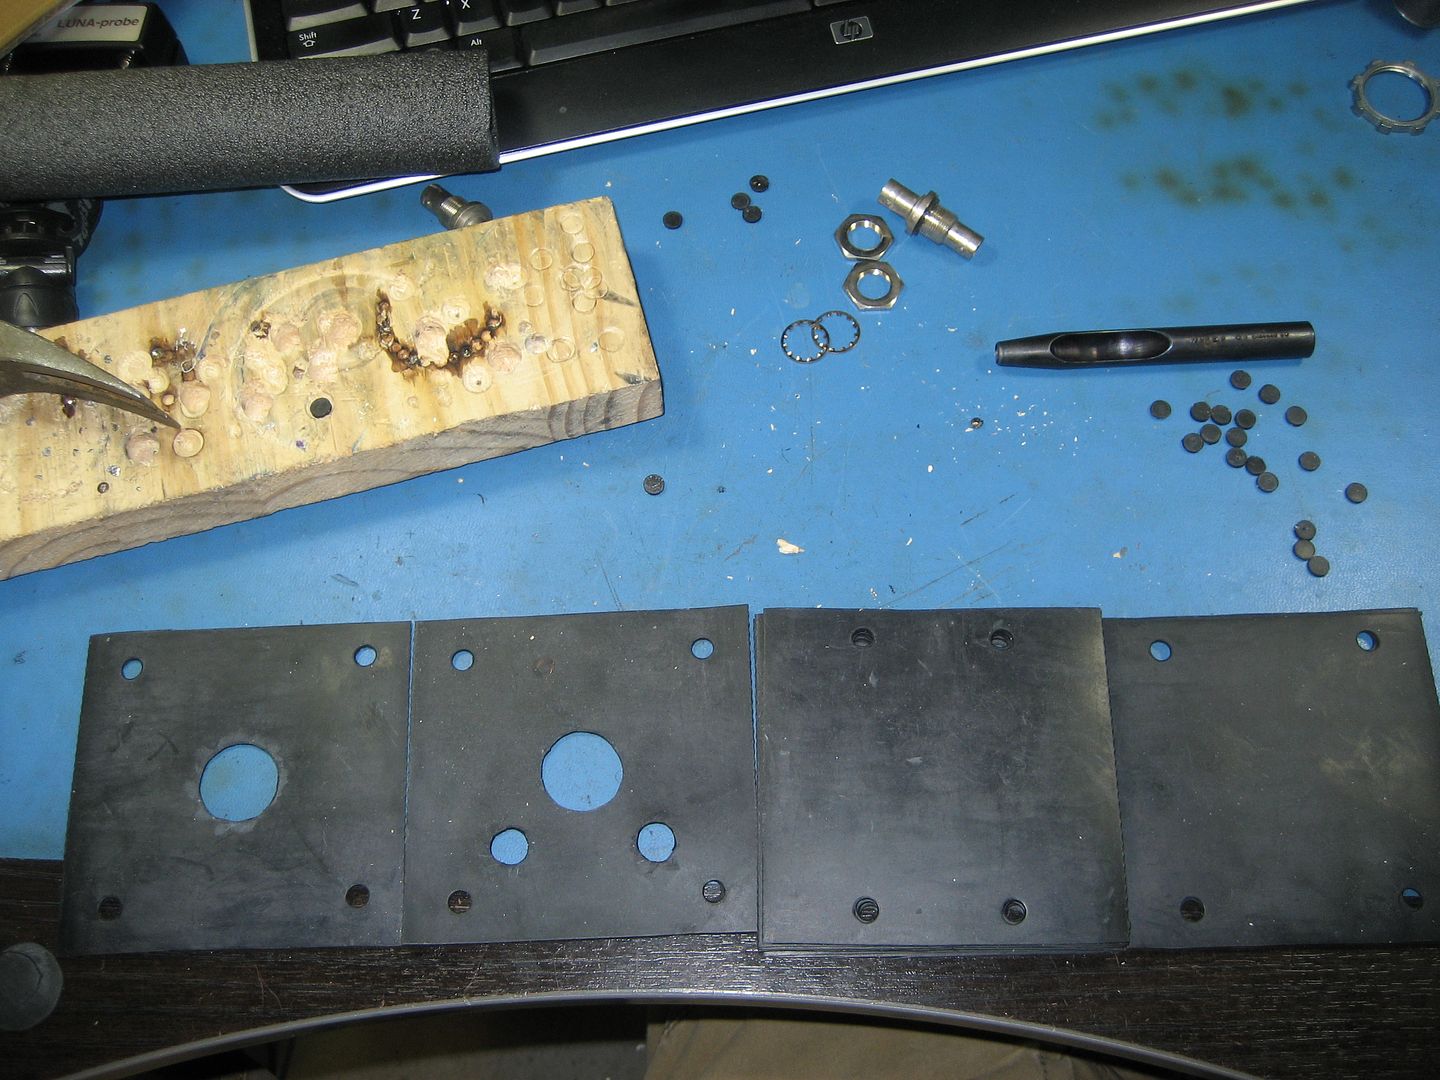
I also got a punch for making the holes in the rubber gaskets. My home-made punch wasn't holding up. This one did the trick nicely:

Image

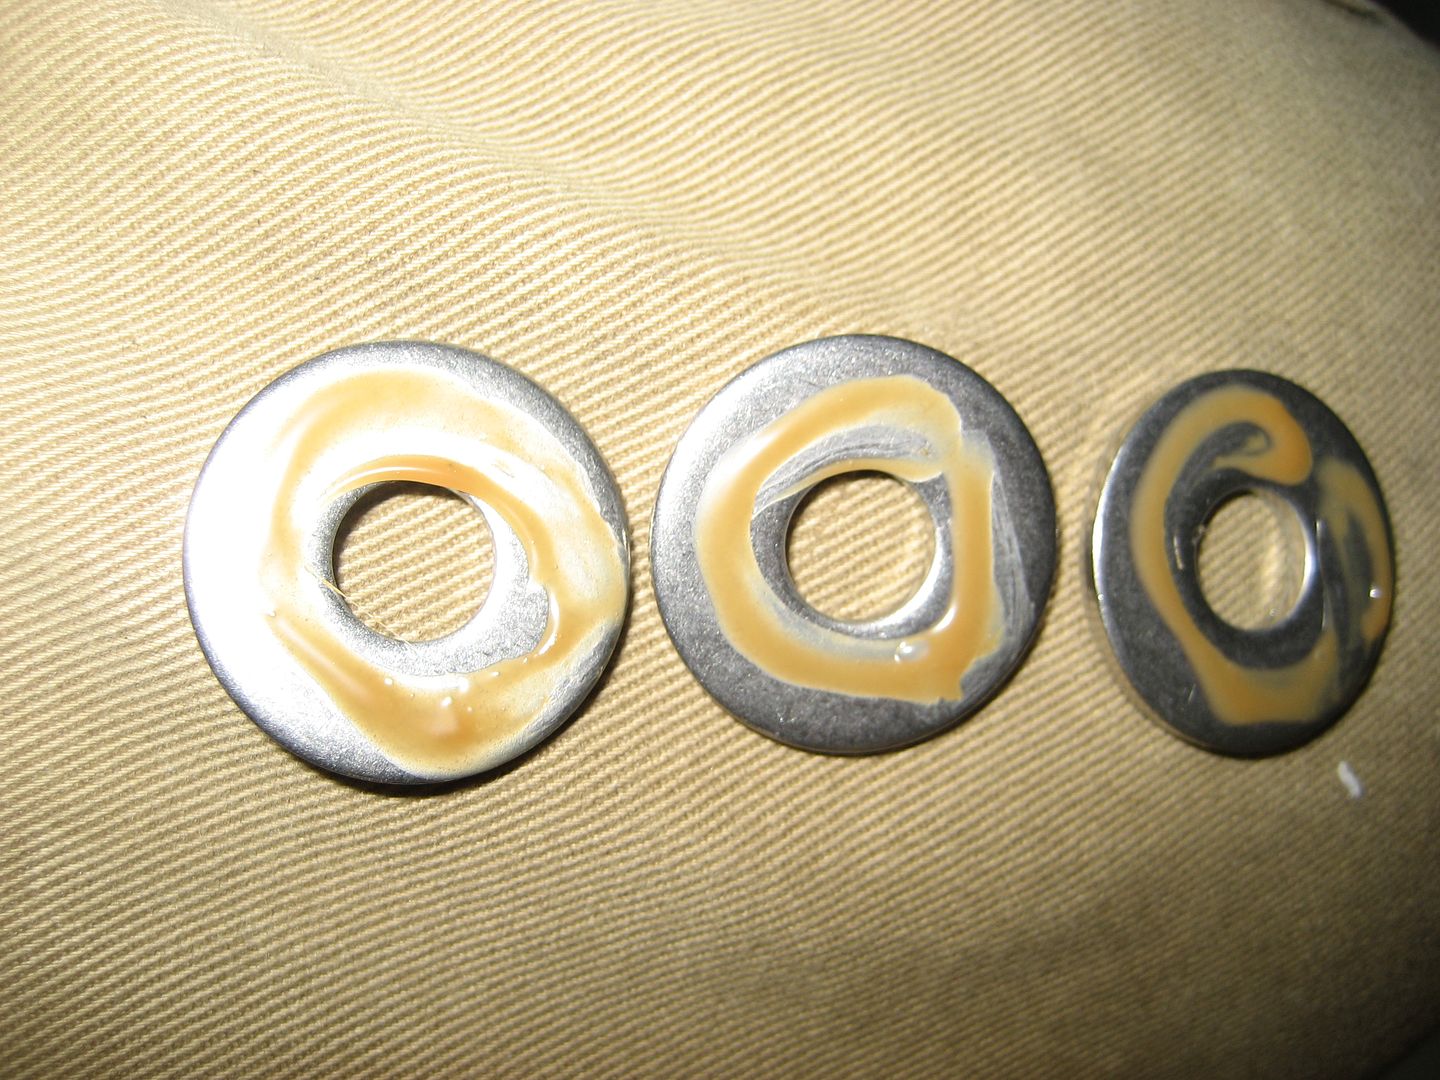
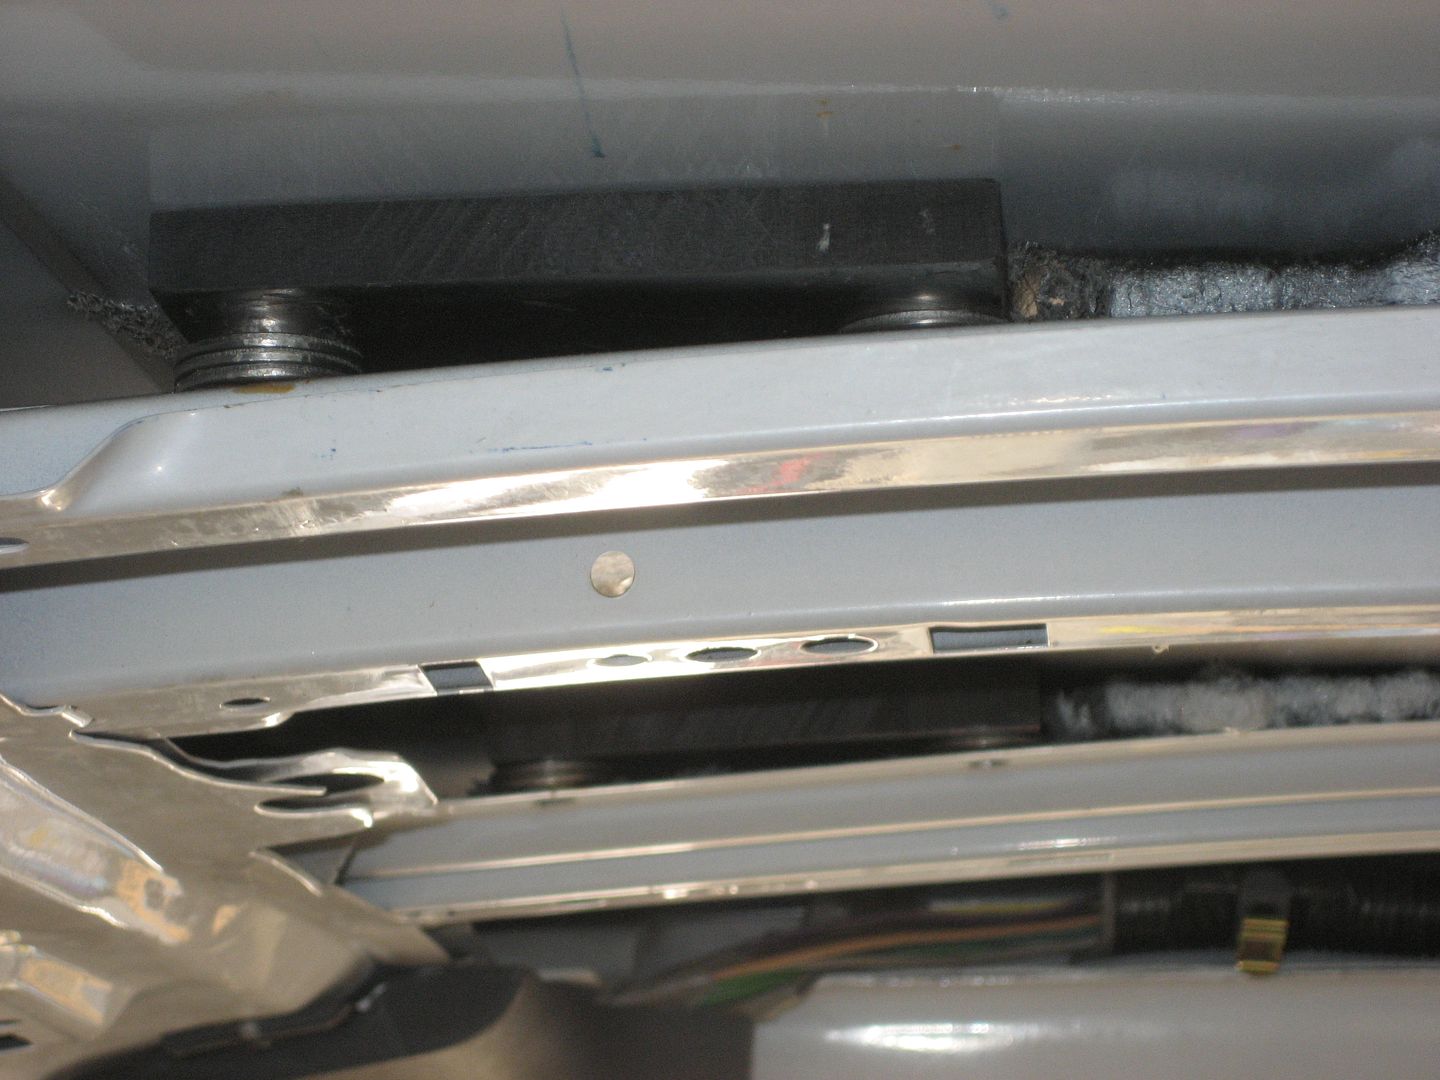
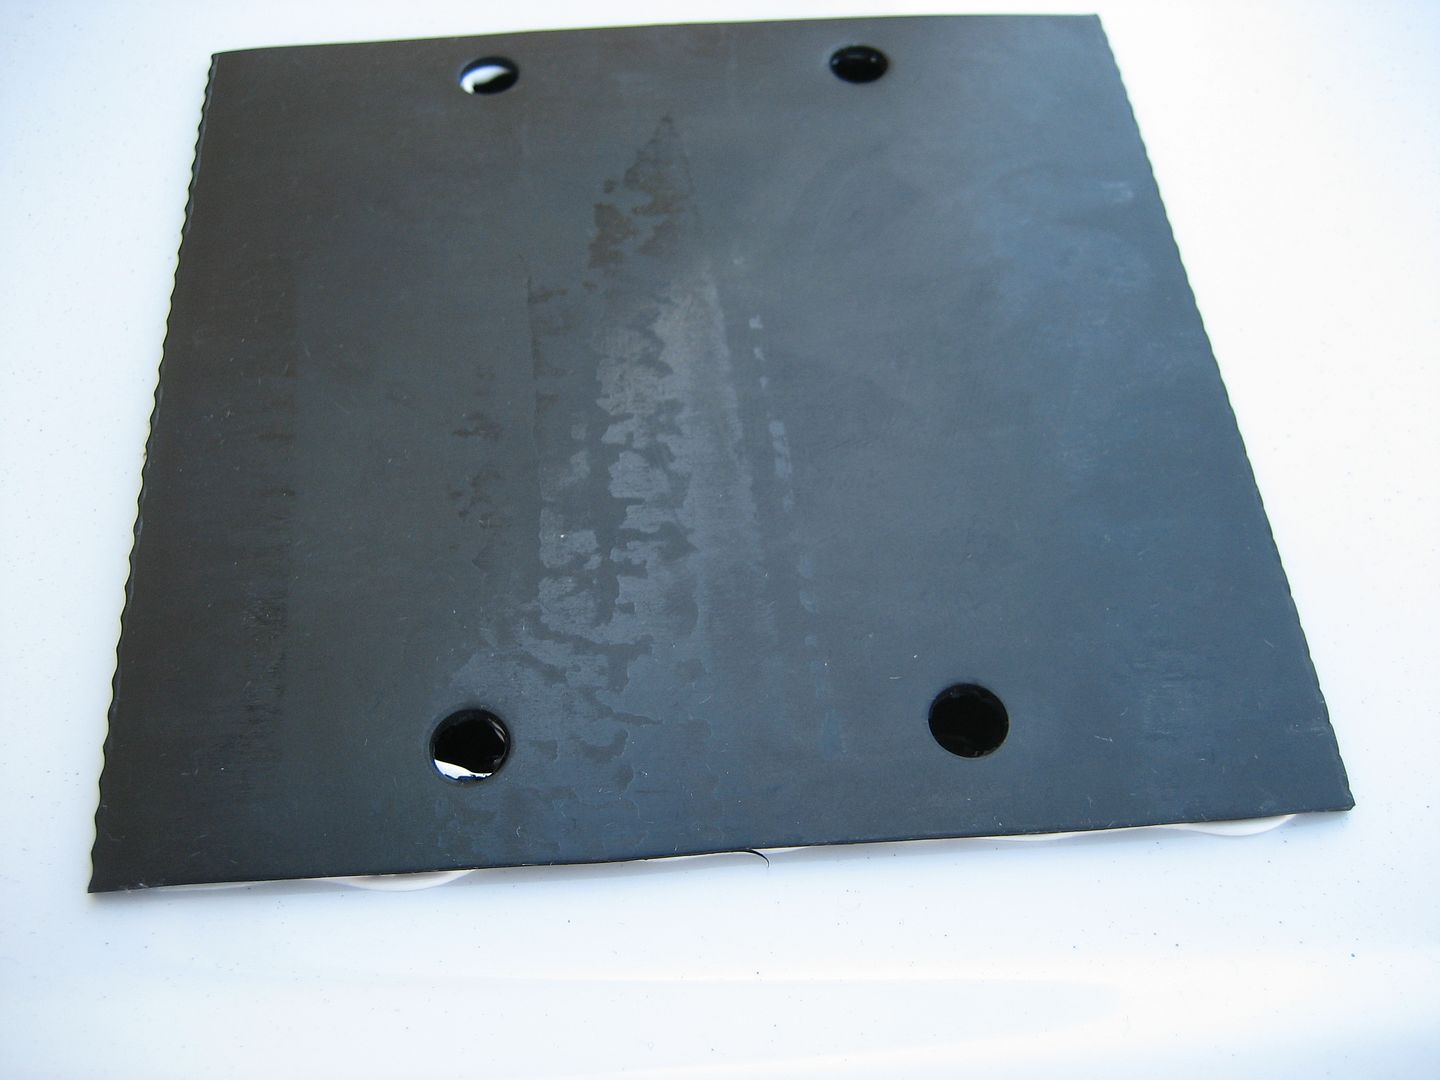
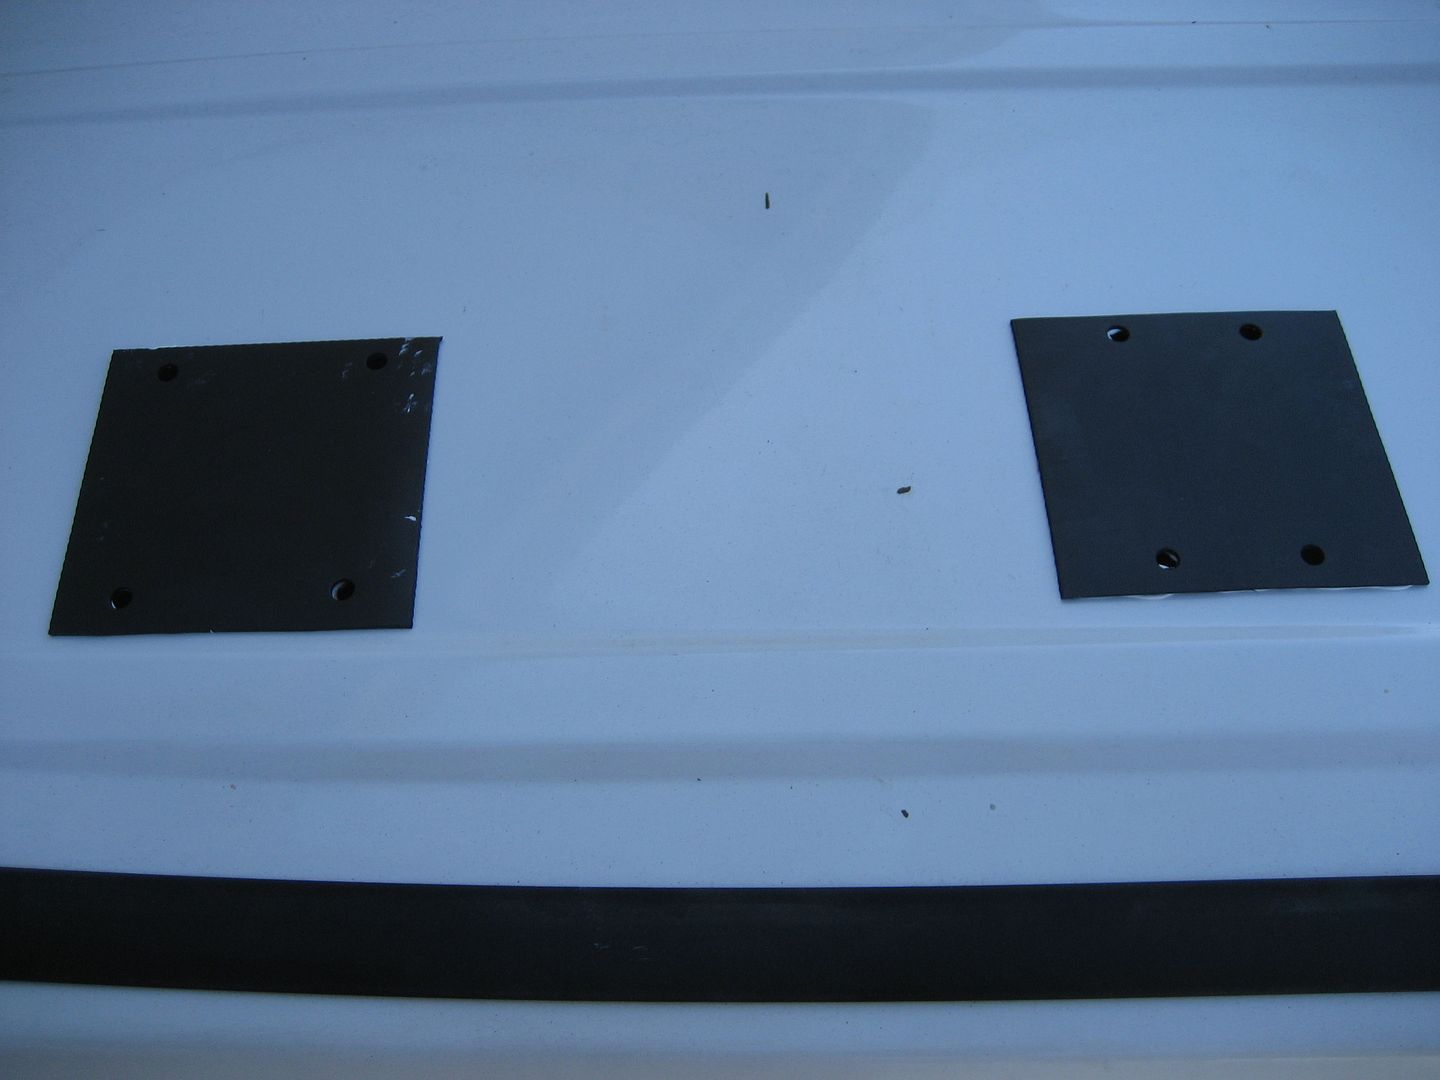
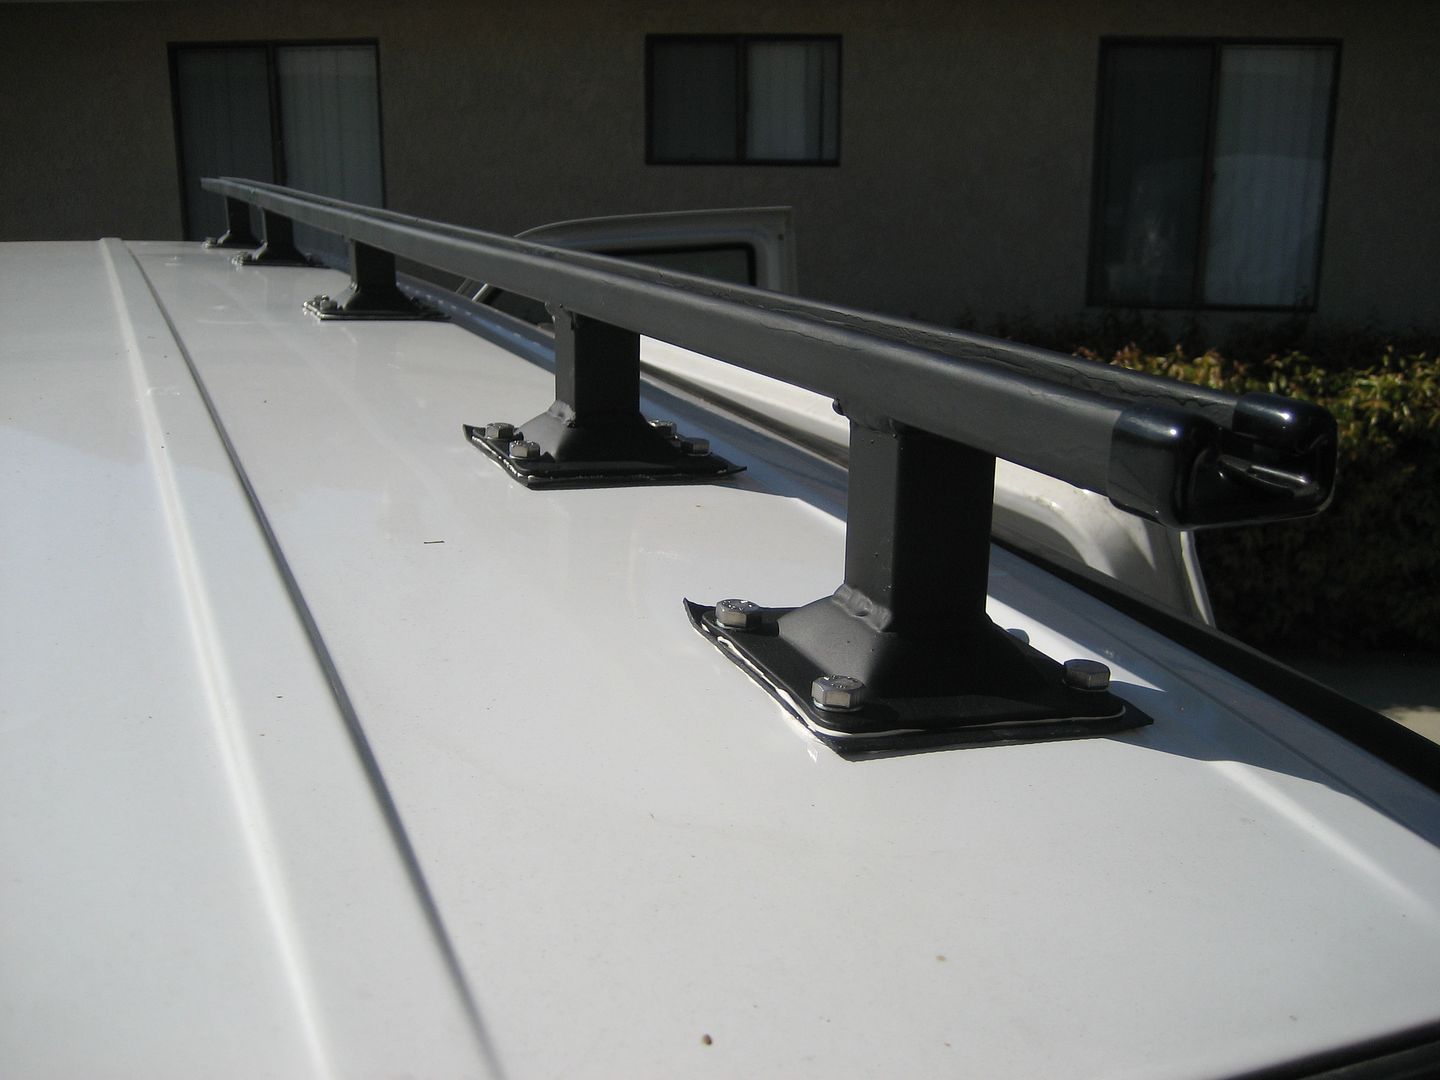
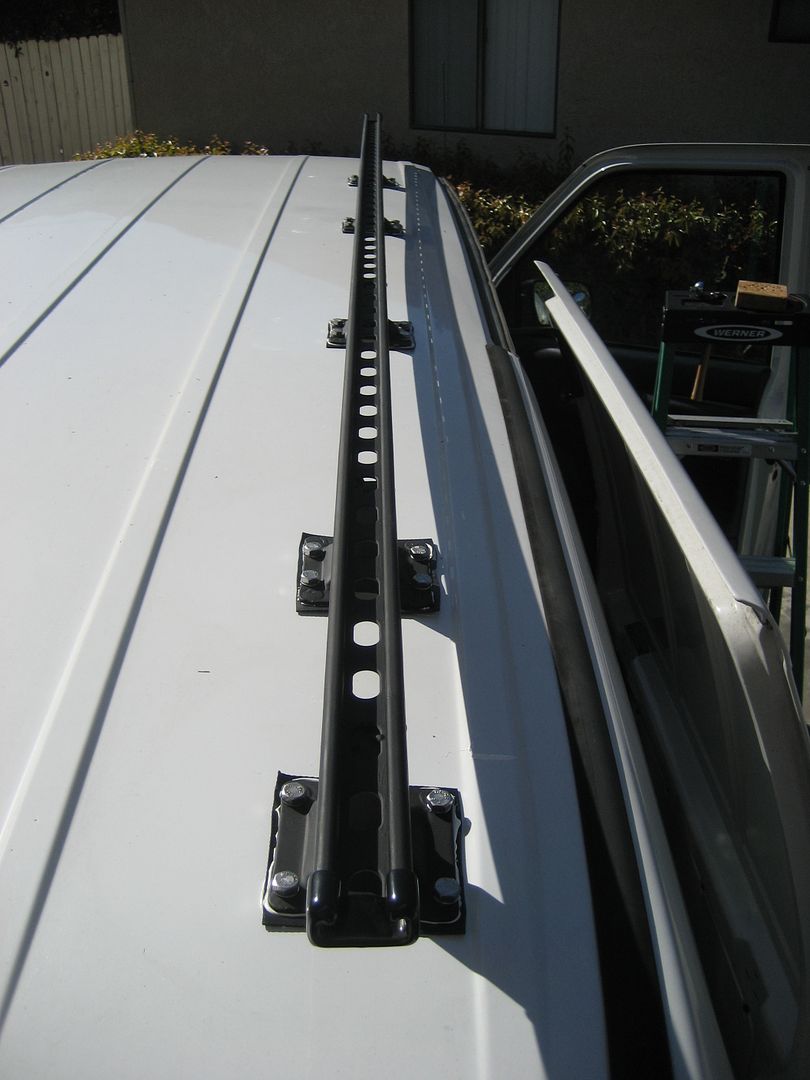
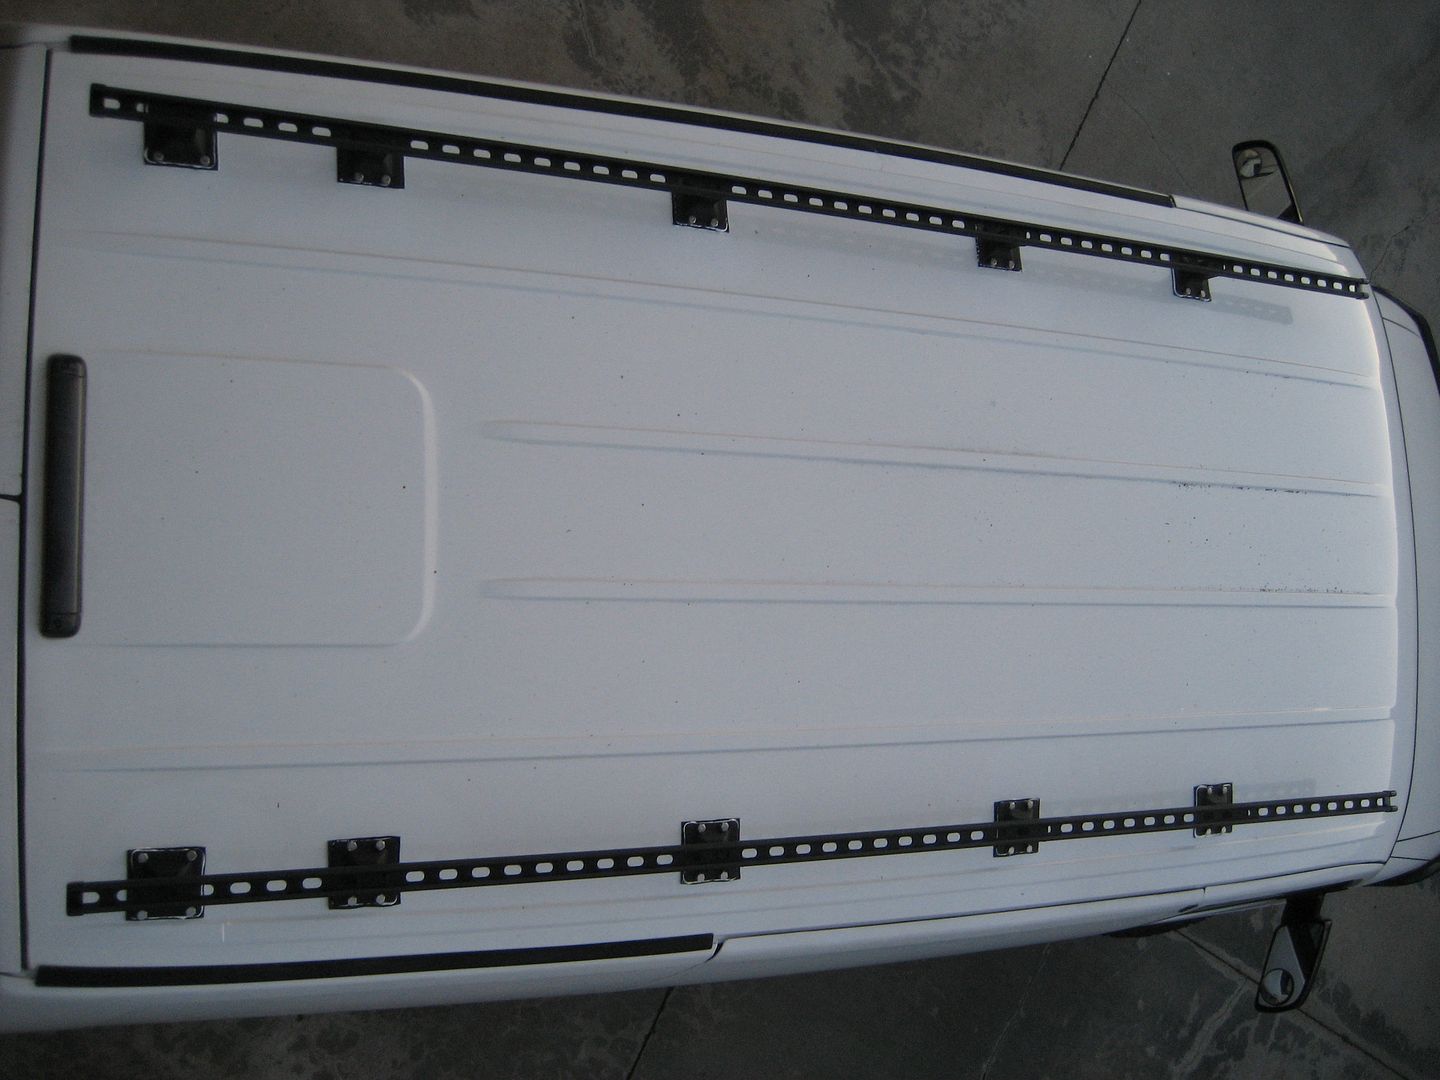
I made gaskets for the roof feed thru plates and two different types for the roof rails. The very last foot on the rails has a different hole pattern than the rest since the rearmost cross member in the roof is not as wide as the others. So the holes are closer together.

Image

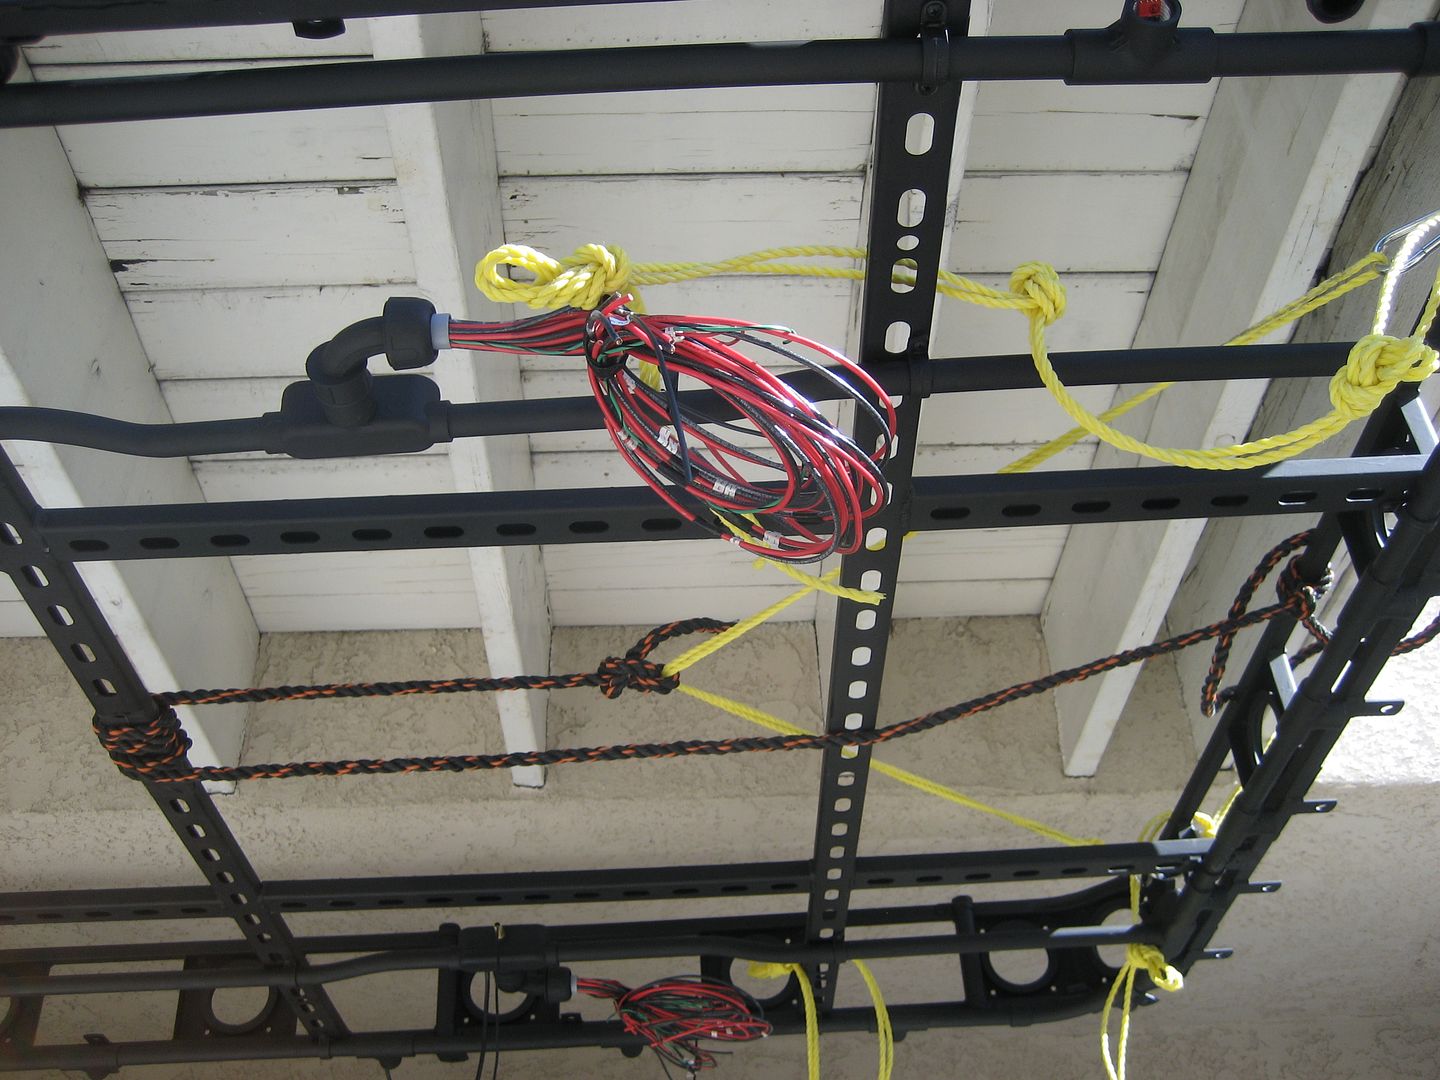
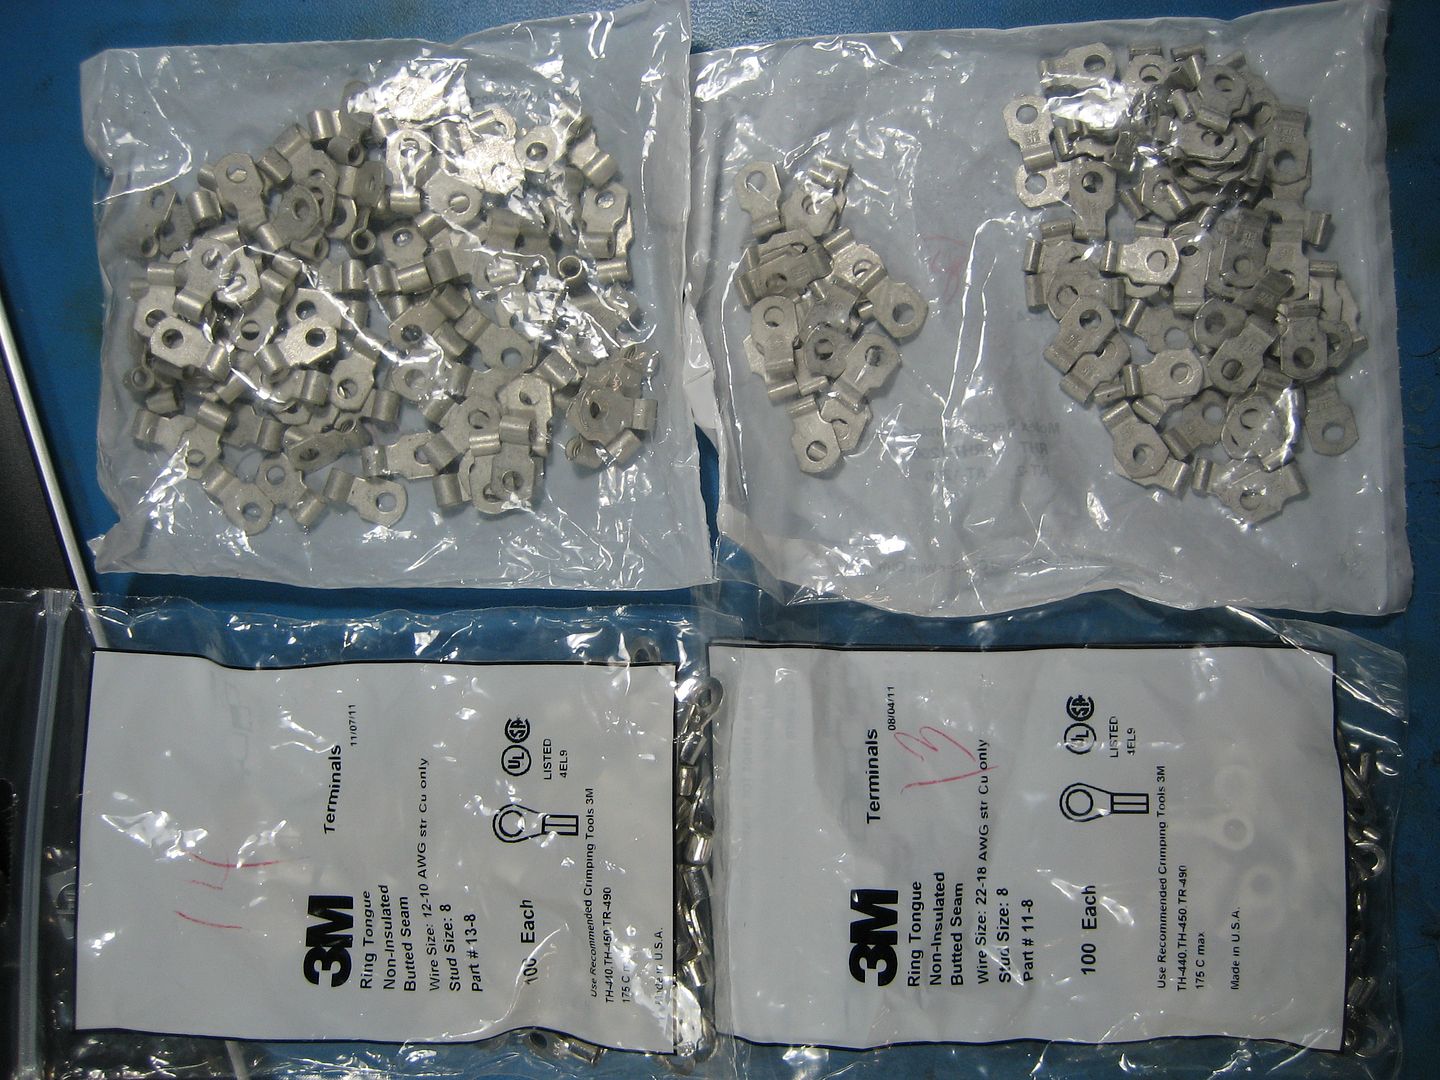
I bought two different types and sizes of wire terminals for the wiring harness. I'm not sure yet how I'm going to want the wires to come out of the fuse boxes so I bought straight and 90deg in both 12ga and 18ga:

Image

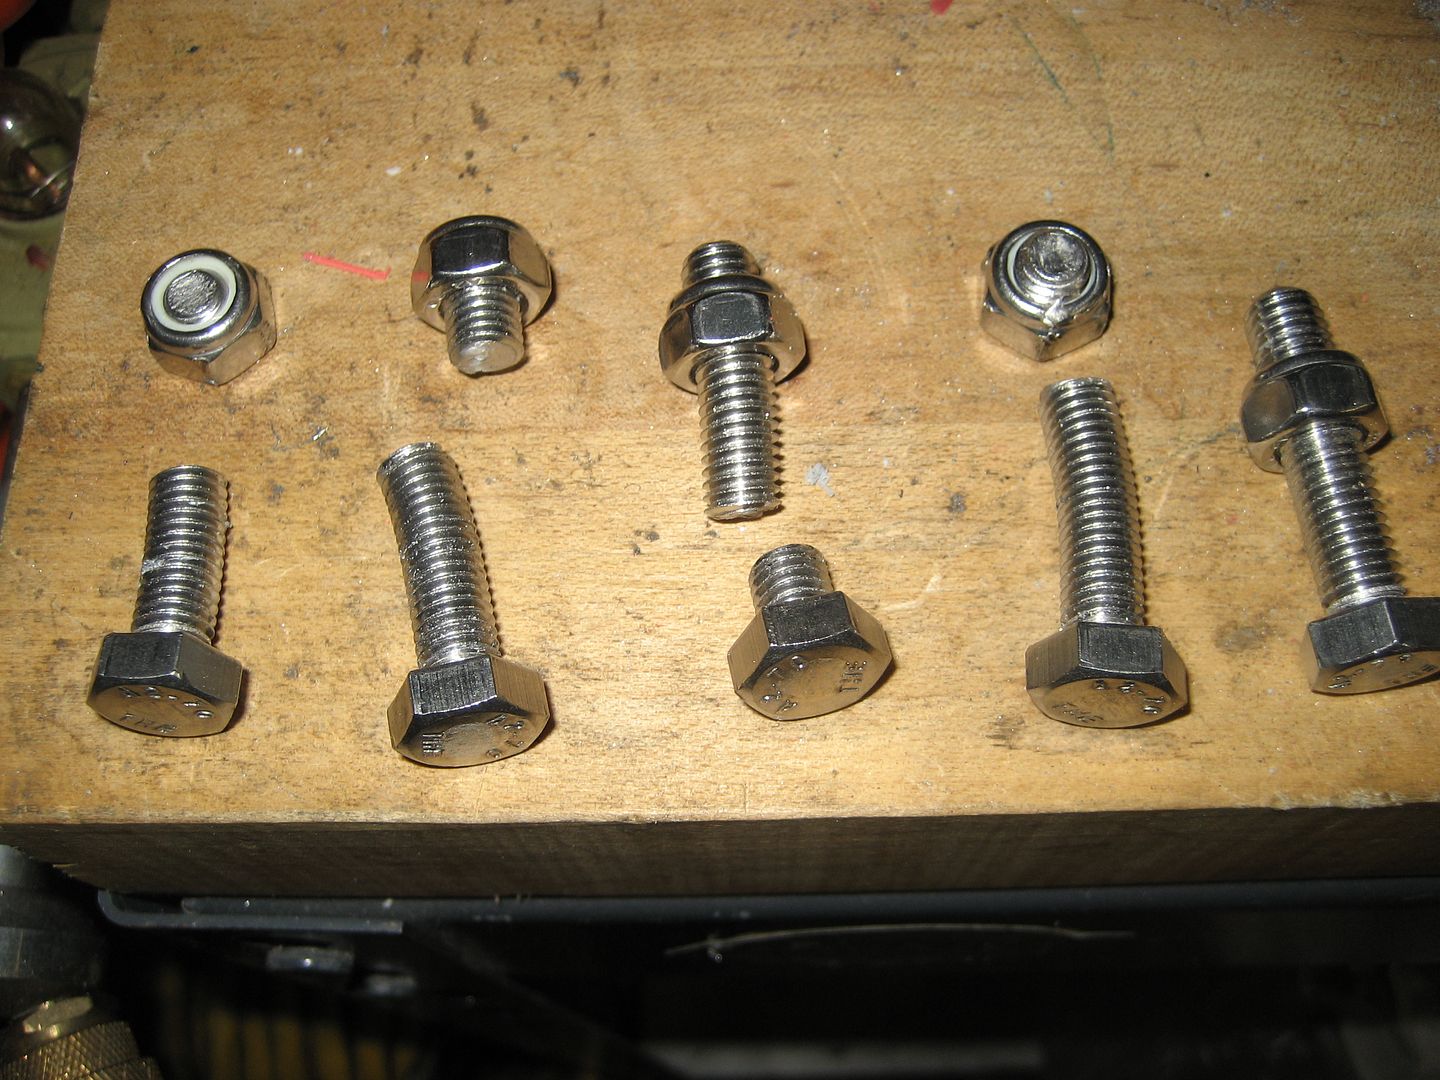
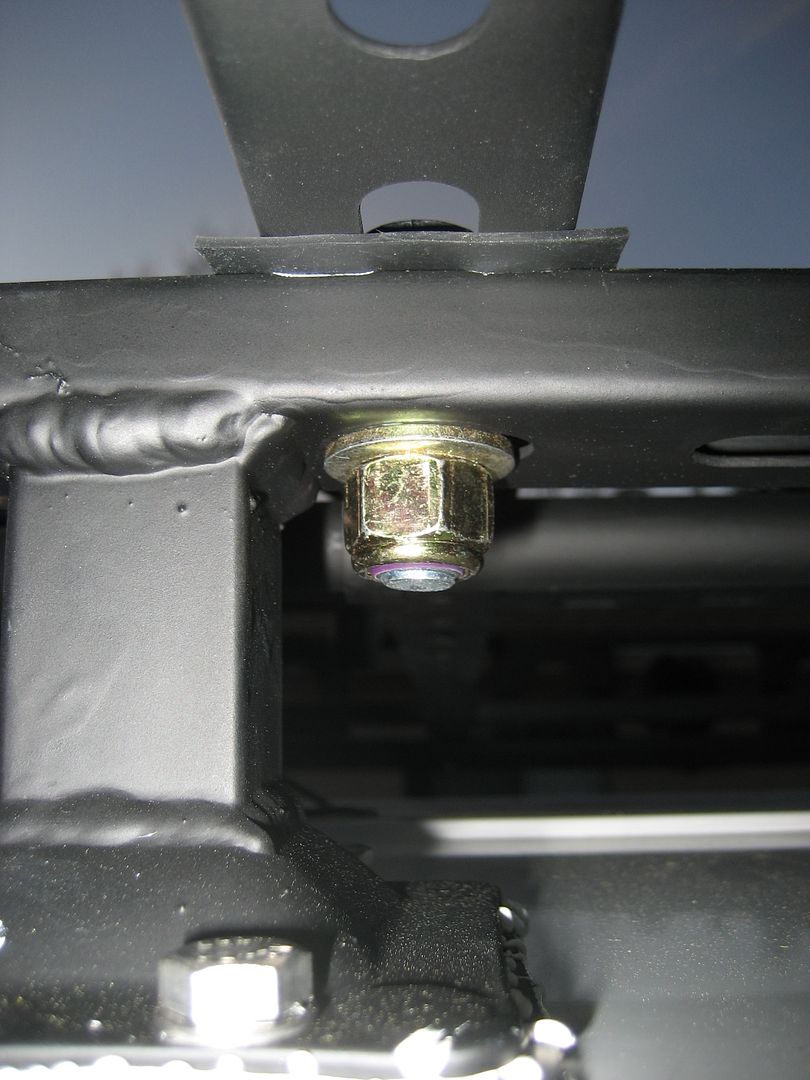
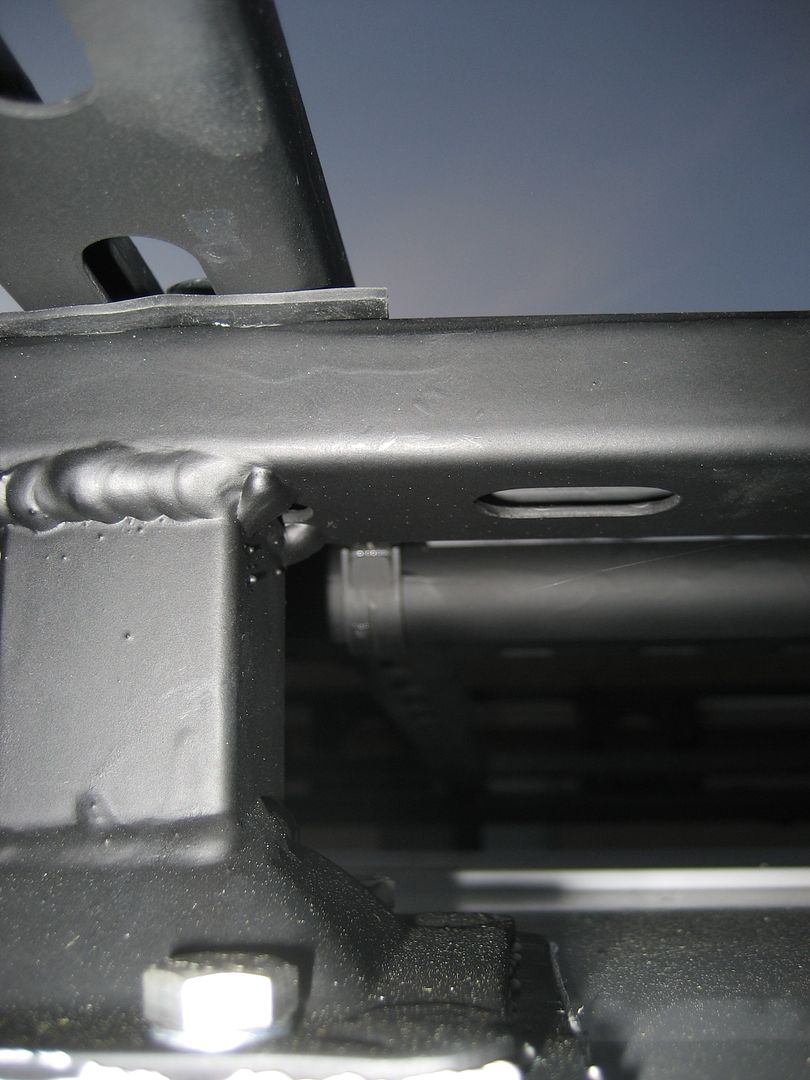
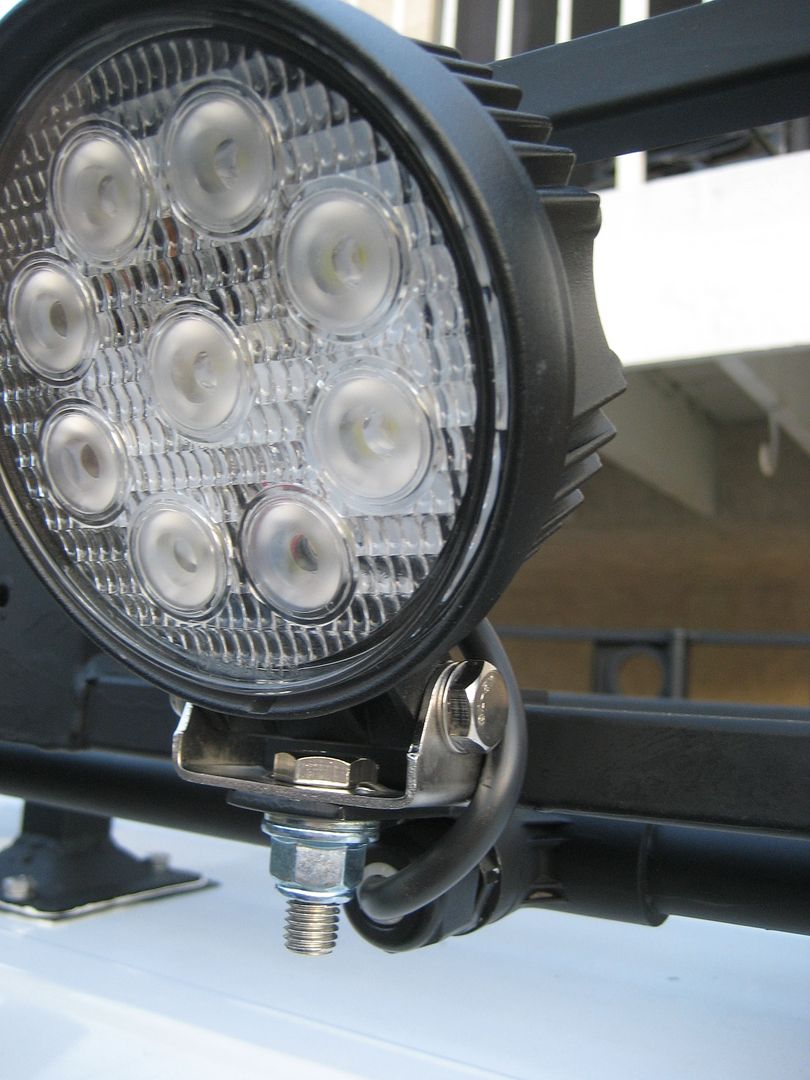
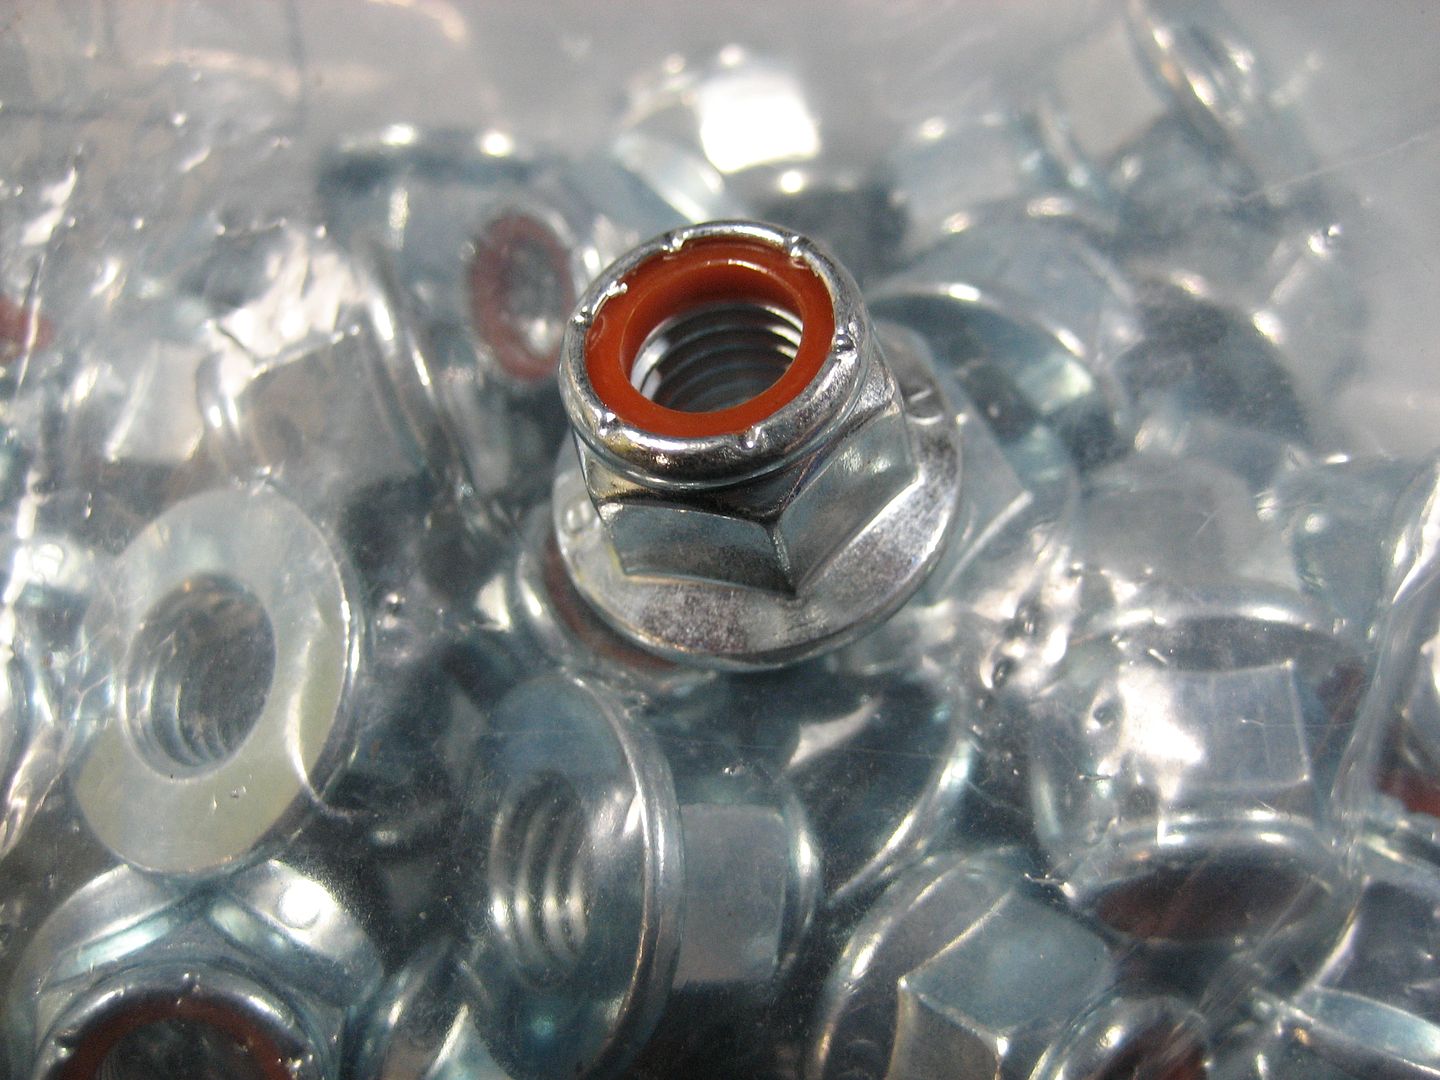
The PIAA and LED lamps came with regular nuts and lock washers. I prefer nylock nuts so I bought some 10mm 1.5's both flanged and regular. I think I like the flanged batter:

Image

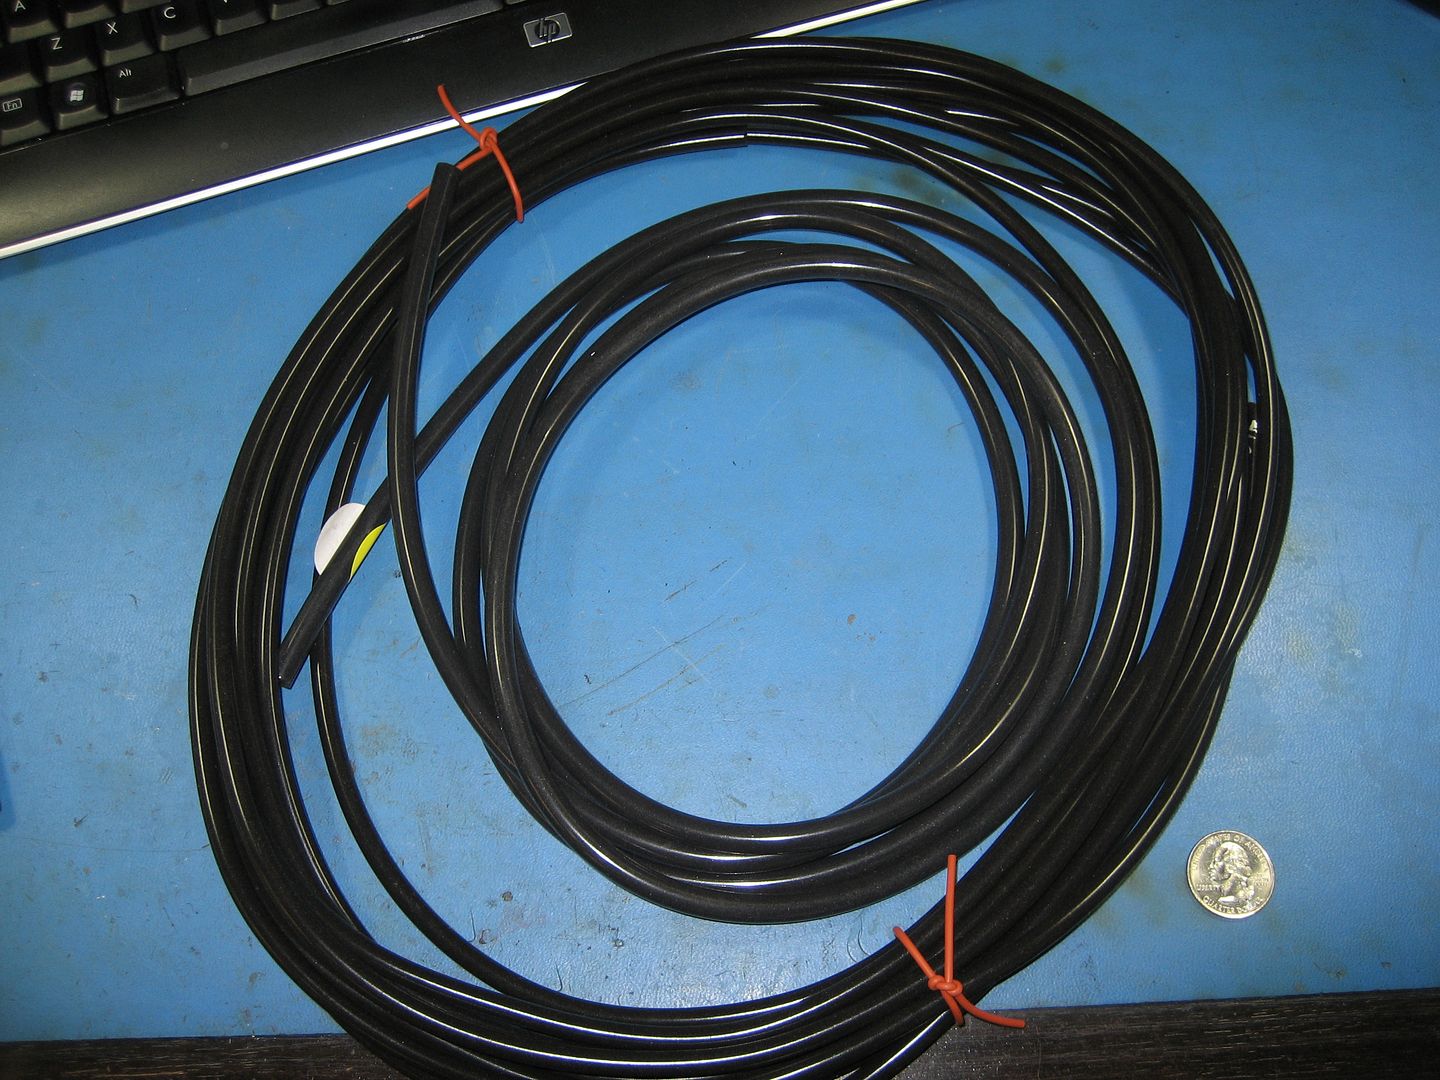
There was a lot of stuff in the box. Among other things there was some black silicone hose, 3/16" i.d. and 5/16" o.d. for covering the lamp wires:

Image

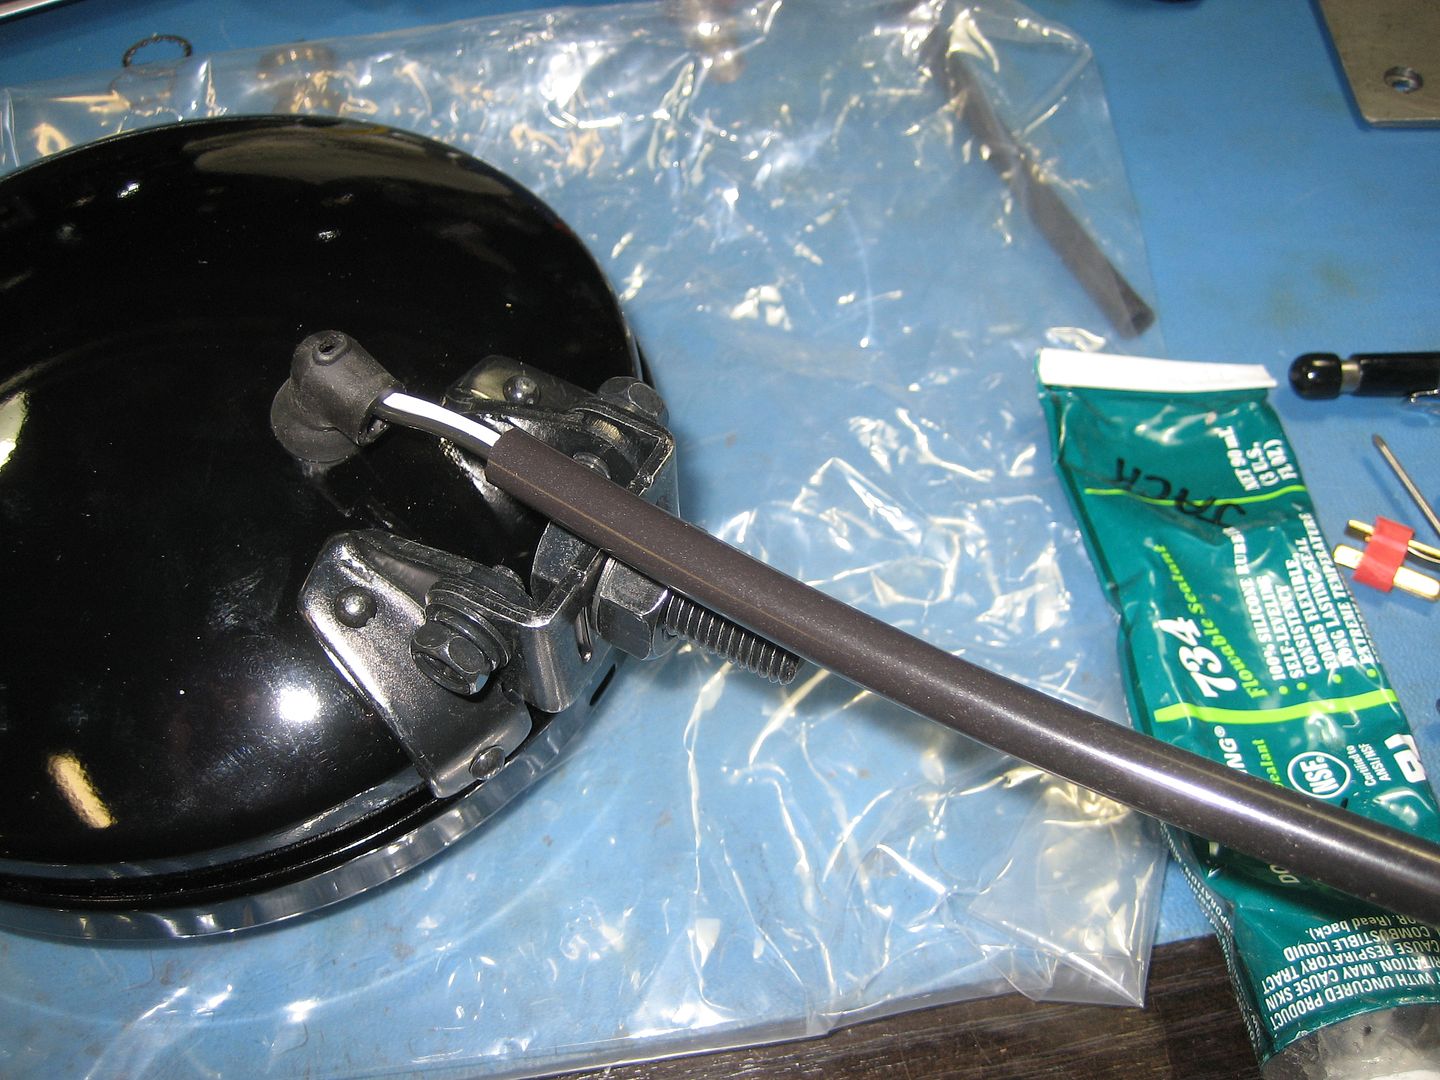
Tonight I also got to work on putting the connectors on the lamps. First I need to cut off the PIAA plugs:

Image

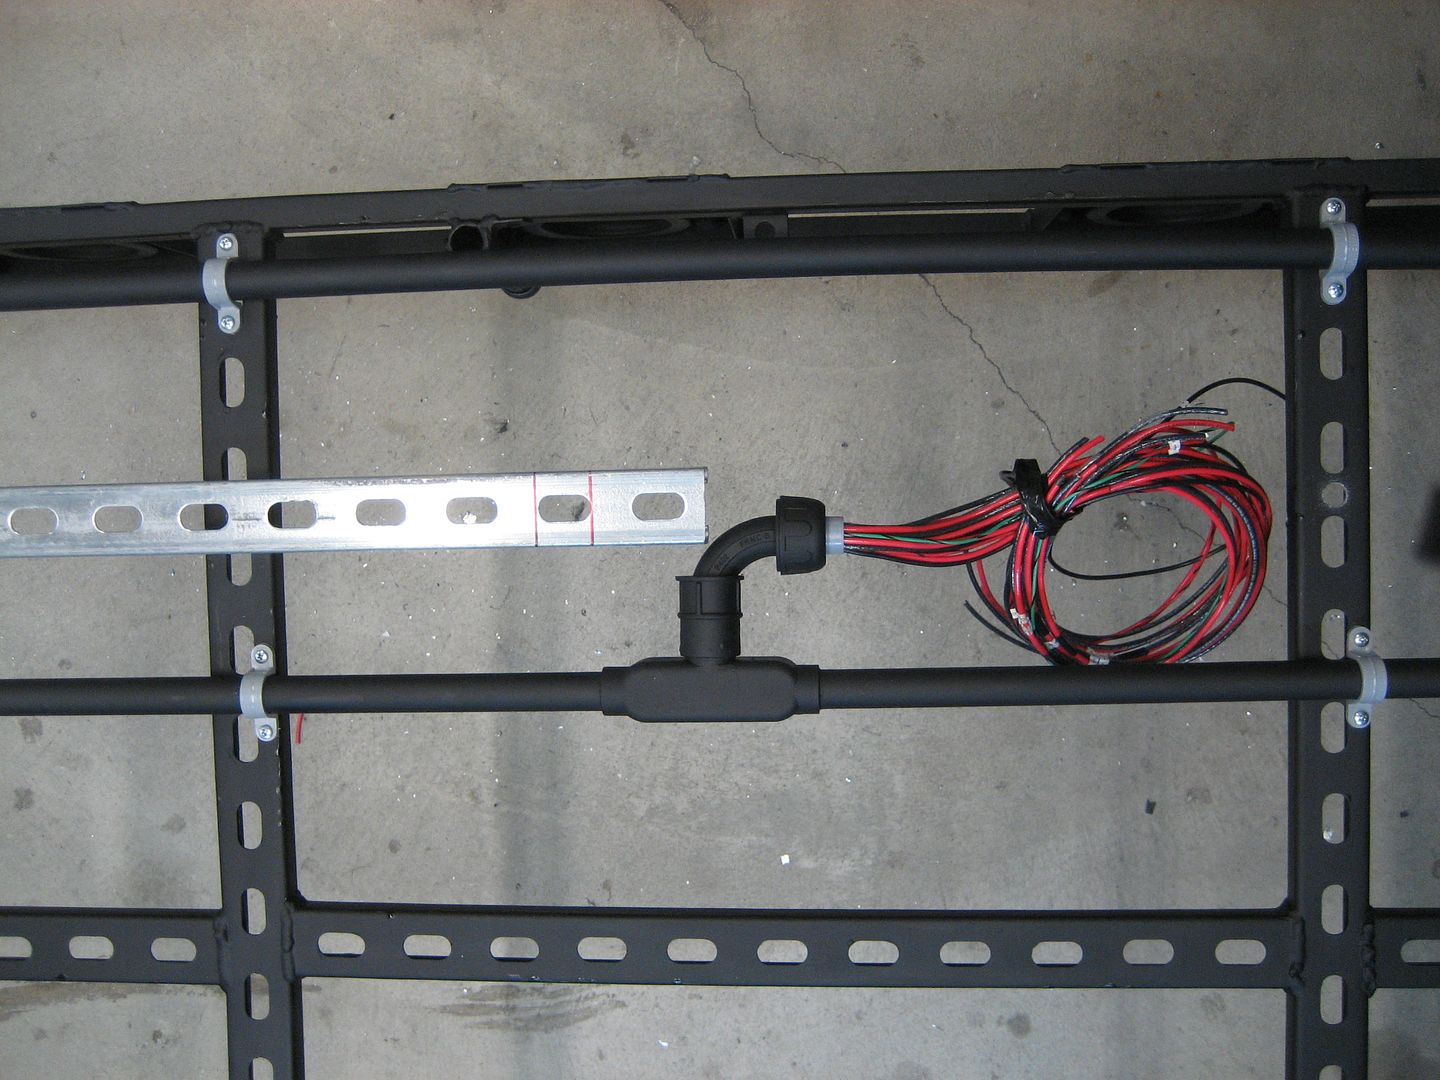
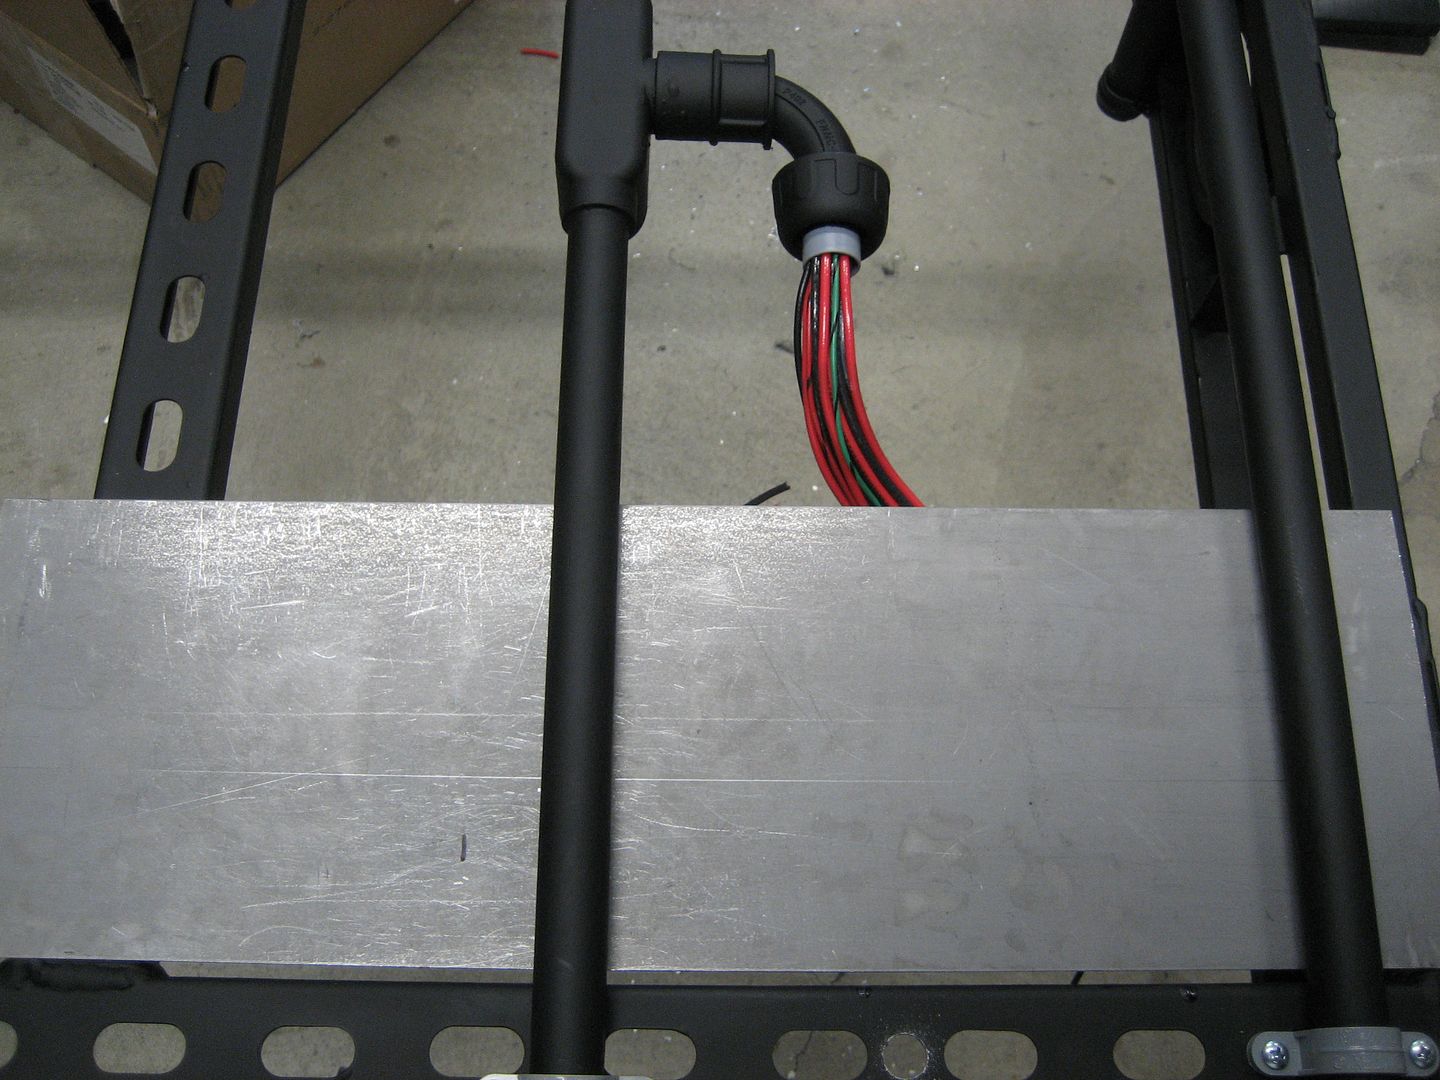
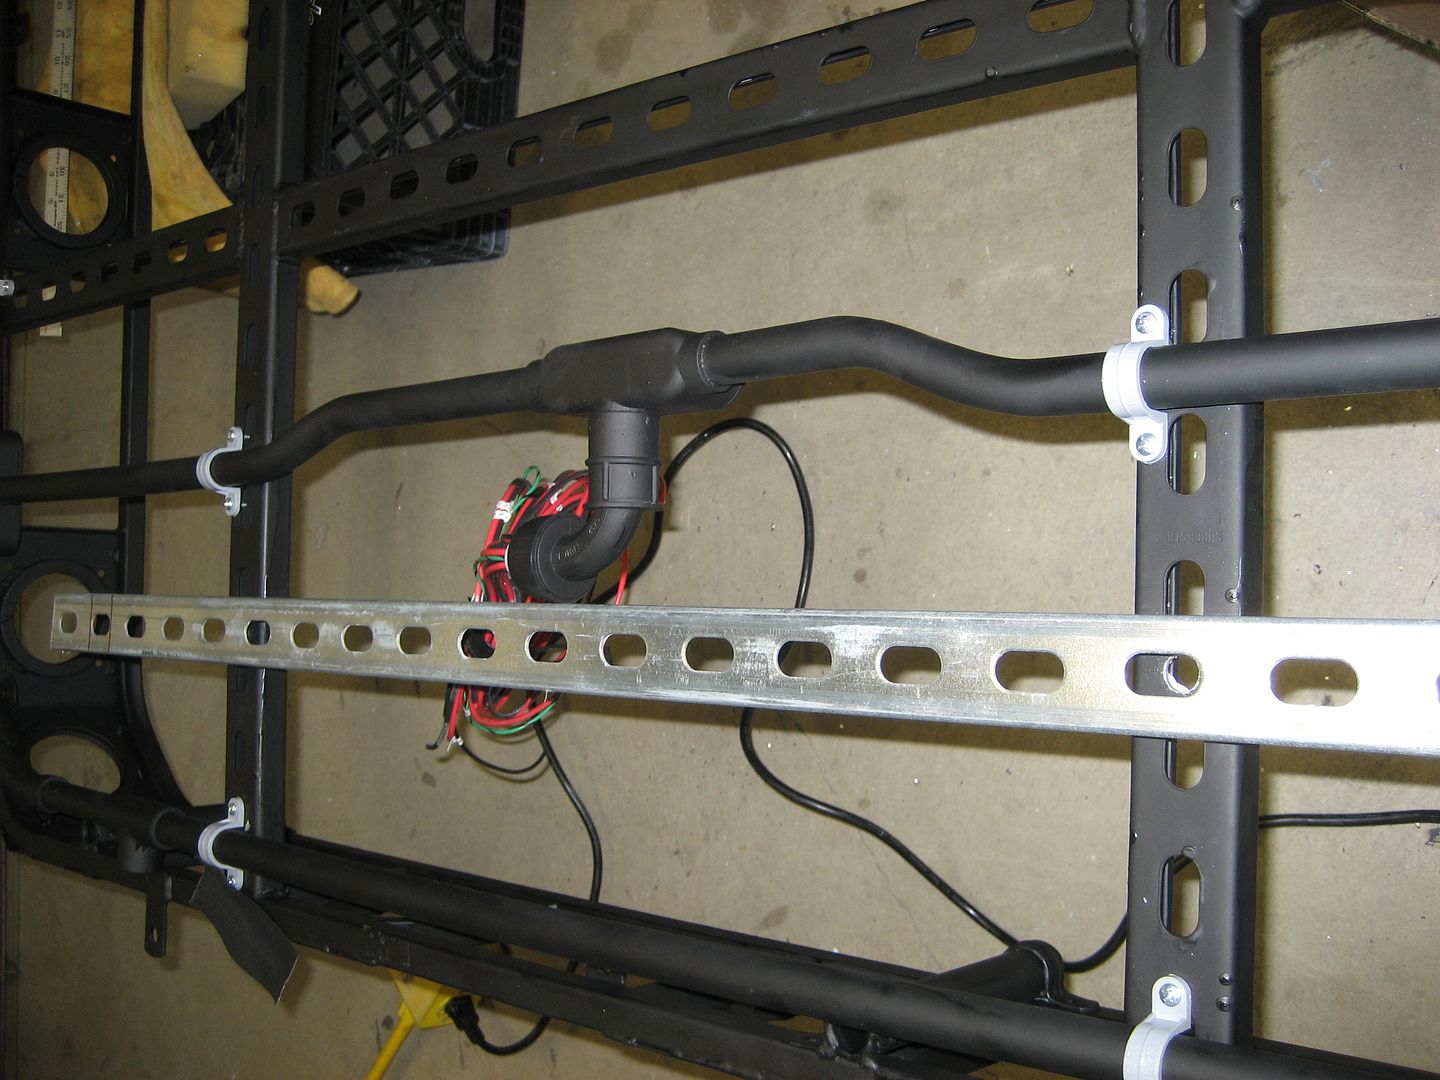
Then re-route the wires down the rubber elbow:

Image

Image

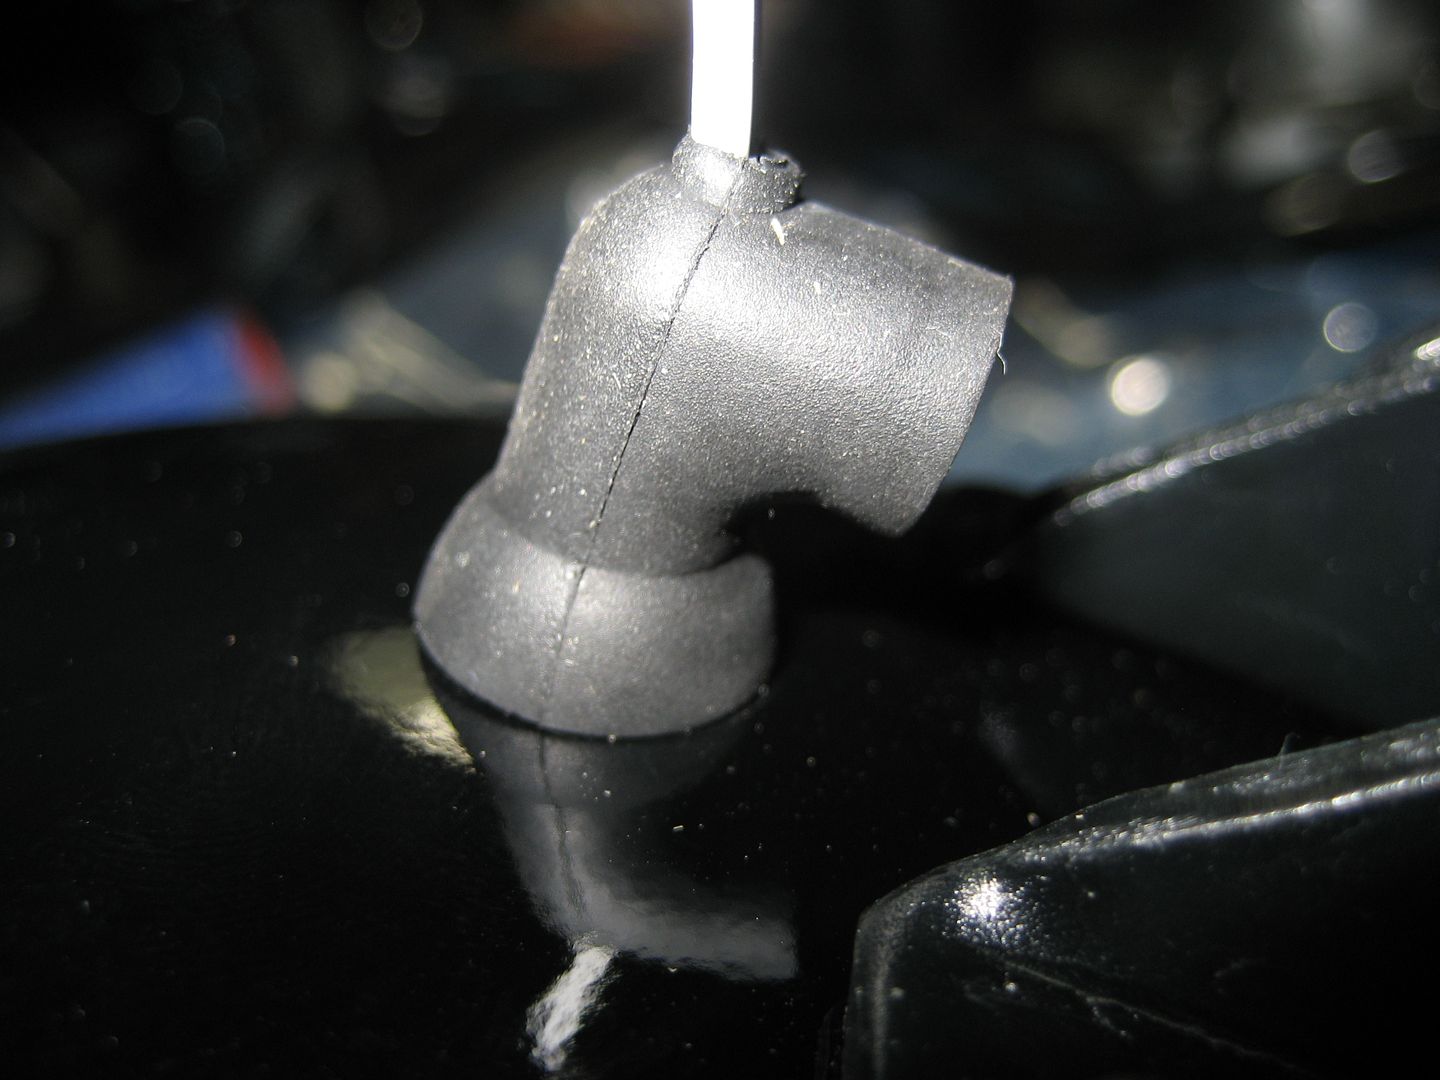
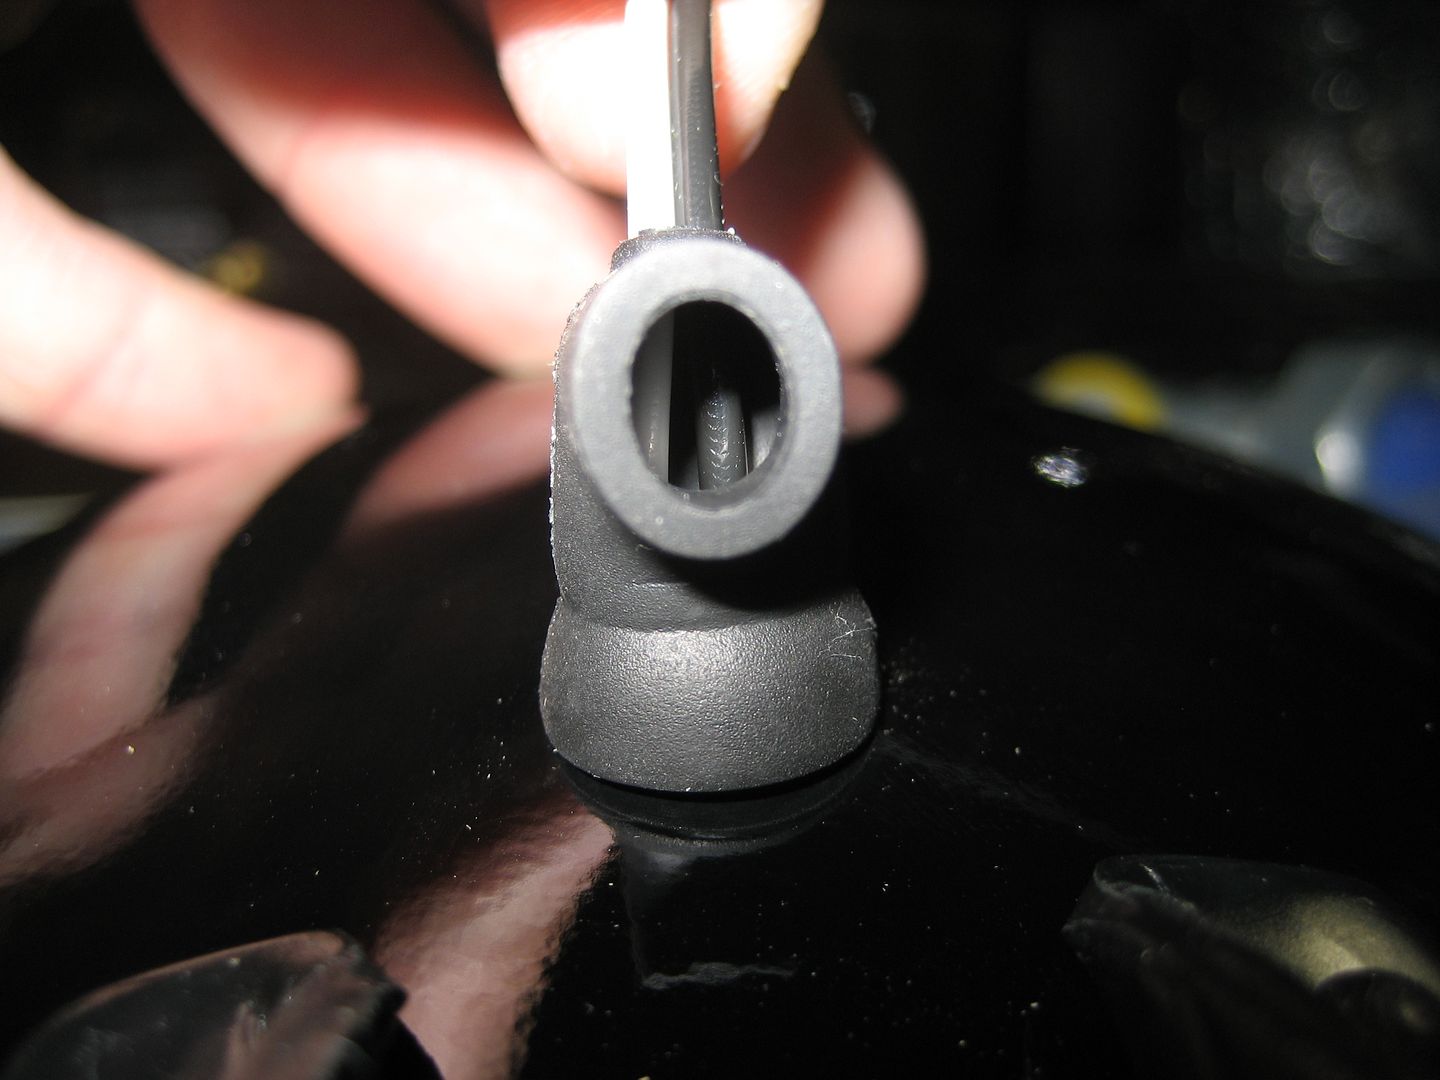
Slide on the silicone tubing:

Image

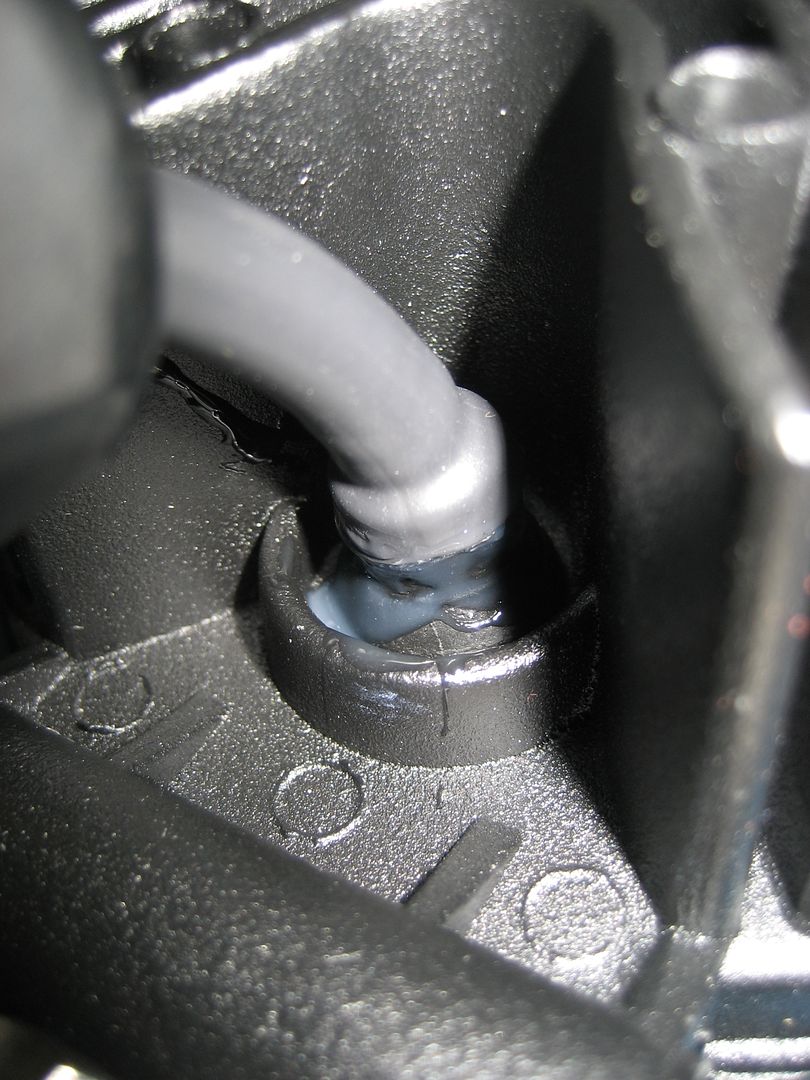
Squirt some flowable silicone down inside:

Image

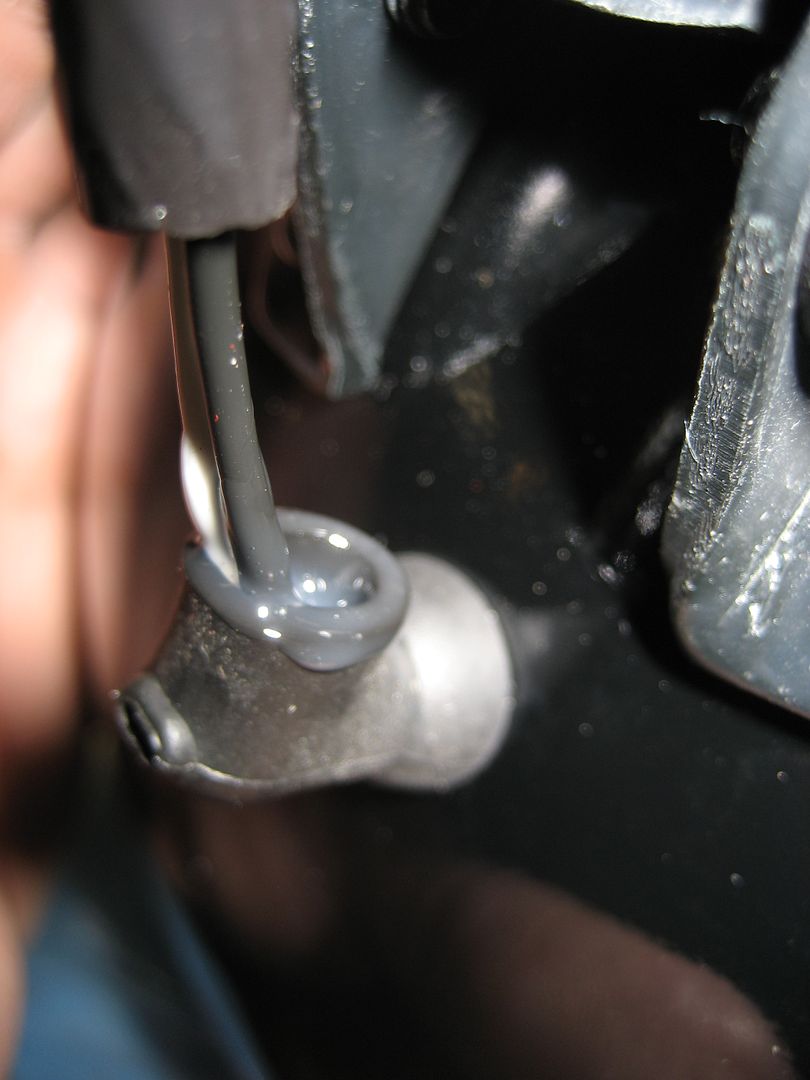
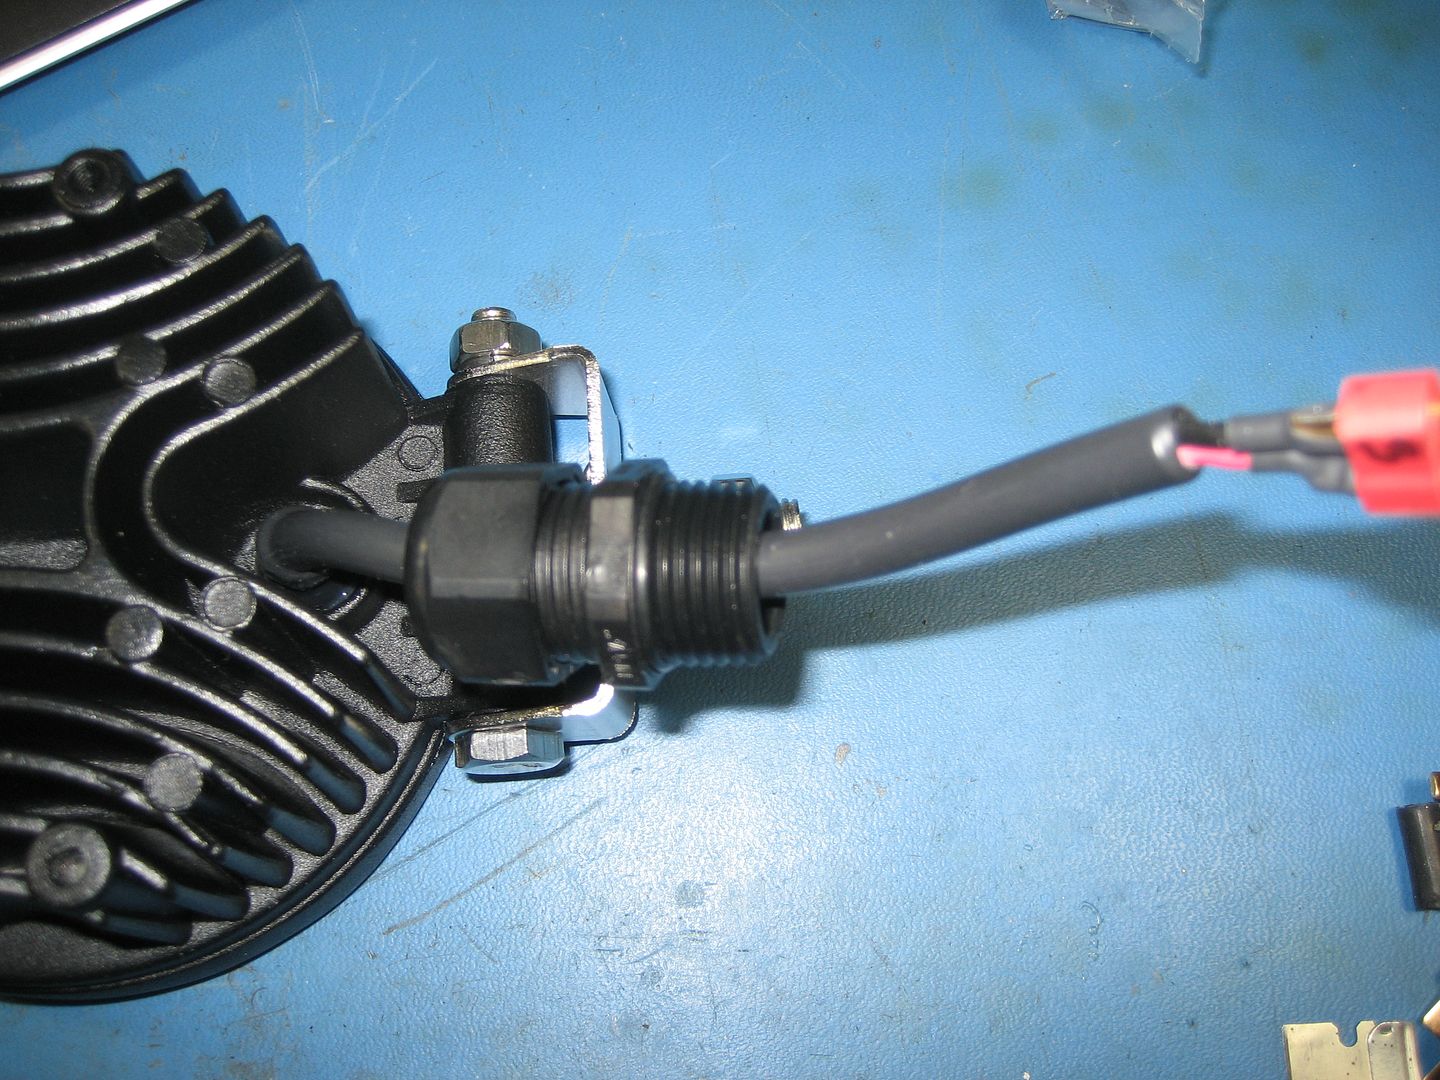
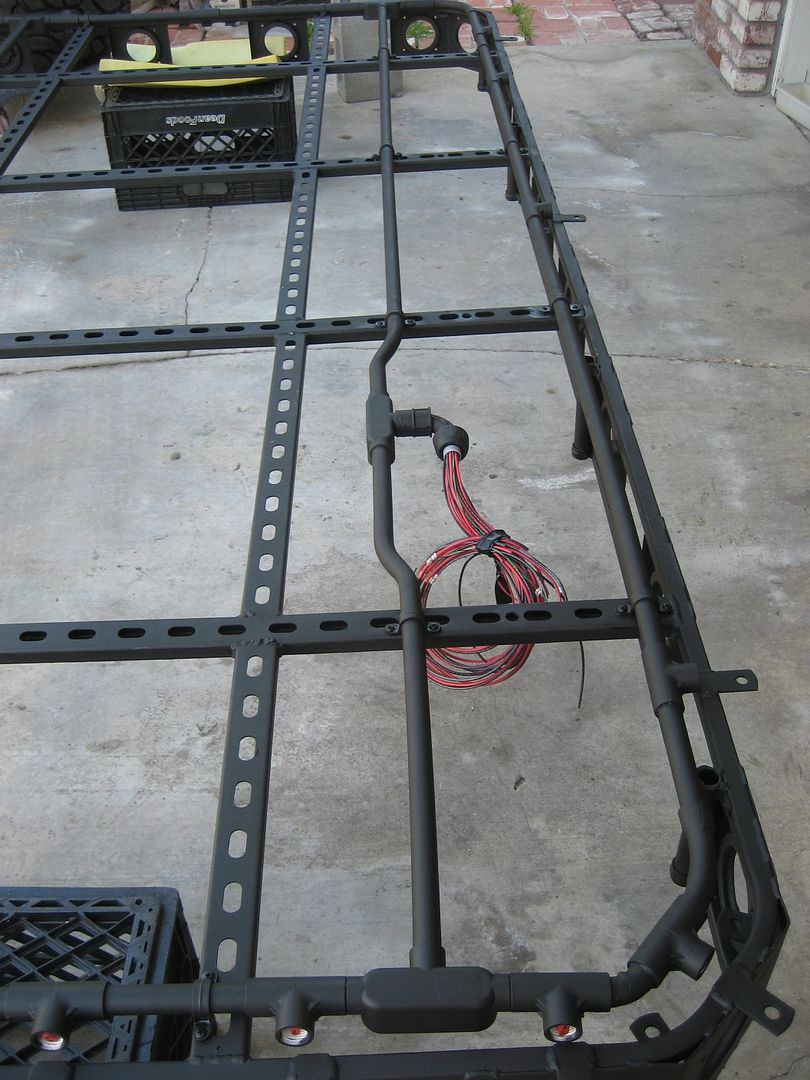
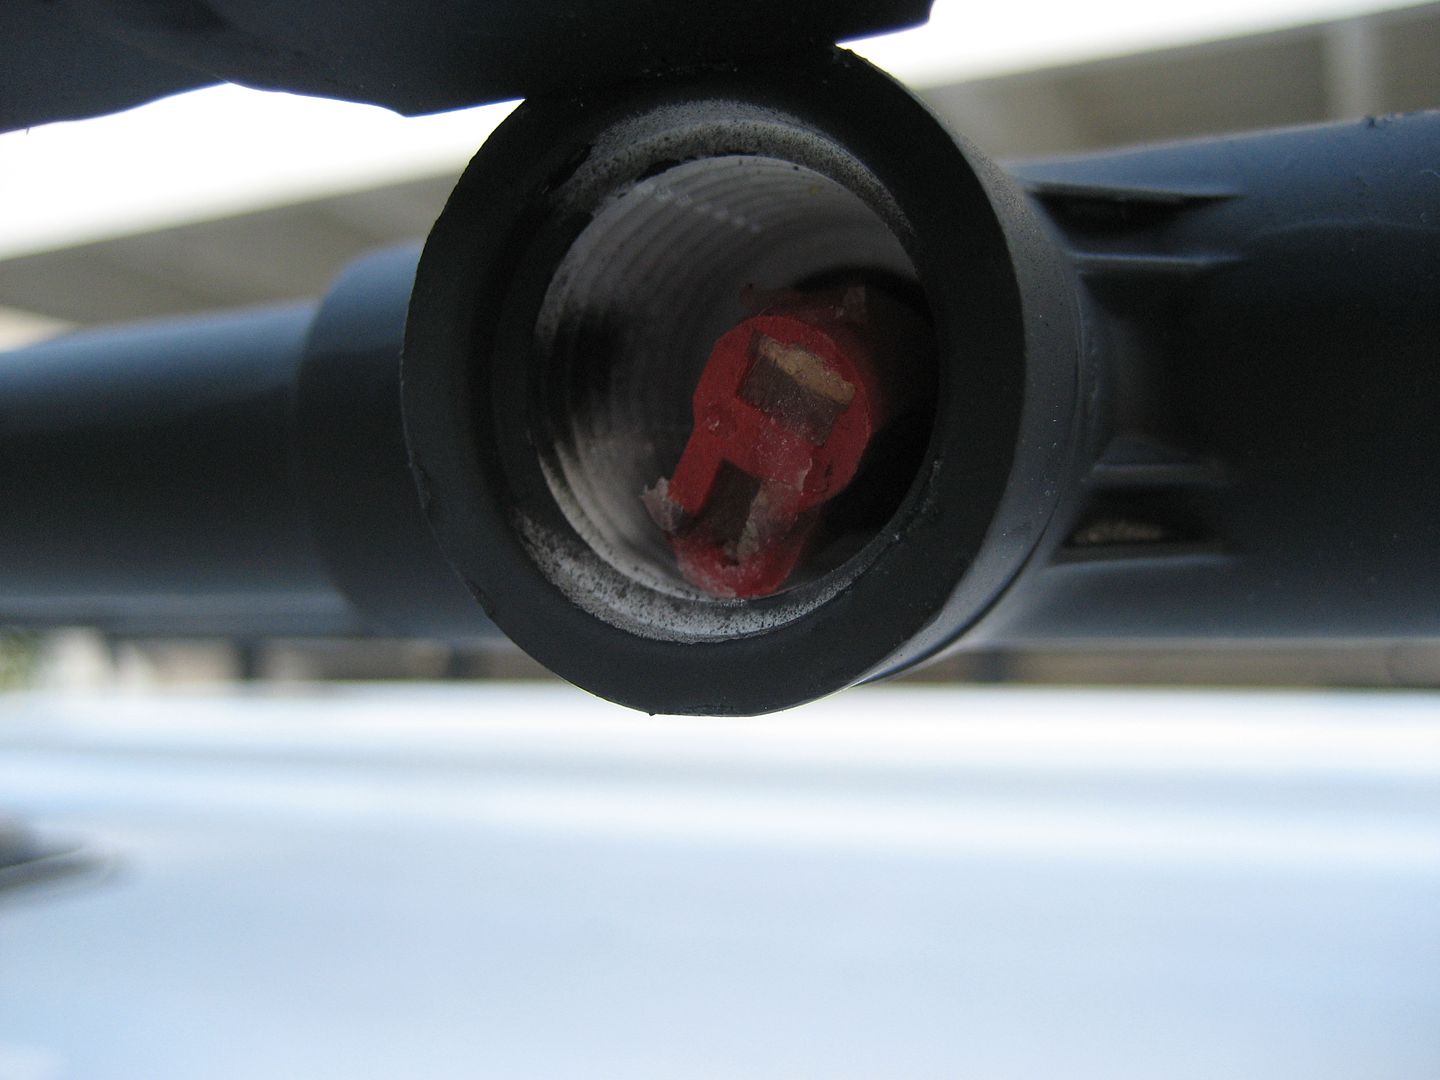
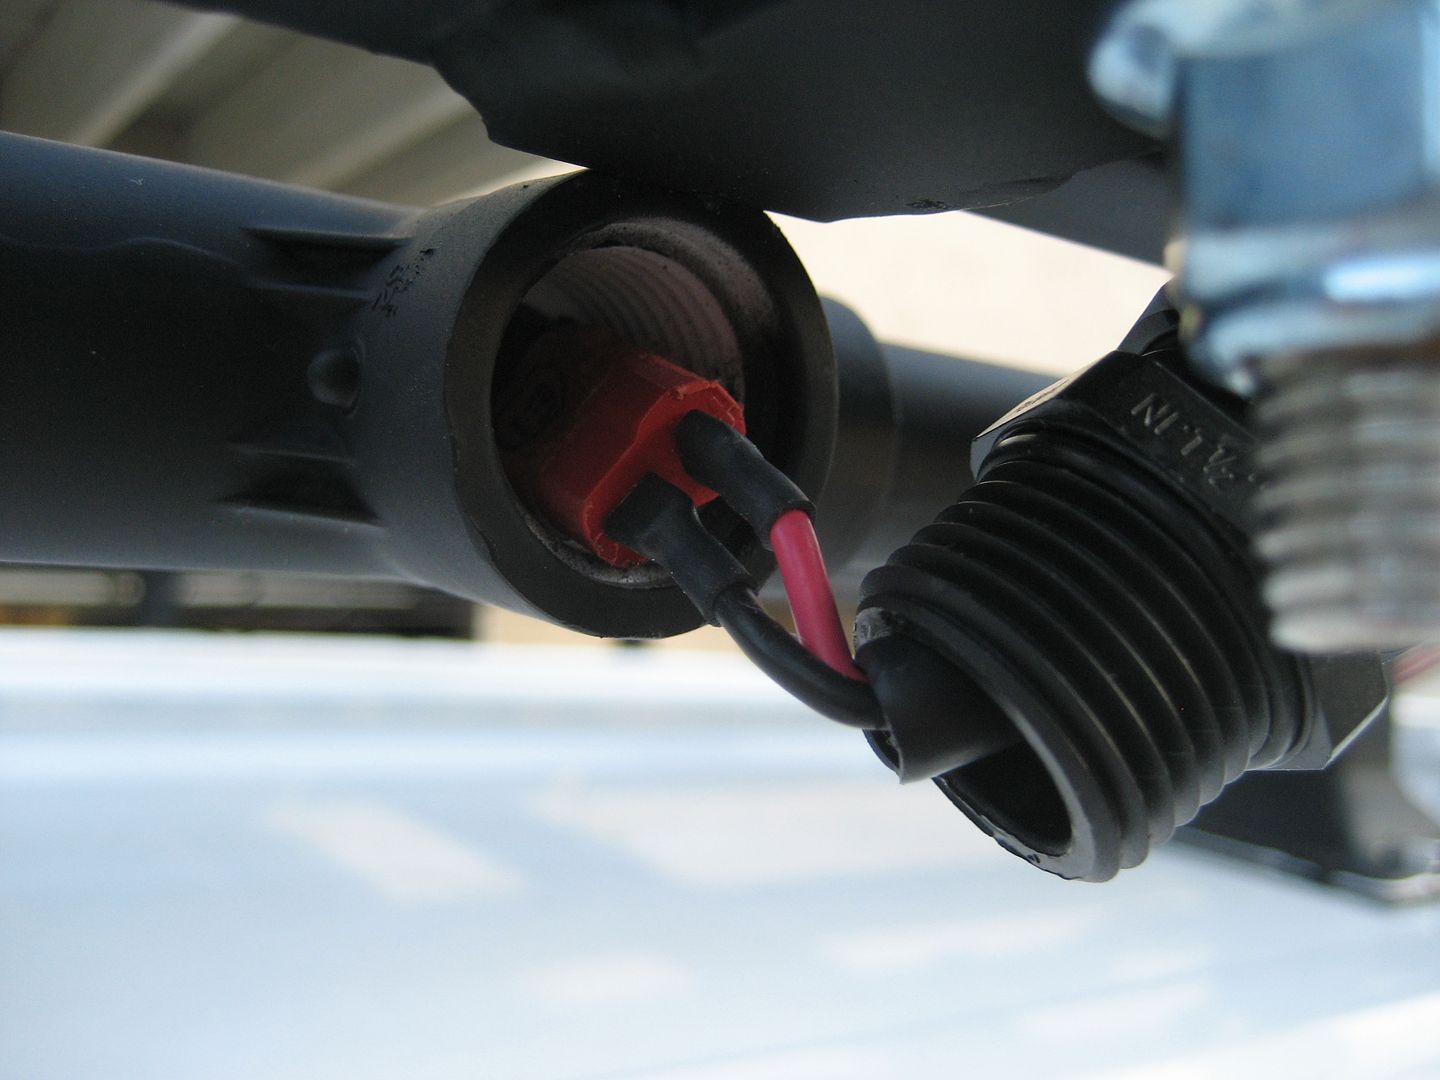
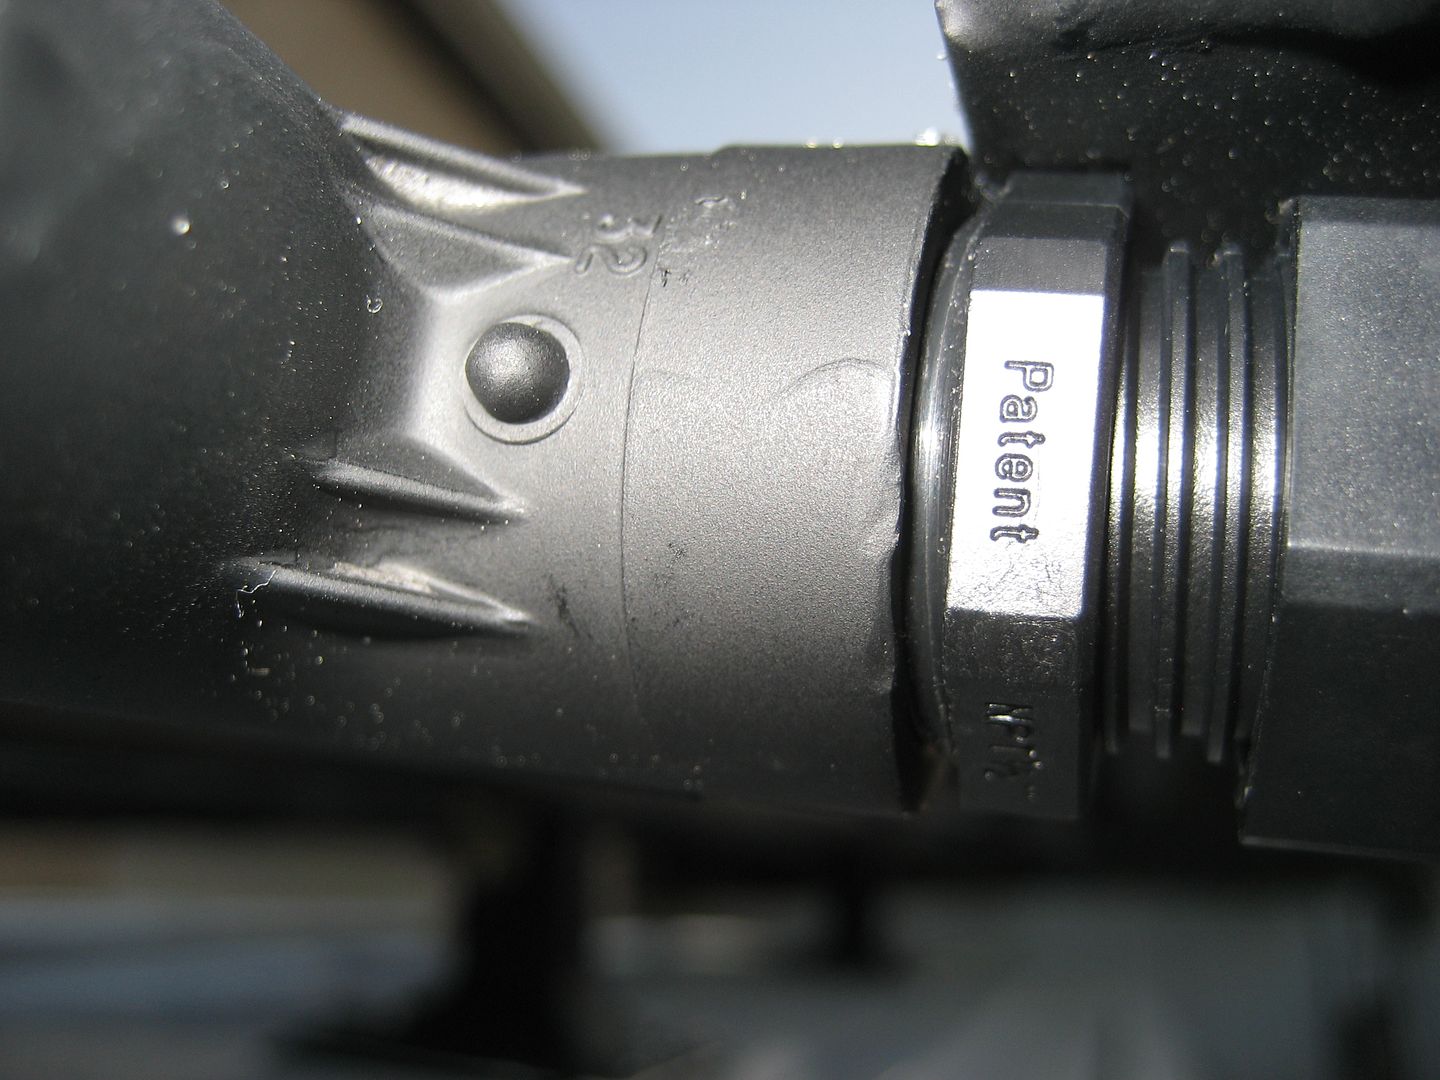
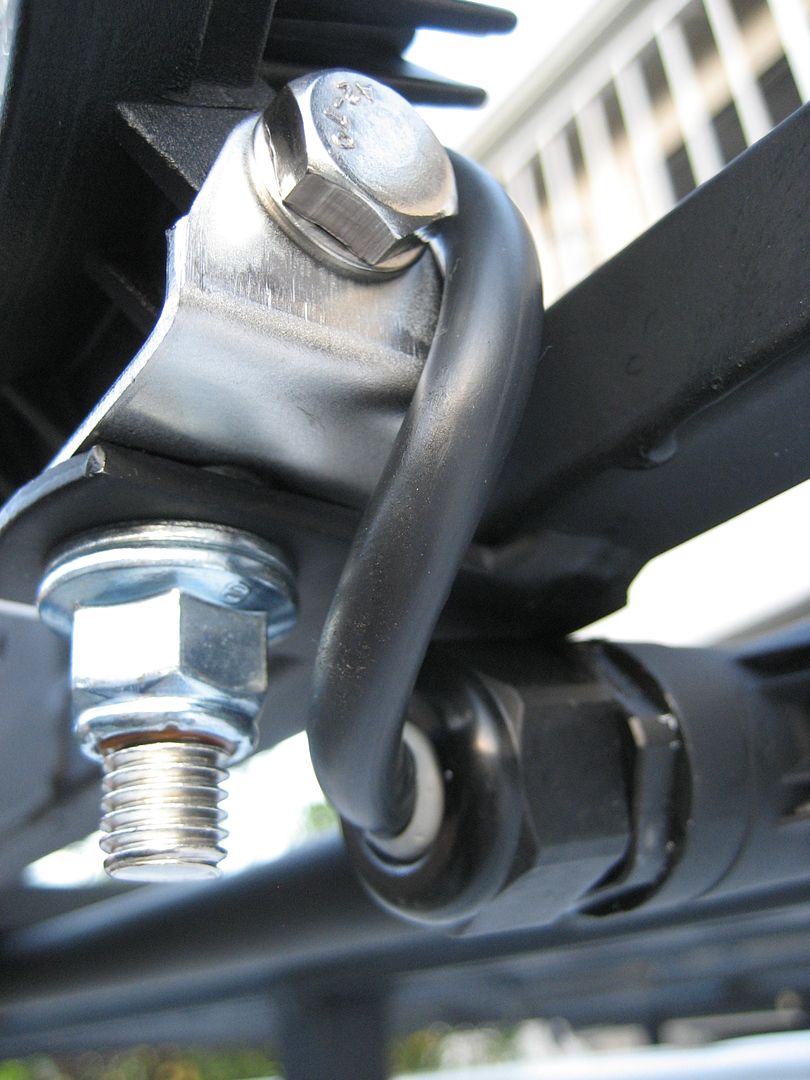
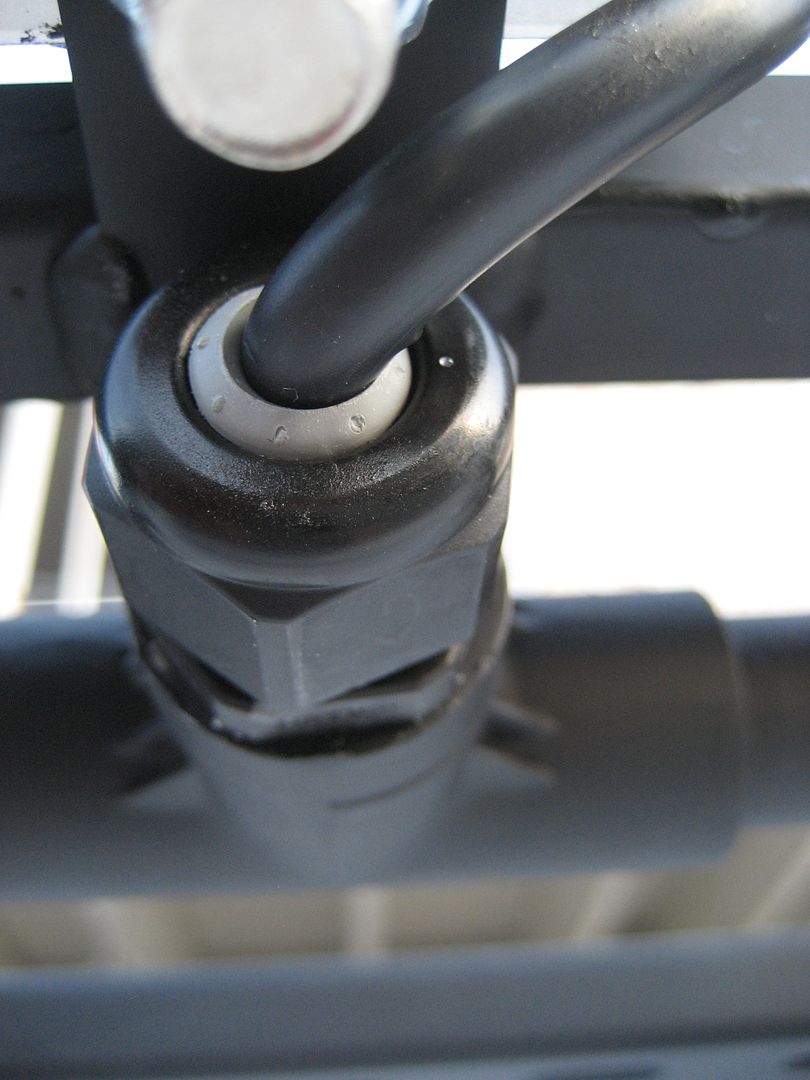
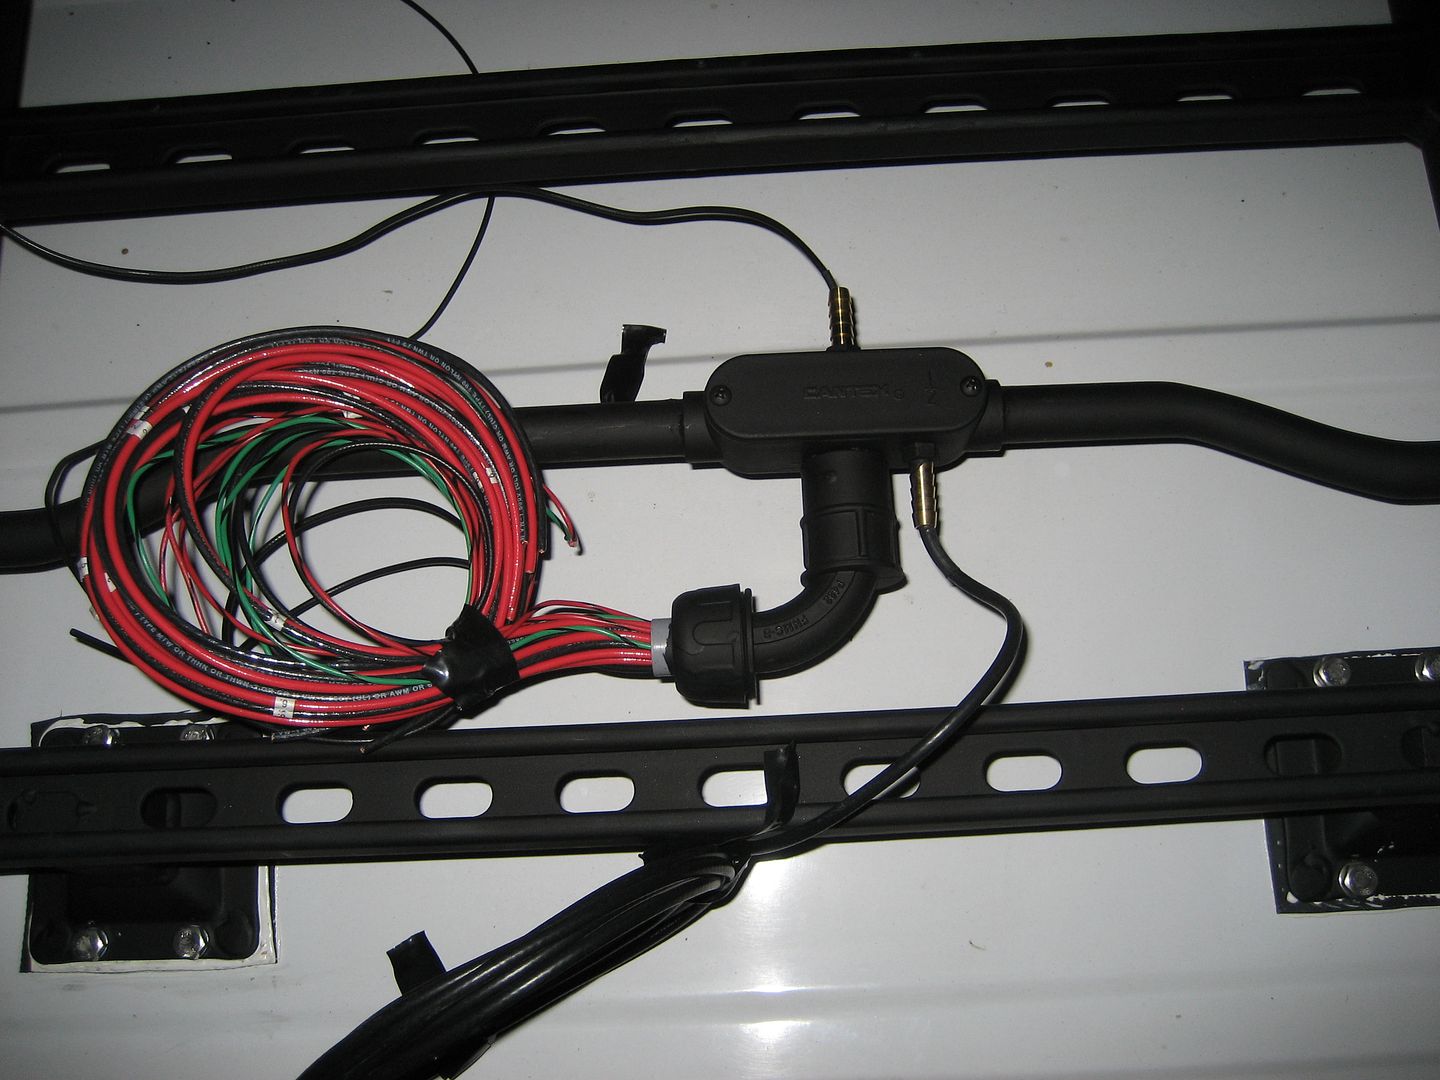
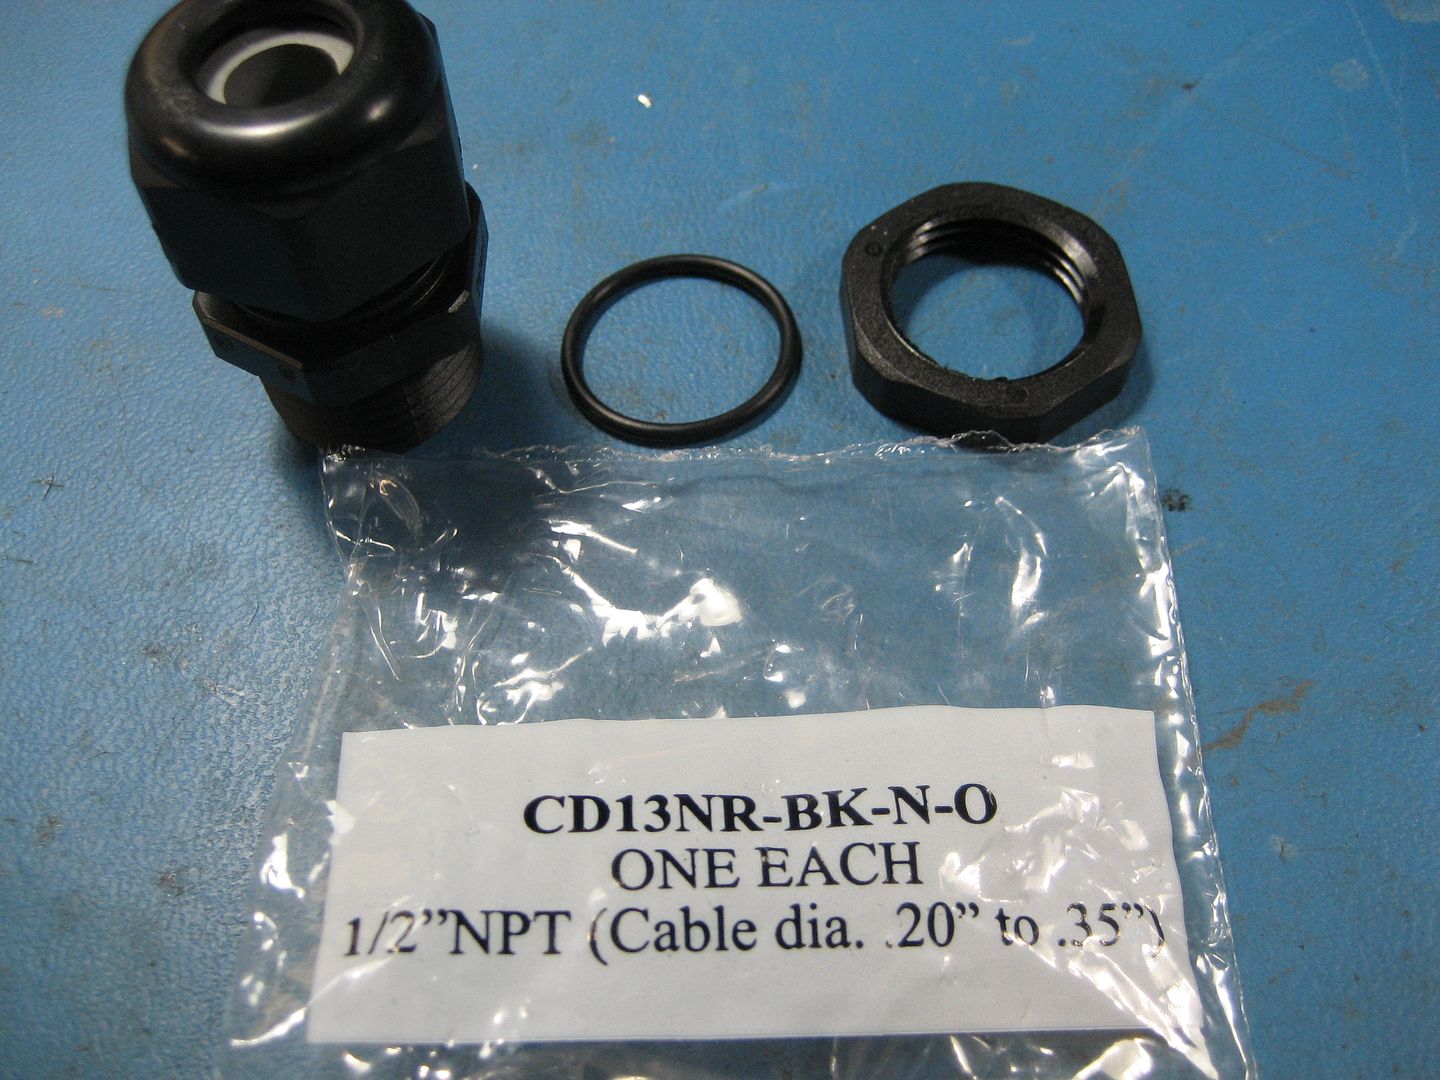
Push the tubing up into the elbow and then slide one of these liquid-tight cord grips on:

Image

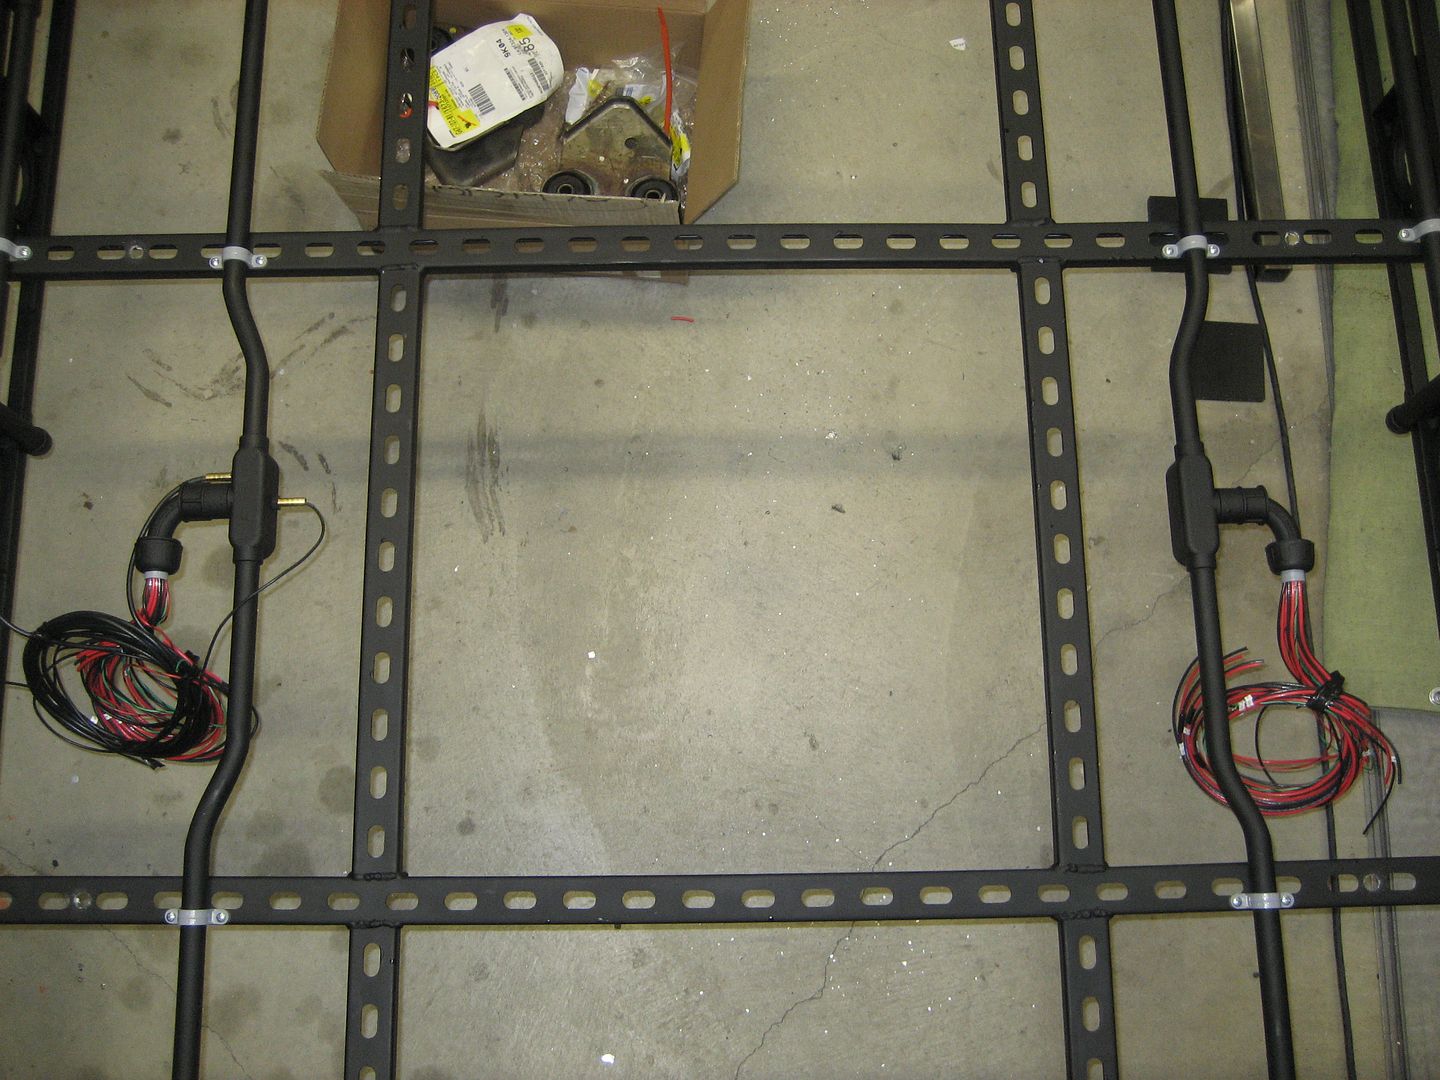
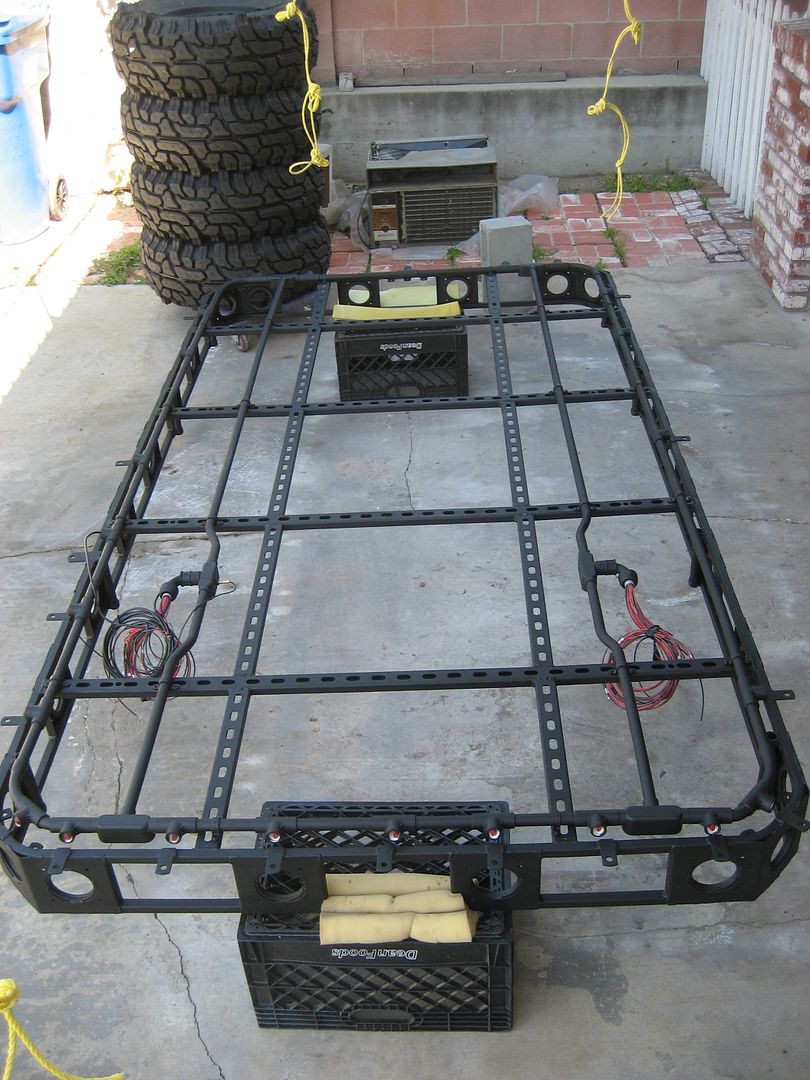
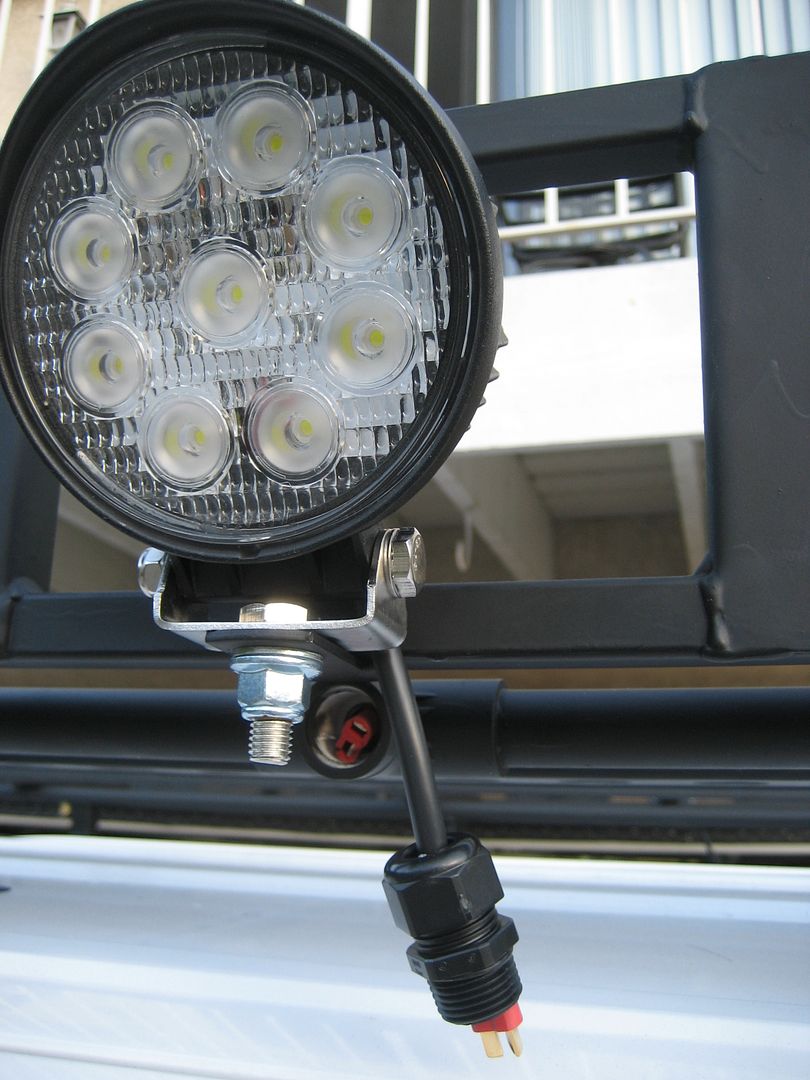
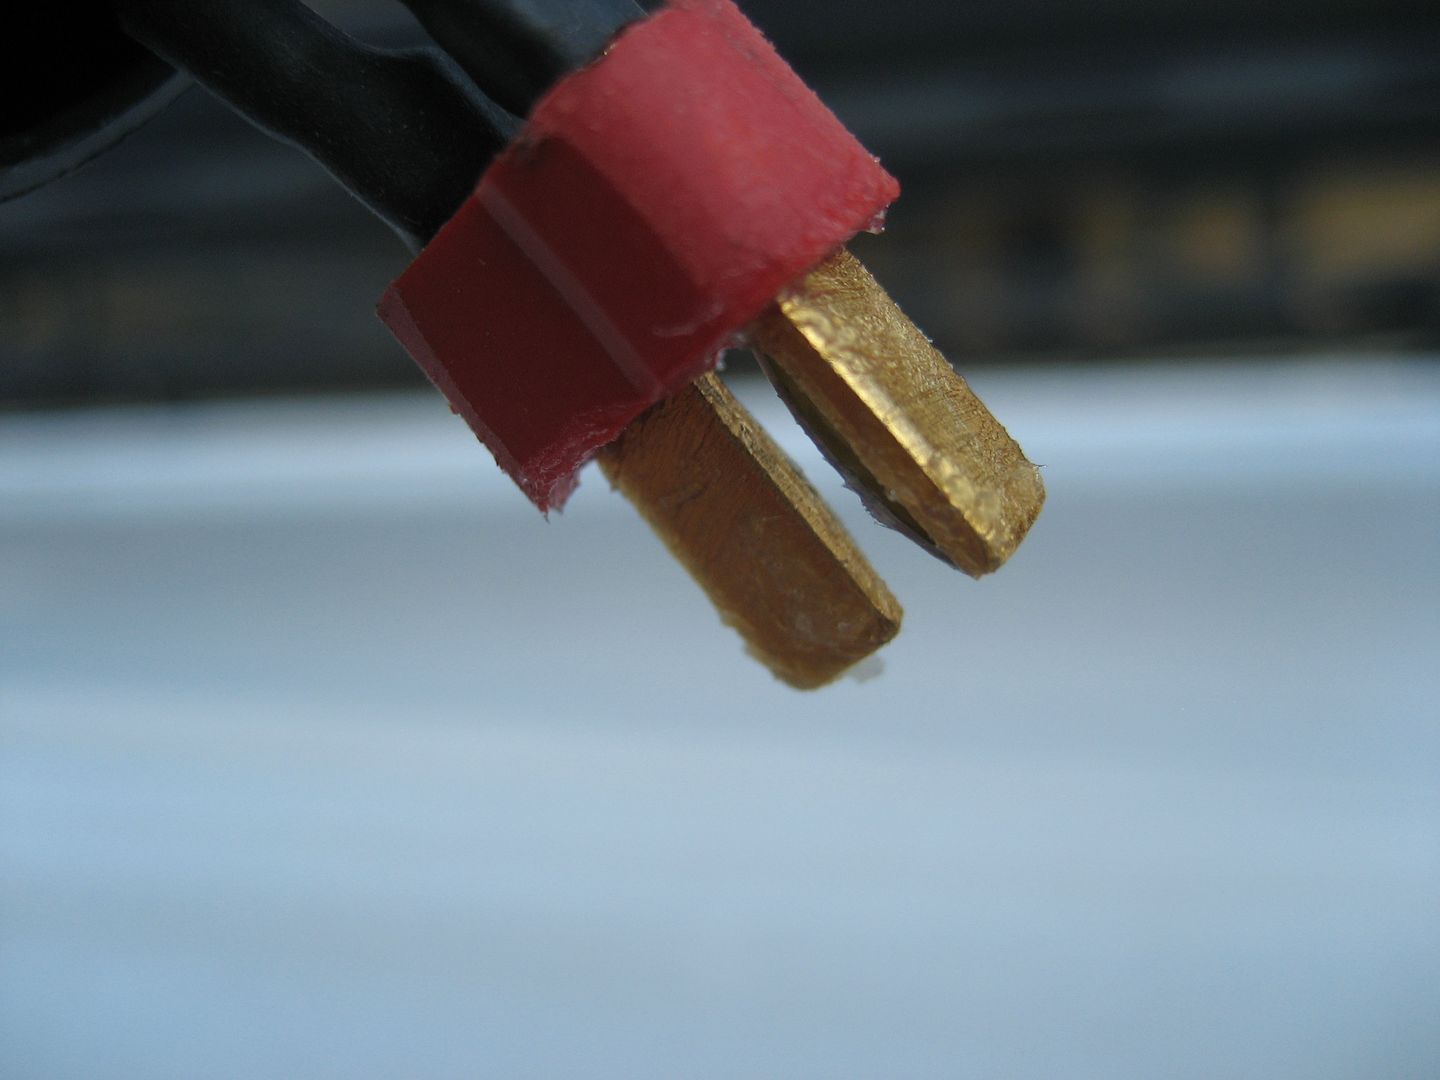
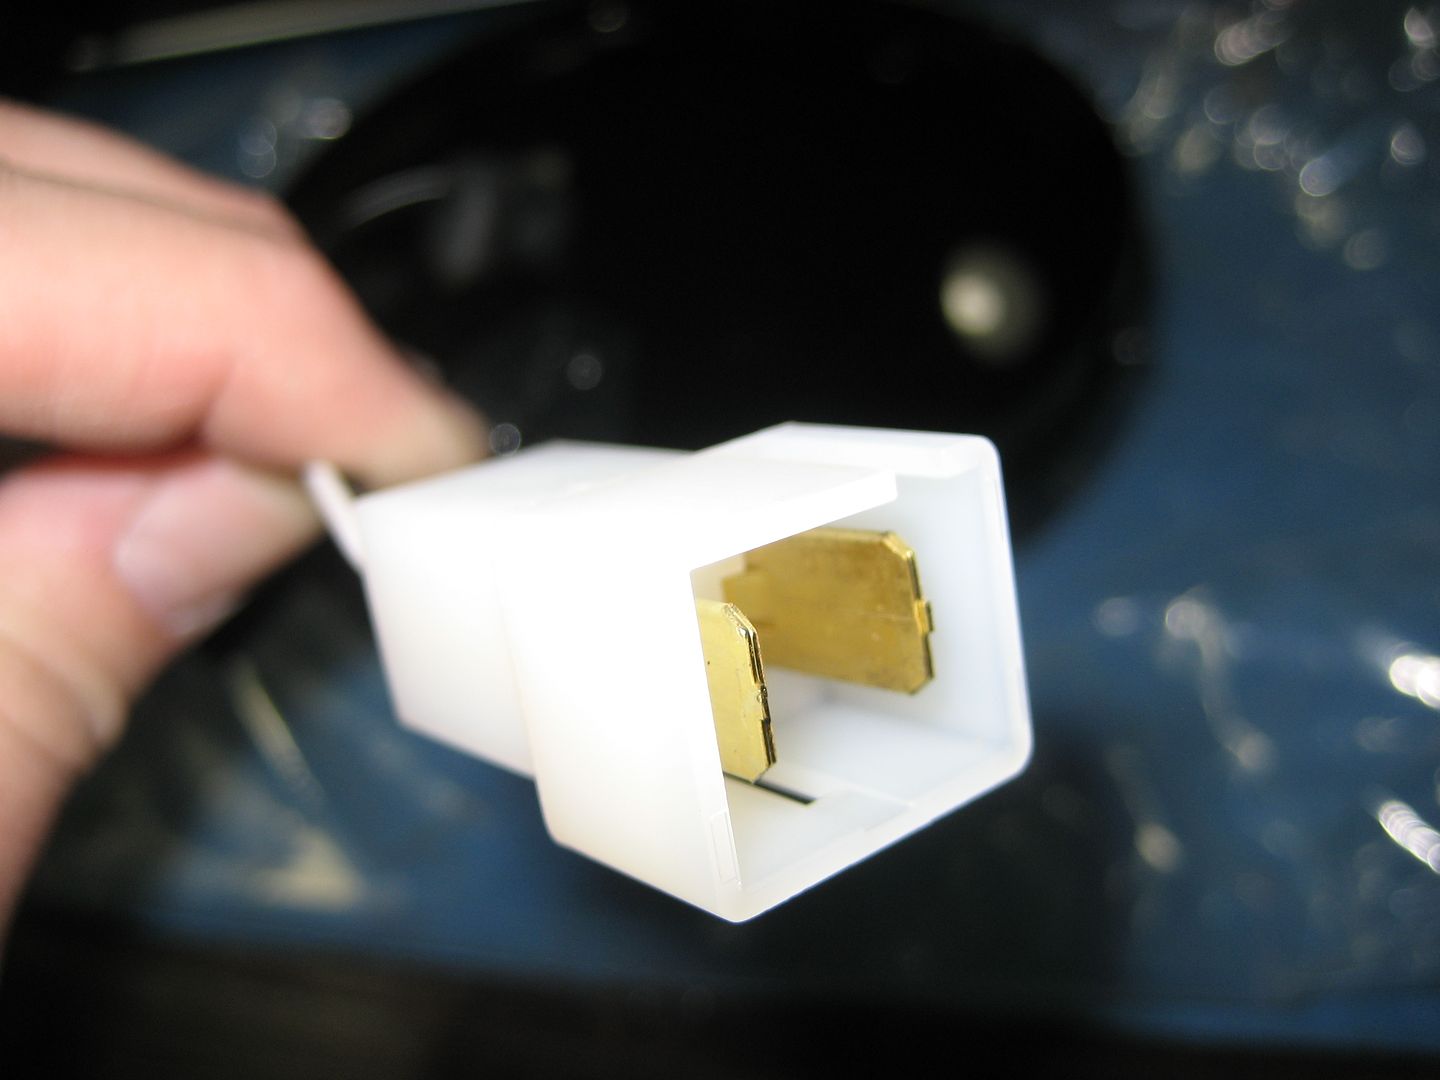
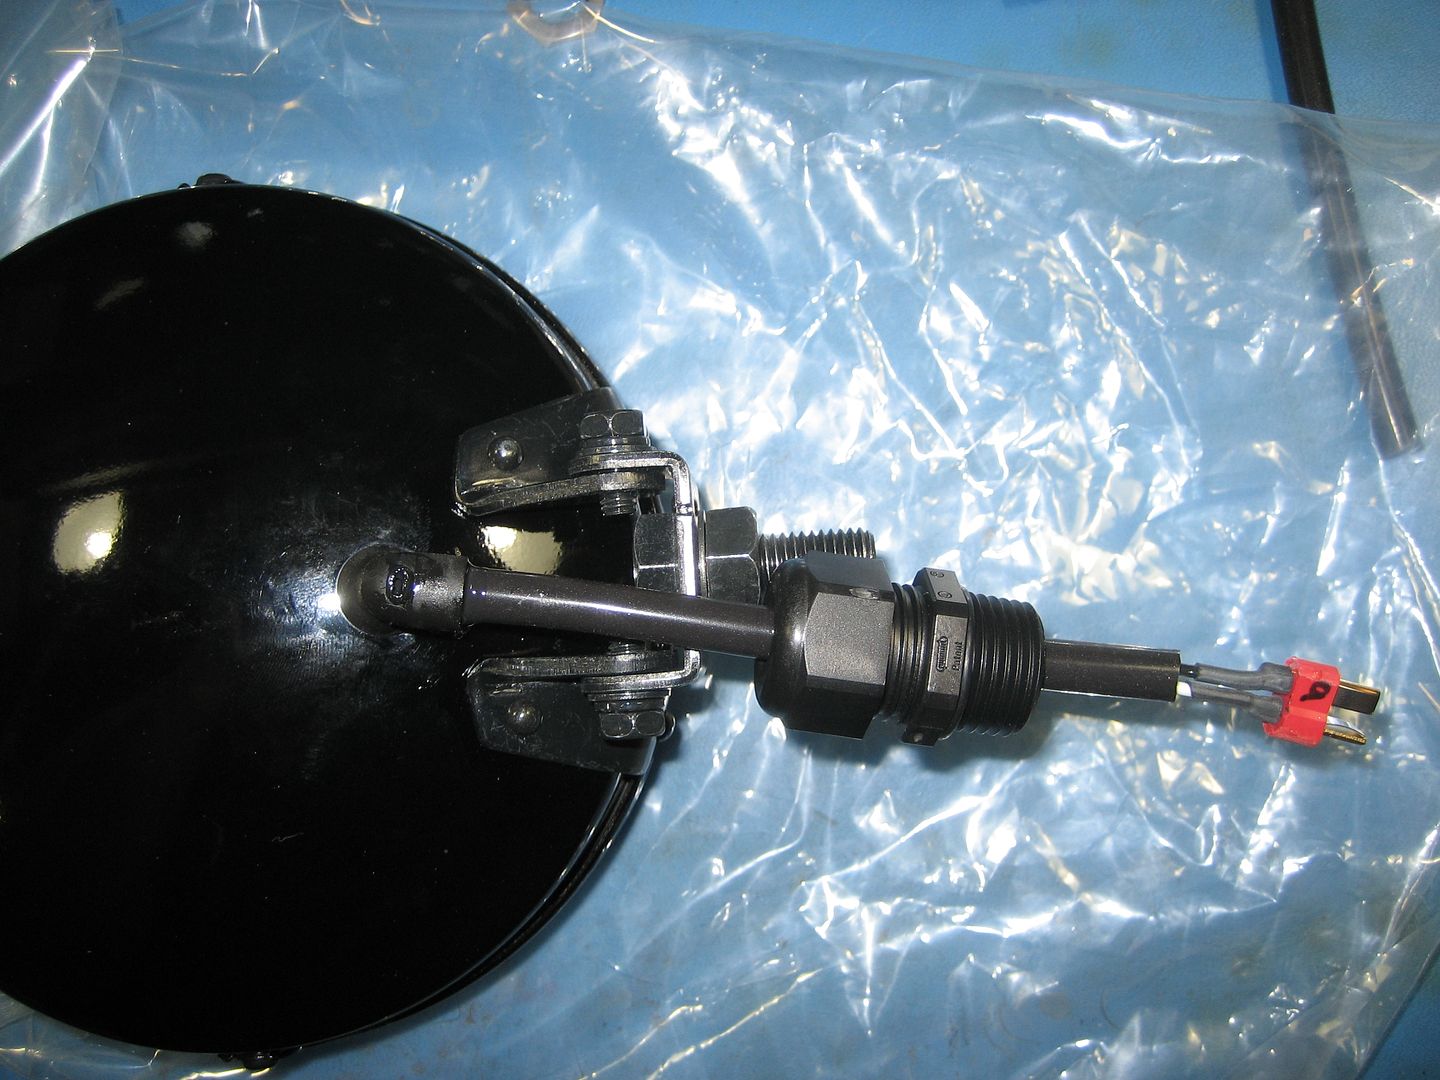
Here's the finished product with the connector soldered on:

Image

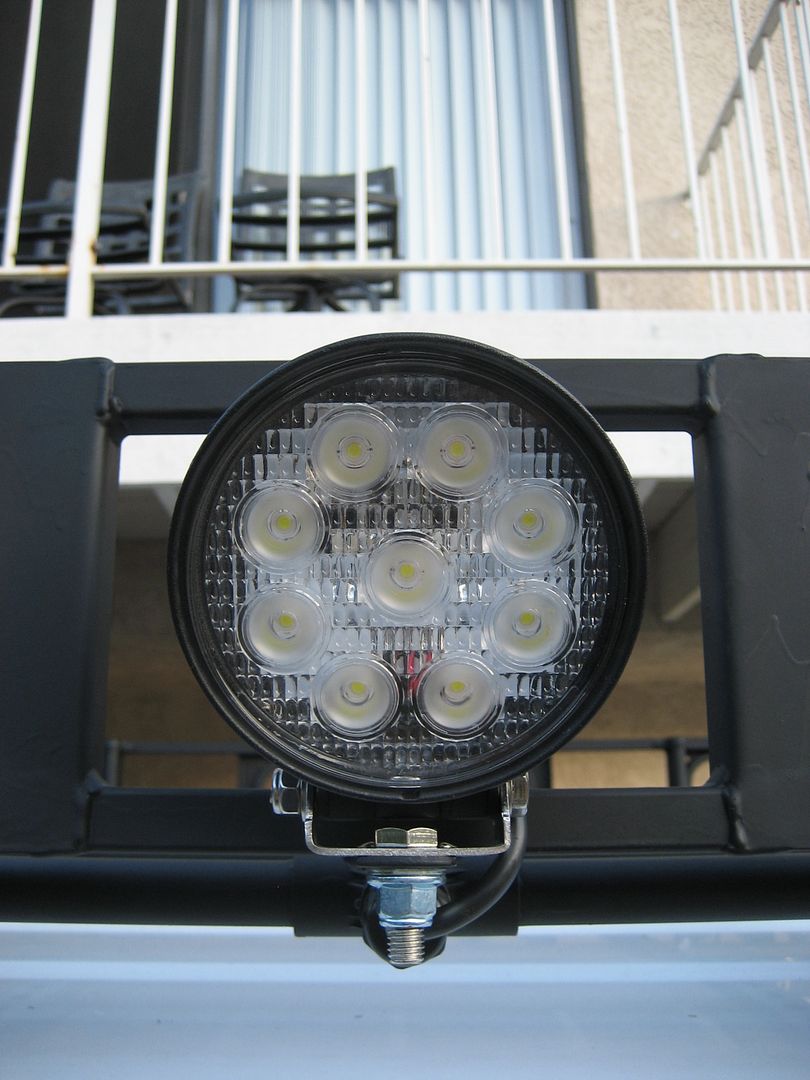
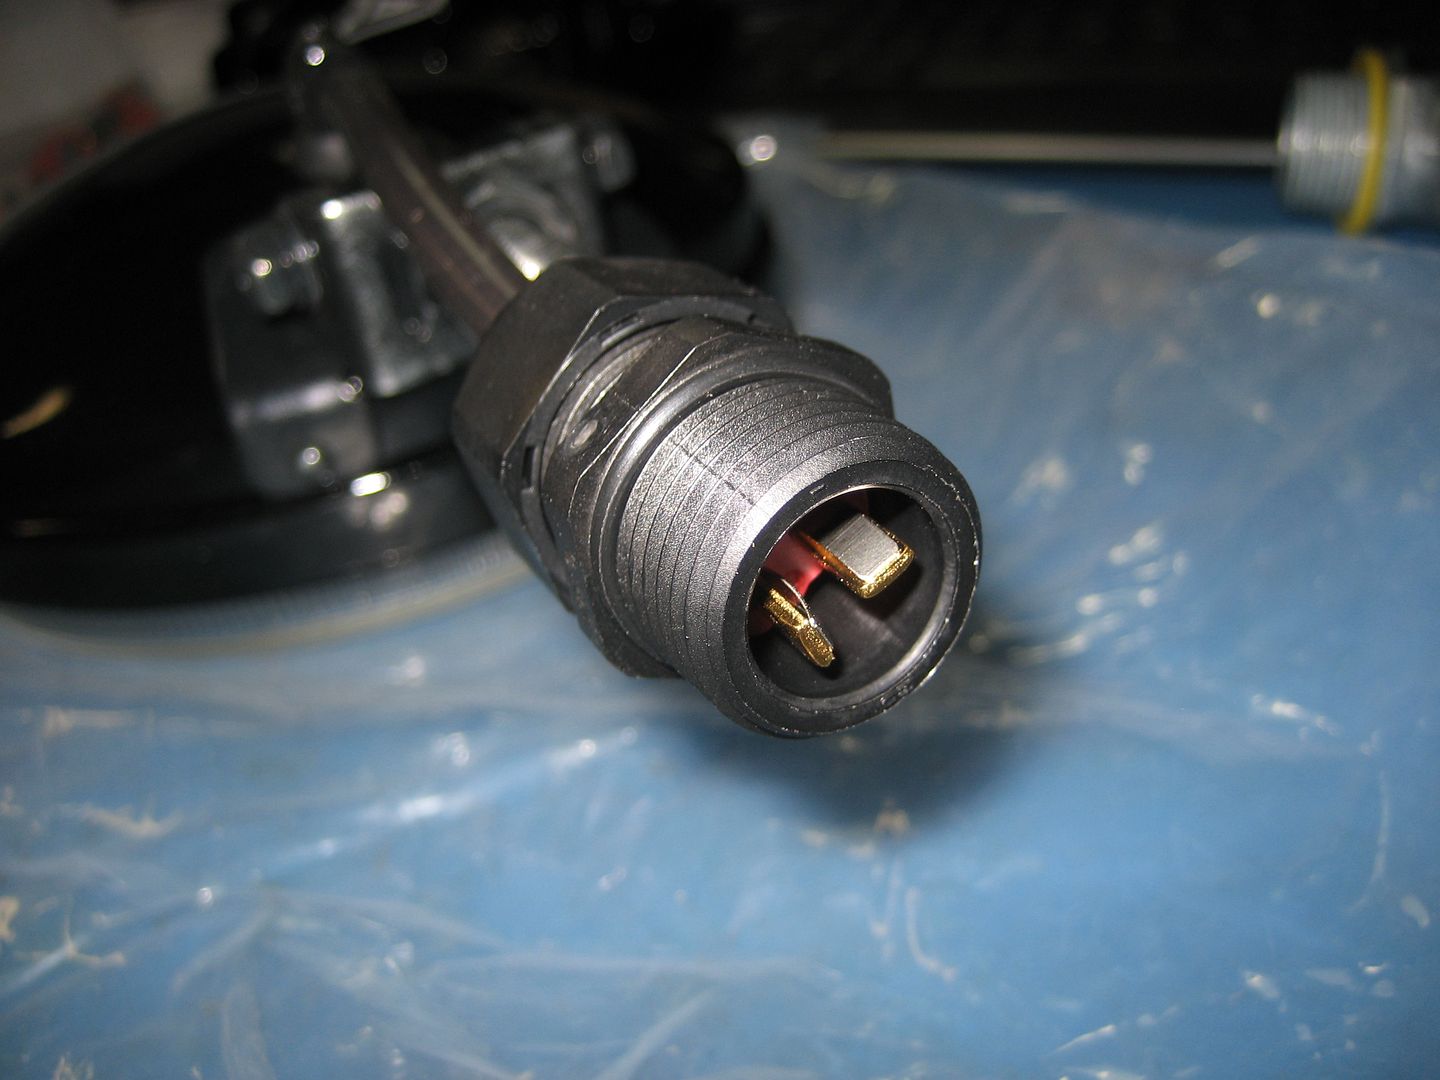
Ready to plug and play:

Image

I will finish up the other four lamps tomorrow night.

Re: Homebrew Con-Ferr Style Porthole Roof Rack Build

Posted: Thu Mar 01, 2012 11:00 pm
by 97CargoCrawler
Today I did some prep work for installing the roof rails. This rack is getting installed this weekend rain or shine.

I started by polishing the paint on the roof so the gaskets can make a good seal and removing the burrs in the roof and the cross members:

Image

Image

I also installed the spacers between the roof and the cross members. As mentioned previously in this thread the nylon plastic material was too hard to sand and make into wedge shapes. So I have opted to use washers as spacers to take up the slack.

Image

I coated the washers in 3M 1099 adhesive so they would stay put until the bolts are in place:

Image

All of the spacers are in place and ready to go:

Image

I also completed the mods to all of the lamps. The PIAA's are done, silicone tubing sheaths slid over the wiring. I also did the LED lamps in a similar fashion. The cables in these lamps already had a silicone type covering over the wires. I put some heat shrink tubing over it to further protect it from weather and I silicone sealed the rubber grommets where the cable exits the housing:

Image

Image

Now I just need to squirt some polyurethane sealant on the gaskets, slap them down and bolt the rails on. Then the rack has a place to attach!

Re: Homebrew Con-Ferr Style Porthole Roof Rack Build

Posted: Fri Mar 02, 2012 4:19 am
by astroturf
As AC/DC have said, I say to you...

"For those about to RACK, We salute you"

:guitar: :guitar: :guitar: Good Work :guitar: :guitar: :guitar:

Jim

Re: Homebrew Con-Ferr Style Porthole Roof Rack Build

Posted: Sat Mar 03, 2012 11:54 pm
by 97CargoCrawler
I got the rails installed today. It was a major PITFA. I'll explain later.

I began by applying the polyurethane sealant to the rubber gaskets. I created zones that match the outlines of the feet:

Image

Slapped on the roof:

Image

Image

I created similar zones on the feet:

Image

Image

OK, so this was the problem:

Image

These are stainless steel M8 cap screws and stainless nylocks from McMaster-Carr. They were expensive so I expected nothing less than superb hardware. Well, I got chit. At first I thought maybe the bolts were getting slightly tweaked as I tightened them down. But then I had a few where the nut started to get tight and jam long before they started to cinch down. I tried to back the nuts off but they were jammed solid. So the first time it happened I snapped the bolt. I figured I just happened to get ONE defective bolt or nut, So I installed another. Same problem. And another, same problem. I was cussing like you wouldn't believe! WTF??!!!! So then I took one bolt and one nut and assembled just the two parts, no roof in between just the bolt and nut. The nut went on smooth for about 1/3 the way down then jammed. I tried to back it off, no luck. I thought perhaps the thread pitch was varying from one end to another. I tried a regular nut on the remaining bolts and it traveled the length without issue. As far as I could tell, the edge of the threads had some variance. Some were sharp and others looked flatter, not smashed but just less finished. I'm still not entirely sure what the problem is, but I assure you I was really F'ing pissed. With all the things that could have gone wrong or been misaligned...I would have never guessed the hardware would have been the hang-up. Chinese garbage. Next time I'll buy Swiss made bolts.

Anyway, I managed:

Image

The sealant dried before I got a chance to push the rubber gasket corners down. So I need to squirt a bit more under and tape them down till they dry. The other side went down without issue.

Image

Image

Image

I did the passenger rail by myself. I had to tape a wrench to the inside of the roof while I was cranking on the outside. It was interesting. My girlfriend came over and helped with the drivers side. That was interested as well for different reasons! I'll have to shoot some pix of the inside tomorrow.

I did run into one slight issue. I had made some last minute changes to the electrical conduit to compensate for the large amount of wire that needed to exit the final junction boxes. Somehow I forgot to check the dimensions to make sure the rails would clear. Unfortunately they do not clear the elbows coming out of the box! Damn. I could add spacers so the rails would ride over the elbow but that requires a good 1.75" of spacing. The rack top will already sit 10" above the roof. With spacers to clear the elbow that would put the top at 11.75". NO WAY. There is wire inside all lengths of the conduit. I cannot cut any part of it. I also do not want to pull any wire out. So my only option is to create an offset with the wire still inside the conduit. I need to heat it up and tweak it on both side of the box to create a 3/4" offset.

I did do some tests to see if that was even feasible. I loaded up a short length of conduit packed with wire, heated it with a heat gun and bent an offset. Then I pulled the wire and inspected for heat damage. There was none. So I should be OK. I'm hoping to take care of this early tomorrow and then get to work on installing the basket.

Image

Re: Homebrew Con-Ferr Style Porthole Roof Rack Build

Posted: Sun Mar 04, 2012 6:24 am
by Smiliesafari
Chinese crap, indeed. Buy your hardware from your local Fastenal store. At least you can see what you're buying. And if need be you can return it. Are we going to see this rack installed in this lifetime? LOL. :muhaha:

Re: Homebrew Con-Ferr Style Porthole Roof Rack Build

Posted: Sun Mar 04, 2012 9:45 am
by 97CargoCrawler
I hope so! Today I need to figure out how to lift it 8 feet or so by myself. :-k

Re: Homebrew Con-Ferr Style Porthole Roof Rack Build

Posted: Sun Mar 04, 2012 11:36 pm
by 97CargoCrawler
I got up early today. That in itself is an amazing accomplishment. But that's not all...

The first order of business was to remedy the electrical conduit issue. I went with the heat gun tweaking method. It took me about 20 minutes start to finish. I figured I might as well jump in head first. I was worried that the offset wouldn't work since they require a longer length of pipe. My pipe length was already fixed. It would have to stretch to accomodate for the offsets. I used schedule 40 PVC conduit so it has a pretty decent wall thickness. I was able to heat it up and tweak it with negligible decrease in diameter.


I didn't want the pipe to sag while I was heating it so I slid a steel plate underneath it before heating:

Image

Piece of cake! It's like I've been doing this for years!

Image

Image

I painted all the straps and touched up the chips and nicks from stashing it in the shop for the past week:

Image

Image

I had visions of block and tackle pulleys and the ease of a compound system but ultimately I didn't feel like rigging it up, especially since it would have required drilling holes into my balcony. I settled for an easy rope ladder rig with loops tied off and caribiners latched in.

Image

I ran a short piece of rope through the two outermost portholes and put caribiners there too with a steel ring. The steel ring would allow me to easily attach two caribiners to it and make working my way up the ladder lifting with one hand and clipping with the other less technical (the rings are not on yet in this photo):

Image

Here we go! One corner at a time, lifting with one hand and clipping carabiners to the next rung up with the other hand. It wasn't easy. The rack is heavy and lifting it with one hand, balancing on the ladder and trying to work the clips was like a trapeze act. Not to mention I was using the rope to lift and not grabbing onto the rack. I had to have one carabiner in the left (lifting) hand and bring it up to the right hand that was holding the next level up clip. Hands get pretty shackey lifting 60 or so pounds from waist to chest height after a few seconds.

Image

Image

This is about 5" too low to drive under but it was the max height I could go. I was already standing on the second to the top ladder rung.

Image

Image

For most ordinary vans this would have been sufficient, garage door height:

Image

So then I had to get real creative. But not before a photo op...

Image

OK, so I needed to go much higher but without climbing any more ladder rungs on both the rope and real ladder. So I came up with this system:

Image

Image

I just started pulling the end ropes towards the center which in turn pulled the ladder rope through the portholes and made it climb. I wrapped the rope around the floor cross member and used it like a capstan roller to keep tension on the rope. CAUTION! HARD HAT AREA!

Image

Image

Image

Image

All loose ends curtailed and ready for the van:

Image

Image

Image

Image

No pix of the lowering since I was doing ths all by myself. I just used the "rollers" to ease the rack down till it was almost resting on the roof rails on the van. Then I lifted the rack and unhooked each corner from the rope ladder.

Image

Image

Image

The rack has 8 bolts attaching it to the rails. Six of them are 1/2" and the other two are 3/8". I bought the bolts in sizes that would give a nice tailored look:

1/2" bolts:

Image

Image

3/8" bolts.

Image

I went with a 3/8" bolt here because I had to use a strut nut in the channel. The bolt location landed directly above one of the rail legs. I could not use a 1/2" bolt because there is no way to get a 3/4" socket inside the tight confines of the channel. A 3/8" bolt uses a 9/16" socket and that just fits inside the channel width. I put a generous amount of blue Loctite on the threads since the strut nut has no thread locking ability.

Image

As you can see I also put a 1/16" chunk of EPDM rubber between the basket rail and the roof rail. It's just enough to prevent any squeaking and rubbing/rusting.

The next order of business was installing the lamps:

Image

I used flanged stainless nylocks on the lamp bolts. I have rubber caps on the way for the ends of the bolts for noggin protection.

I used dielectric grease on both sides of the connectors. In the very unlikely event any moisture enters this wiring harness the conductors will be safe from corrosion:

Image

Image

Image

I didn't use any sort of teflon tape or sealant on the cord grips since they have a rubber o-ring:

Image

I like that "tailored" look:

Image

Image

Image

Looks professional!

Image

Image

Image

Image

Image

Image

Image

As you can see, I didn't get to the front PIAA lights yet. But here's a shot of the roof clearance:

Image

Image

Look how nicely the roof rails fit within the electrical conduit ring:

Image

Both front and back have about 1/16" clearance. Also very tailored looking.

Those offsets really saved my ass!

Image

The wiring is bundled in ziplocks and taped to the rack right now until I can install the roof feeds. I also need to figure out how I'm going to position myself to install the front lamps. Maybe I'll be hanging from the balcony next. :-k

Re: Homebrew Con-Ferr Style Porthole Roof Rack Build

Posted: Mon Mar 05, 2012 5:16 am
by astroturf
W O W , What an Accomplishment!!!

Break out the Champagne...

Good Job.

Jim

Re: Homebrew Con-Ferr Style Porthole Roof Rack Build

Posted: Mon Mar 05, 2012 9:54 am
by Krank88
Most Excellent! It looks great. Congrats, a major accomplishment seeing it was made literally from scratch(I suspected the patio was going to be the hoist). Now, to wrap up loose ends. Good Job, I enjoyed watching.

Re: Homebrew Con-Ferr Style Porthole Roof Rack Build

Posted: Mon Mar 05, 2012 10:03 am
by Smiliesafari
Well looky there.....I actually lived long enough to see ths rack sitting on a van. :muhaha: :muhaha: All kidding aside....It's a most excellent job. That rack will out live the van. Maybe two or three vans. :supz:

Re: Homebrew Con-Ferr Style Porthole Roof Rack Build

Posted: Mon Mar 05, 2012 12:36 pm
by astrozam
My hat is off to you, that was one hell of a project. Thanks for taking all the time you did to upload and give us the play by play, this project needs to go into the Hall of Fame, we don't actually have one but we'll think of somewhere to make sure its easily accessible. :cheers:

Re: Homebrew Con-Ferr Style Porthole Roof Rack Build

Posted: Mon Mar 05, 2012 12:44 pm
by MountainManJoe
Settle down guys, he still has to hook up all that electrical. :rolleyes:

Re: Homebrew Con-Ferr Style Porthole Roof Rack Build

Posted: Mon Mar 05, 2012 1:08 pm
by 97CargoCrawler
HaHa! Cool, thanks guys. It may be a while before all of the lights are operational. I have plans for a custom overhead console rattling around inside my noggin. I don't want to wire anything up till that is finished. I will need to test the lamps and wiring soon so lighting pix and not too far down the road. I'm also holding off on the diamond plate floor until I have the lift on. I will definitely need the added weight capacity of the new coils and leaves.

Next weekend I will drill the holes for the wiring feeds. That should be pretty uneventful. I also have some finishing goodies on the way for plugging up the unused ports. I'm waiting on some parts for the antenna mounts to arrive too.

It's nice not having to lug this rack around anymore....but now I have to climb all over it to finish it off. I wish that ladder had been easier to install.

I think the running lights on the cab are gonna look awesome. Then it won't look like there is such a gap from the front. Not sure when those will go on.

:cheers:

Re: Homebrew Con-Ferr Style Porthole Roof Rack Build

Posted: Mon Mar 05, 2012 5:46 pm
by WoodButcher
Nice work CC, real nice. I like how those offsets worked out for you. I have a friend who is fond of the saying "some days your just plain better off being lucky than good". More often than not he is just lucky. You got yourself a little of both but more good than luck. You've done some sweet work and I think practice and planning are what got you there. =D> =D> =D>

Re: Homebrew Con-Ferr Style Porthole Roof Rack Build

Posted: Mon Mar 05, 2012 7:17 pm
by mdmead
Freakin' awesome! =D>