First thing is to jack the van up and support on jack stands. I had the front end up for the front gear swap so it was already supported. Here is a pic from when we worked on Dunedog's van. These jack stands are rated at 6 ton each.
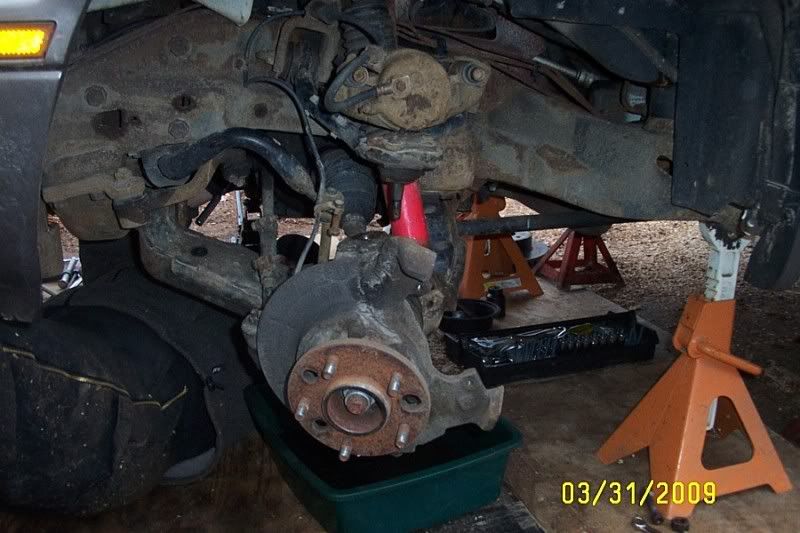
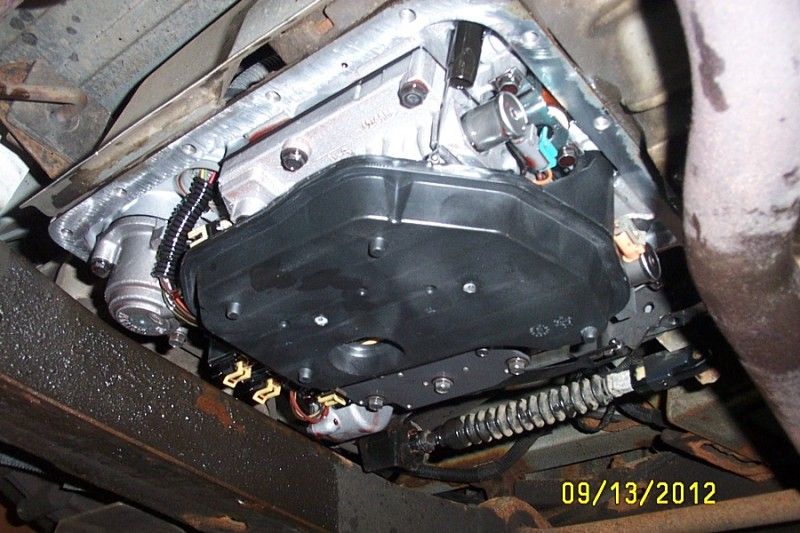
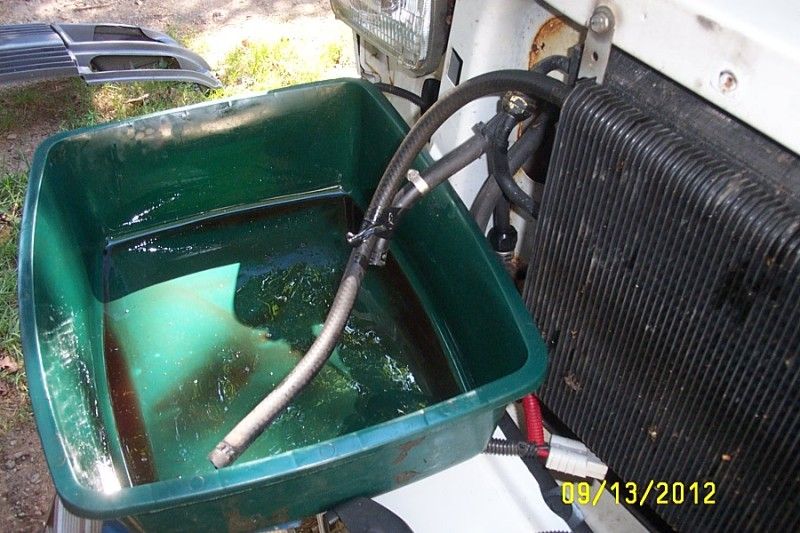
You then need a large catch pan for the fluid as well as a 13mm socket, 6" extension and a ratchet and/or air ratchet. Remove most of the bolts holding the pan on leaving 3 or 4 bolts tight. Start loosening the bolts on one side about 1/2 way. Then loosen slightly the bolts on the opposite side. The pan might start dropping and you WILL have fluid all over the place. Try to catch most of it. Once the fluid is mostly drained, drop the pan the rest of the way. I hold it up tight with one hand and remove the bolts with the other. I then drop it down trying to keep it level. You may have to shift it to the passenger side to clear the shift cable mount bracket. Once it's out, you will see the guts with a filter covering them. The filter comes straight down with a light twisting motion.

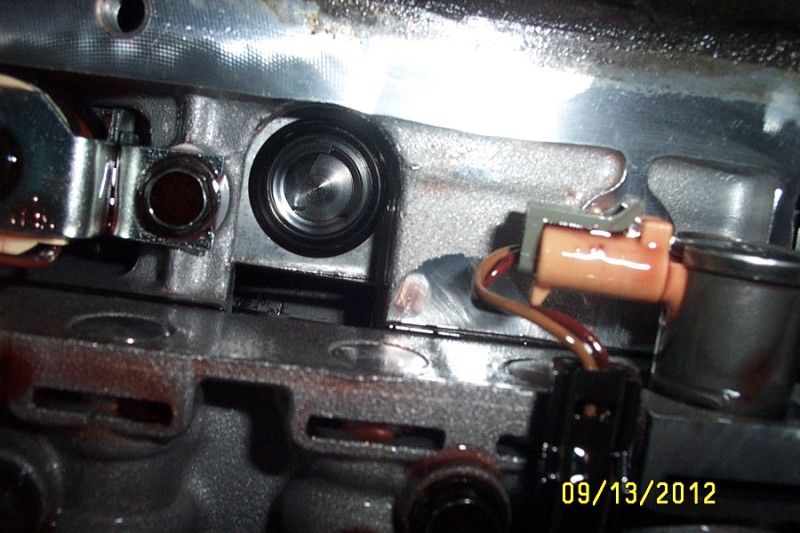
Where the filter came out of will be the seal. It looks like this:
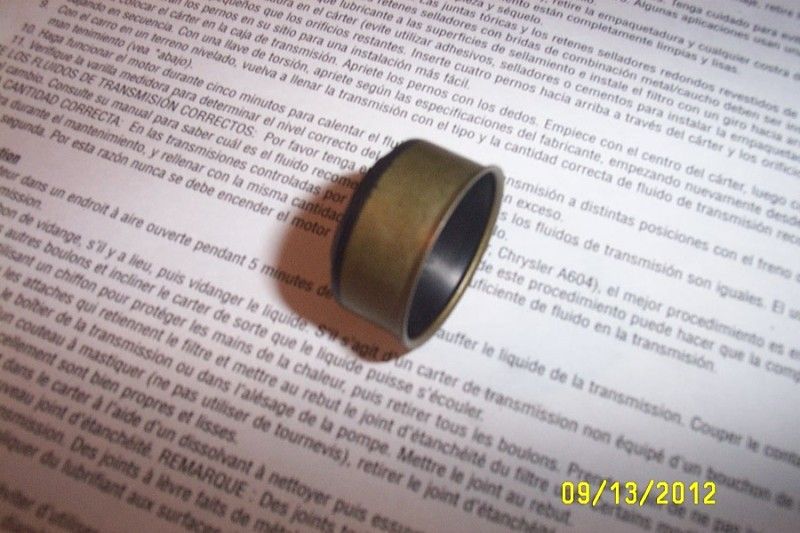
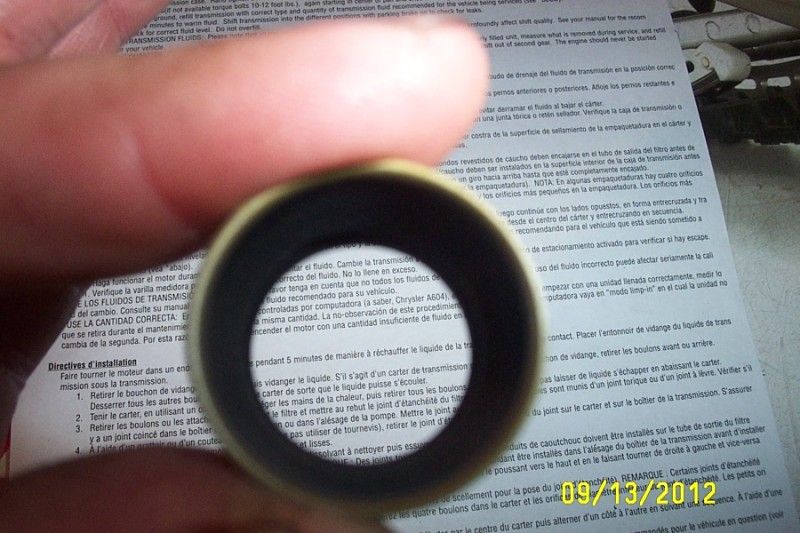
It fits in here:

Run your finger in there and feel if it is smooth. If it is smooth and still soft, no need to replace it. At this time I let the tranny drip off for a while. Now is a great time to clean the pan and check for debris.
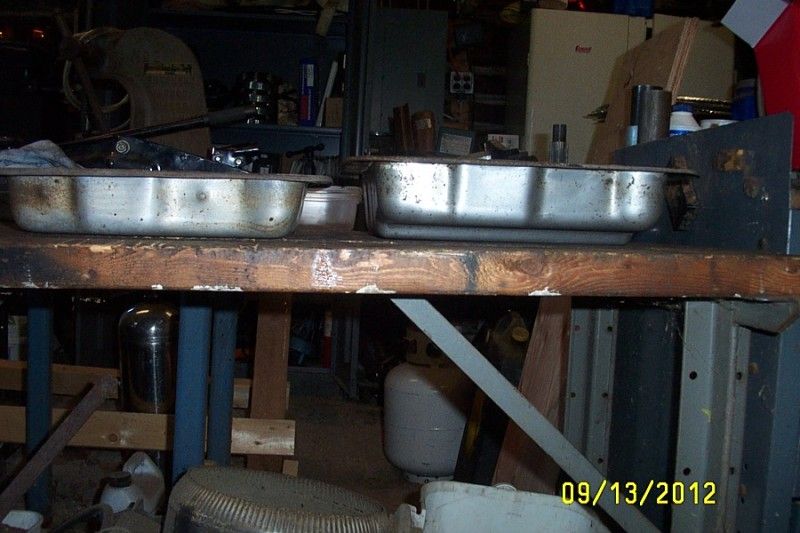
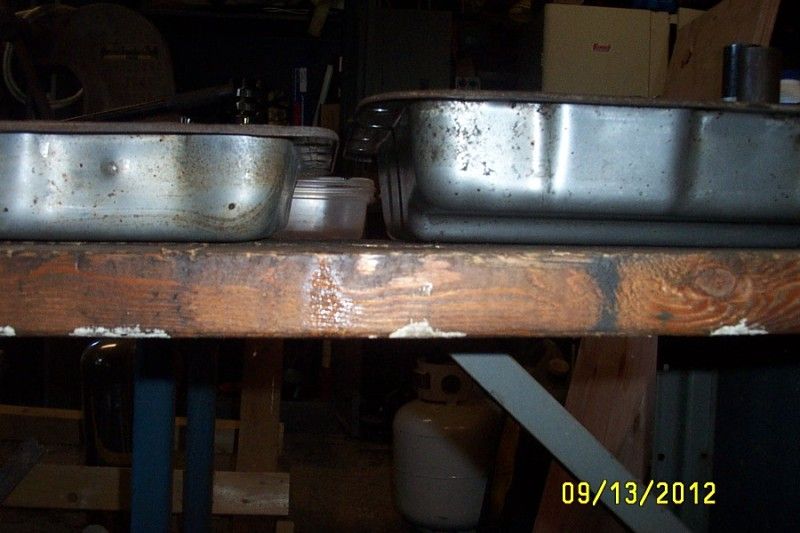
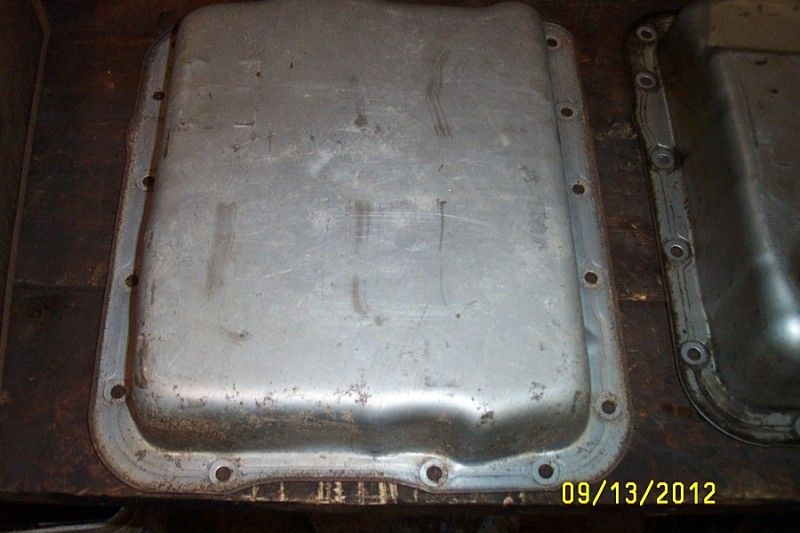
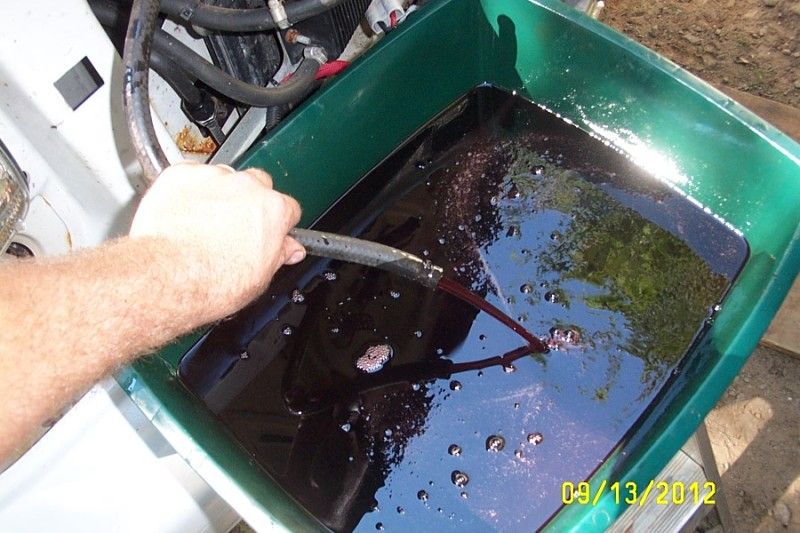
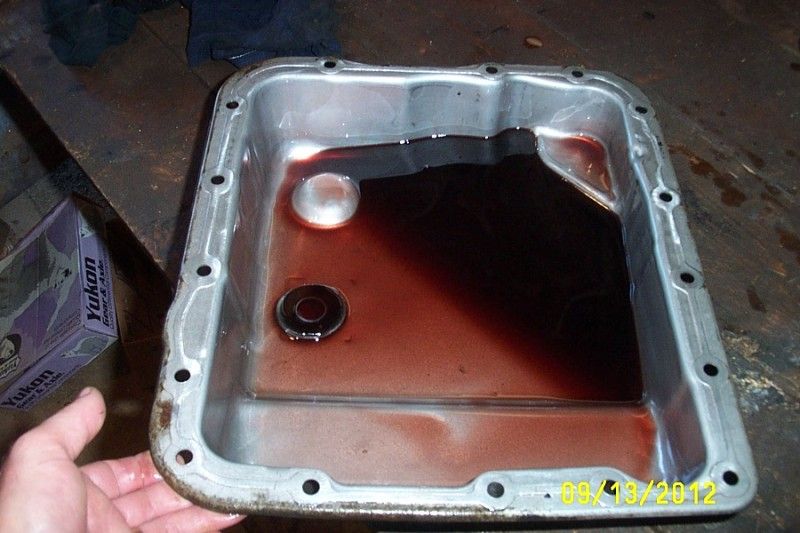
Here is what it'll look like on the bench after dumping most of the fluid out.

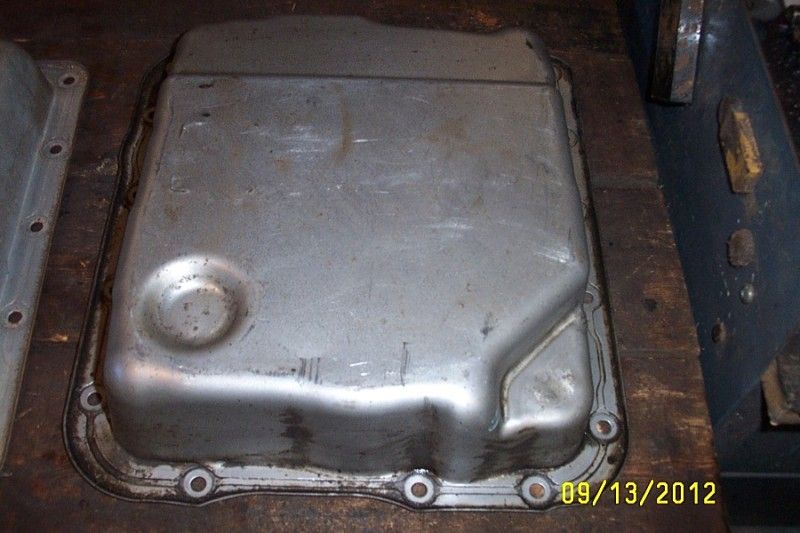
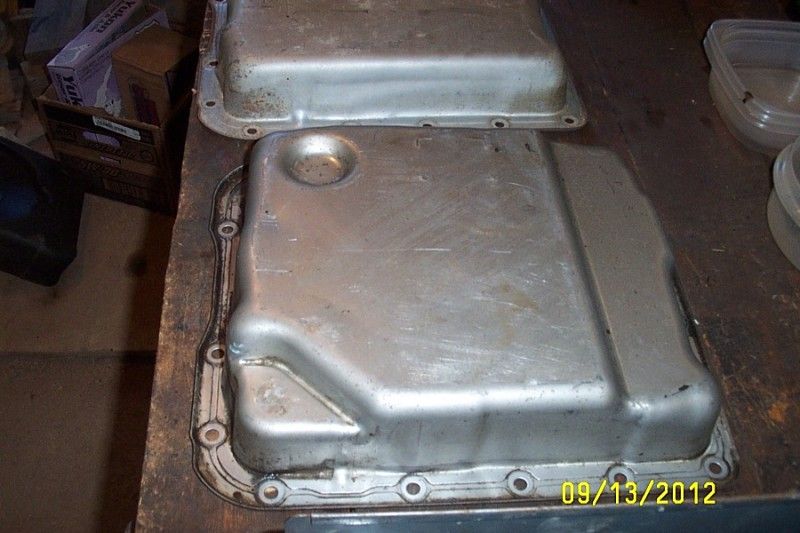
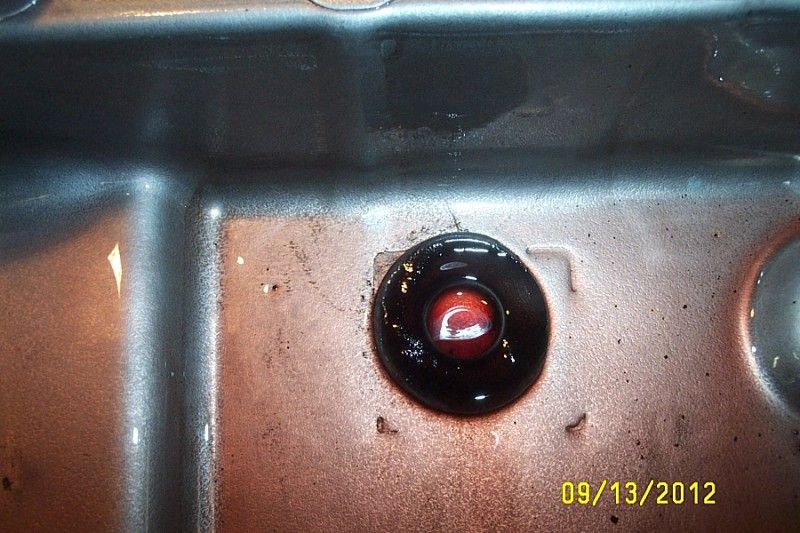
Here is the magnet. You will see some fine material on it but there should be no chunks. I have a few chunks but they are from the rust that was on the rag I threw in the pan. The fluid is dark but does not smell burnt. I did a filter change last year, about 18k miles ago.
At this point, you can clean it all up.