Re: THIS WEEKEND. Things to do when lifting.
Posted: Fri Nov 21, 2008 11:13 am
OK. Took some pix last night of the fender bracket I modified and the exhaust hangar extension.
For the fender, as per my previous photo a few posts back, I cut a big chunk out of the wheel well. In fact, I cut much more out after that photo was taken. The key is cut as little as possible, but enough where you won't be rubbing and slicing up your new tires. Needless to say you have to put the new tires on and mark the spots that need to be cut BEFORE you begin cutting, you can't just guess. Cut a little, check clearance, cut some more, check again and so on. Even if it means taking the wheel off 10 times to get it done. You'd kick yourself in the ass if you cut out way too much, it's not like you can just put it back on.
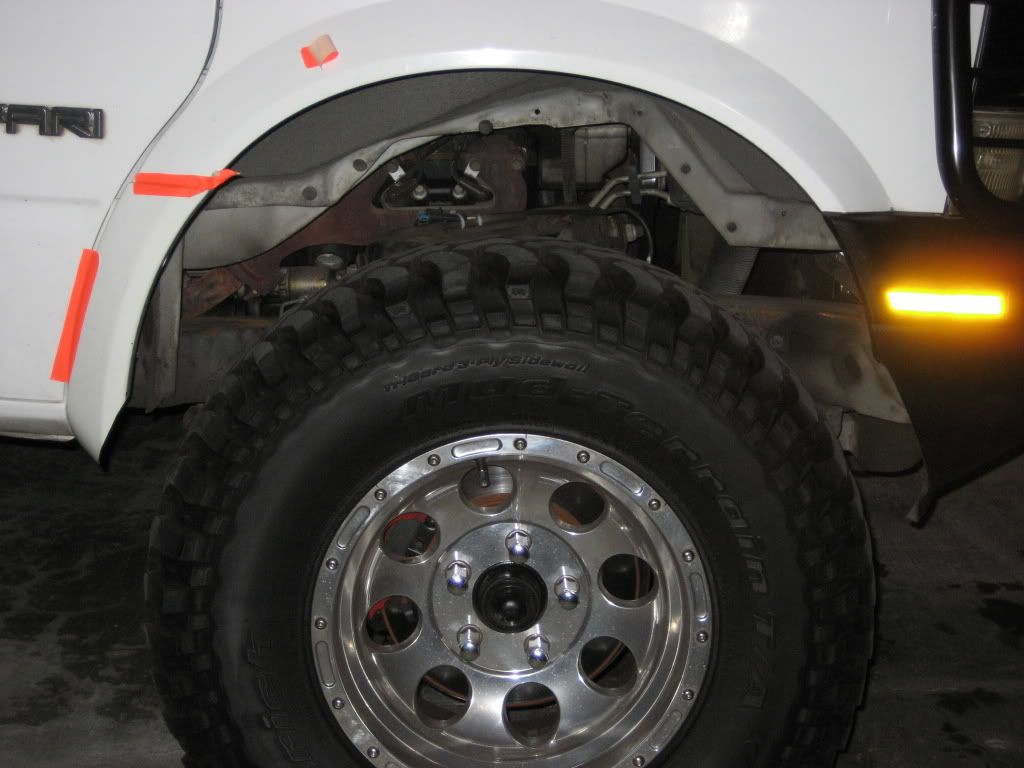
Keep in mind I have a 2WD, 31"x10.5" BFG Mud terrains on 8" wide wheels with 3.75" backspacing and -25mm offset. Also my wheels stick out much further than normal due to the lift spindles I have on. So your cutting will probably be far less severe than anything pictured here.
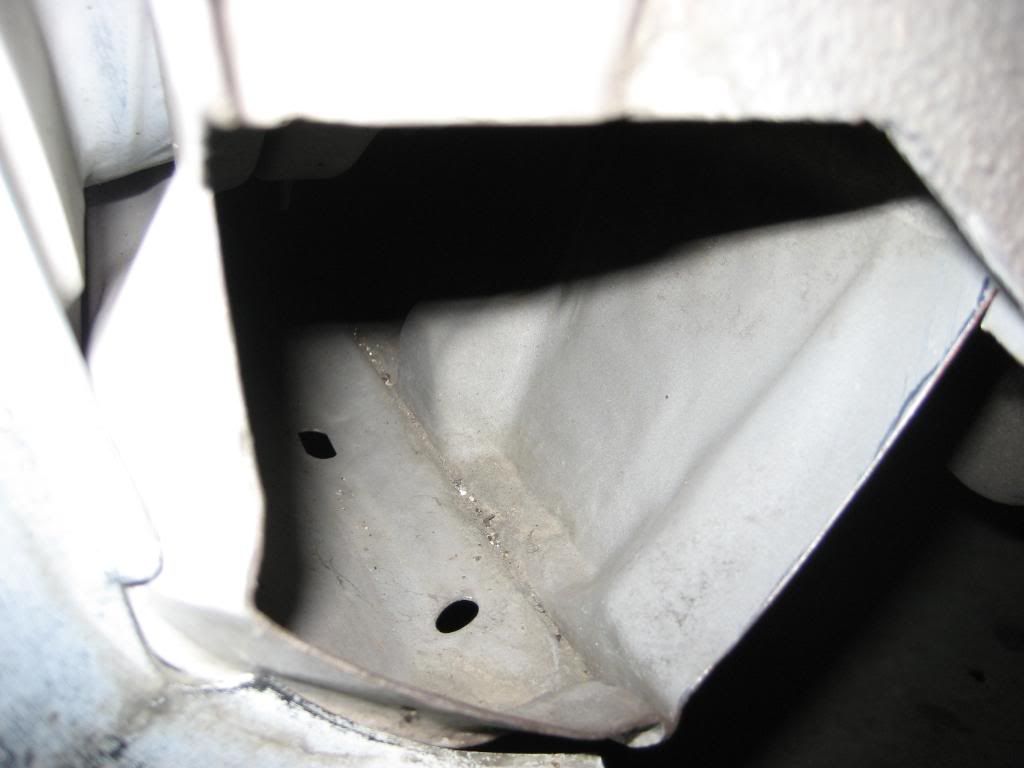
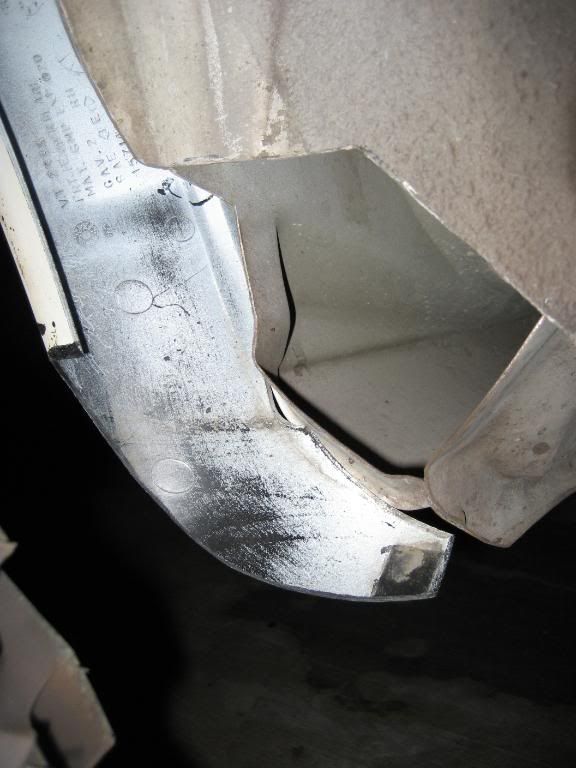
First I cut the big hole in the fender well. I cut a bit more out than I needed by accident :
:
Of course I cut off the part of the body that the trim bracket bolts to. I drilled out the rivet holding the metal bracket to the trim and set it aside knowing I would need to chop it up or make a new one. Without any way to hold the trim piece on for measuring and marking, I taped the fender piece on to get and idea of where I would need to trim it:
I used a Dremel tool with the flexible cable attachment and a metal cutoff saw blade as the bit. Knowing I would later do the fine details with a Dremel sanding drum bit, I cut well inside my markings. You can't get a decent cut with a cutoff wheel, and they love to take off no matter how hard you hold them so having a little fudge room is always good. The sanding bit will rip through the plastic like you won't believe too, but it is much easier to control. Don't feel like you need to get as much material as possible off with the cut off disk bit.
Once you've marked the spots to begin cutting it is always a great idea to remove the wheel, It will give you room to work and keep you from cutting up your tires when the Dremel slips or when your reaching for a cold one.
Here it is, taped on and trimmed:
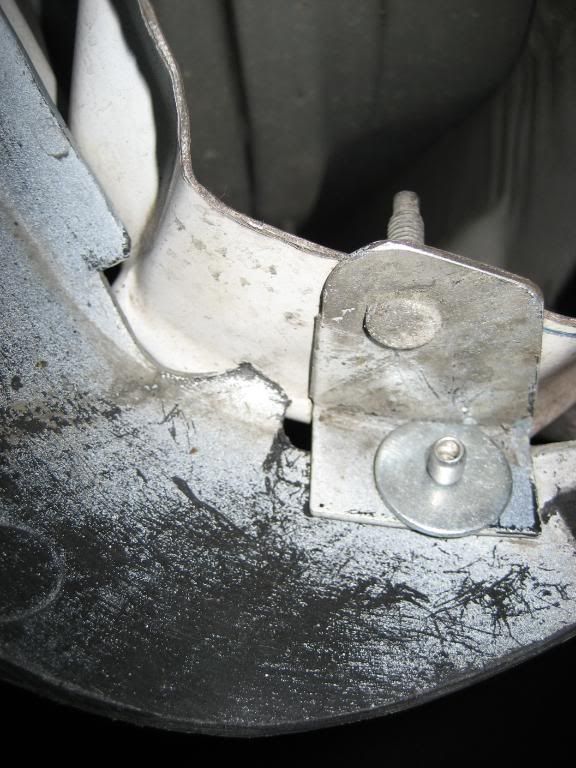
I dont have pix of what the fender trim bracket looked like before I butchered it, but here is cut up and riveted on afterward. The bolt is actually going through the body, but as you can see I cut a bit too much out and it's very close to the edge. CUT OUT AS LITTLE AS POSSIBLE! Always have that thought in your mind!
You will need to trim the mud guard as well to match. Mine looks a bit funny because I cracked a chunk off the other day. I guess I need to cut a bit more off:

You'll probably need to cut the bumper fascia too. Same method......cut a little off, check, then cut more. These are cosmetic pieces so obviously you don't want to F them up!
I know a lot of this is just plain common sense and didn't need to be stated. I just want to be thorough and get the point across that you should do the cutting in small increments.
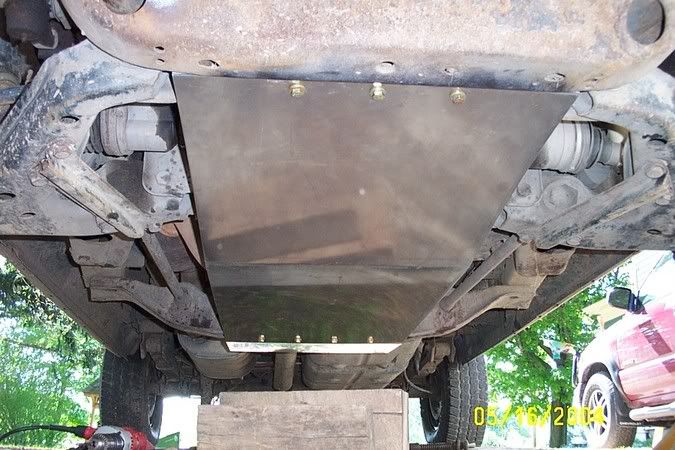
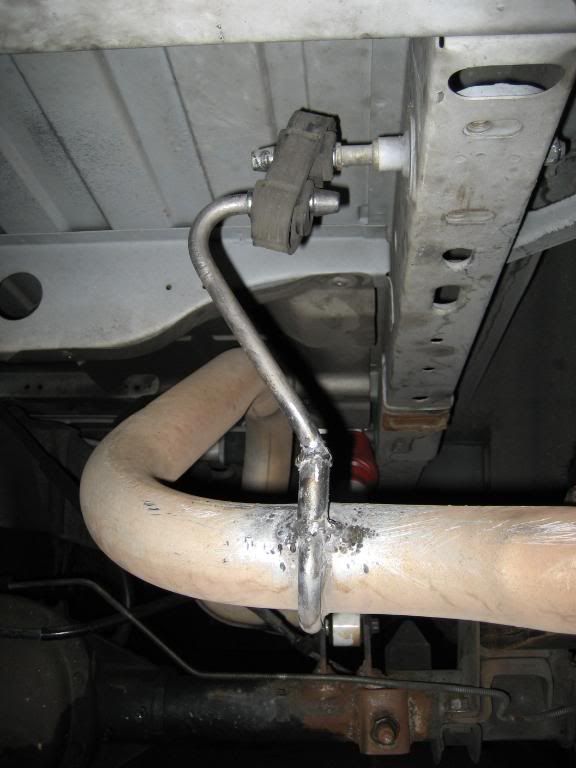
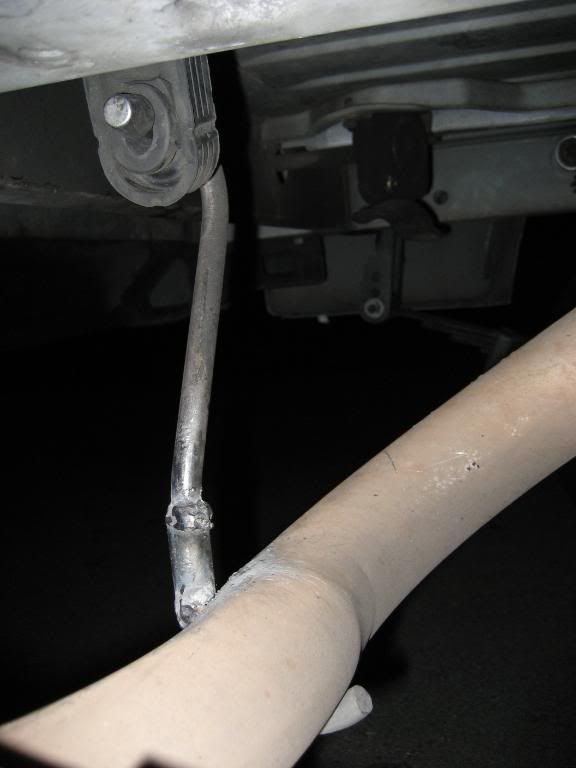
Here's the exhaust hangar mod:
A simple cut and weld:
Good luck!
For the fender, as per my previous photo a few posts back, I cut a big chunk out of the wheel well. In fact, I cut much more out after that photo was taken. The key is cut as little as possible, but enough where you won't be rubbing and slicing up your new tires. Needless to say you have to put the new tires on and mark the spots that need to be cut BEFORE you begin cutting, you can't just guess. Cut a little, check clearance, cut some more, check again and so on. Even if it means taking the wheel off 10 times to get it done. You'd kick yourself in the ass if you cut out way too much, it's not like you can just put it back on.
Keep in mind I have a 2WD, 31"x10.5" BFG Mud terrains on 8" wide wheels with 3.75" backspacing and -25mm offset. Also my wheels stick out much further than normal due to the lift spindles I have on. So your cutting will probably be far less severe than anything pictured here.
First I cut the big hole in the fender well. I cut a bit more out than I needed by accident
Of course I cut off the part of the body that the trim bracket bolts to. I drilled out the rivet holding the metal bracket to the trim and set it aside knowing I would need to chop it up or make a new one. Without any way to hold the trim piece on for measuring and marking, I taped the fender piece on to get and idea of where I would need to trim it:
I used a Dremel tool with the flexible cable attachment and a metal cutoff saw blade as the bit. Knowing I would later do the fine details with a Dremel sanding drum bit, I cut well inside my markings. You can't get a decent cut with a cutoff wheel, and they love to take off no matter how hard you hold them so having a little fudge room is always good. The sanding bit will rip through the plastic like you won't believe too, but it is much easier to control. Don't feel like you need to get as much material as possible off with the cut off disk bit.
Once you've marked the spots to begin cutting it is always a great idea to remove the wheel, It will give you room to work and keep you from cutting up your tires when the Dremel slips or when your reaching for a cold one.
Here it is, taped on and trimmed:
I dont have pix of what the fender trim bracket looked like before I butchered it, but here is cut up and riveted on afterward. The bolt is actually going through the body, but as you can see I cut a bit too much out and it's very close to the edge. CUT OUT AS LITTLE AS POSSIBLE! Always have that thought in your mind!
You will need to trim the mud guard as well to match. Mine looks a bit funny because I cracked a chunk off the other day. I guess I need to cut a bit more off:
You'll probably need to cut the bumper fascia too. Same method......cut a little off, check, then cut more. These are cosmetic pieces so obviously you don't want to F them up!
I know a lot of this is just plain common sense and didn't need to be stated. I just want to be thorough and get the point across that you should do the cutting in small increments.
Here's the exhaust hangar mod:
A simple cut and weld:
Good luck!